Hi Mark, What has happened to the binding module? There is mother there whe I click on it.
Regards
Darren
Hey Darren
I decided to put the Binding videos in the bonus section - this was because it is a non essential part of the build. Enjoy!
FYI: The Binding Module should not have appeared as there are no videos contained - (I'll flag this and see if it can be fixed. Meanwhile I have deleted the empty module.)
Measure twice, cut once...
Probably a good time to bring this up...
I am sure you are aware that by using laminated sides you have made binding MUCH harder!
Win some..lose some...
Whatever method you use to cut the channels you will have to go round by hand to make the slots 'perfect' size for the binding.
It will be all too easy to sand through a veneer if you are not super careful
I would recommend sealing the area around the top AND the sides in your case - before you cut the channels....
hope the videos are clear...let me know if you have any Q's
Ta!
Thanks for bringing this subject up, I didn’t realise there were videos on it. It never occurred to me to look in the acoustic build for how to do binding. I’ve watched the videos and they are top notch, just what I was looking for. Rock n Roll.
Make guitars, not war 🌍✌️🎸
Hi Mark,
Do you mean in terms of the grain tearing out? I will try a small section where the tail piece insert will go to judge if there will be a problem and, if so, I will go around the perimeter with a fine slotting saw before removing the remainder of the binding rebate. Hopefully I won’t need to do this but I’ll let you know.
Do you mean in terms of the grain tearing out? I will try a small section where the tail piece insert will go to judge if there will be a problem and, if so, I will go around the perimeter with a fine slotting saw before removing the remainder of the binding rebate. Hopefully I won’t need to do this but I’ll let you know.
Cleaning up after gluing on the binding will be a lot more critical as you do not want to rub through that lovely veneer...
You'll have to make sure that the channel is even all the way round - use an offcut off binding to check it...adjust as neccessary...it is all covered in the vids.
Make sure to watch ALL the videos and all will be explained (hopefully) - good luck!
Hi Mark,
Thanks for your replies, they are really useful.
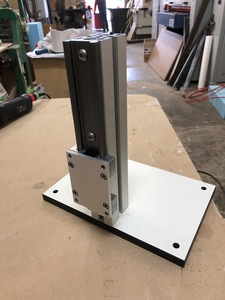
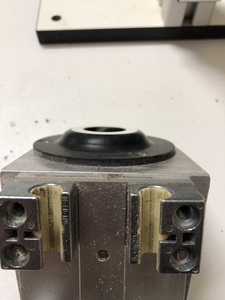
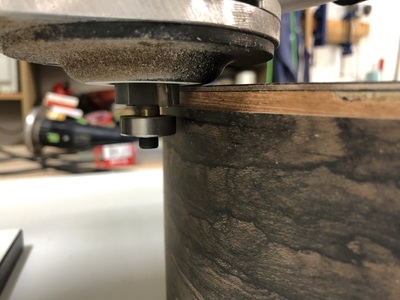
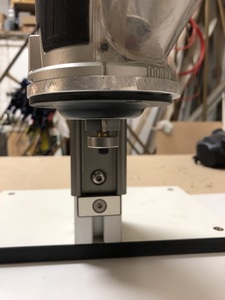
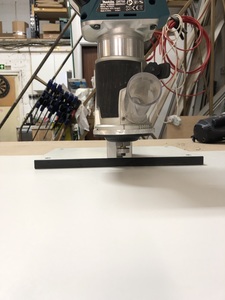
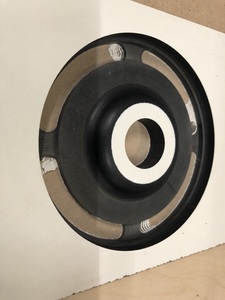
I have now routed the binding channel on the soundboard side and this went pretty well with no noticeable chipping. I am building flat tops so this side is the easy one as I can just run the router around the soundboard by hand! I have almost finished building a jig for my cordless router to machine the channel on the backs but I will glue and trim the front bindings first as I don’t want to handle the channels more than necessary before getting them glued in place. Again, the flat top design means that I don’t have to make a mounting jig to square the sides to the jig as I can just run the soundboard flat on the bench. The bindings will stand just proud of the surfaces so minimal scraping should take them flush. You might be surprised at how long it takes to sand through 0.6mm of veneer but matching the grit to the species is key. Oak, ebony and ziracote can be initially tackled with 120G with little fear of mishaps but with softer veneers such as massur birch, walnut and cherry I would start with nothing coarser than 180g. There are very few defects in veneer that go all the way through the leaf so it is crucial to watch very carefully the whole time and not just sand the one area. Don’t answer the phone, stare out of the window or look at the person who may be talking to you! Attention is crucial. I have bent a couple of walnut bindings using my Luthier’s Bench Iron (yes it arrived!) and I will bond these tomorrow. Looking forward to getting on to the necks again sometime soon!
Regards
Darren
This is awesome - top post! Can't wait to see how they come out with the binding.
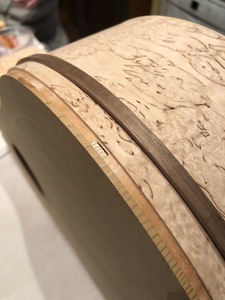
With the help of the bending iron and a couple of rolls of sticky tape the bindings are all in and trimmed flush with the aid of nicely sharpened scraper blade. A much underestimated and misunderstood tool, when properly prepared it can produce whisper thin shavings in contours no plane could dream of entering. Not the easiest blade to sharpen but worth read ing up on the technique and understanding what is happening at the cutting edge.
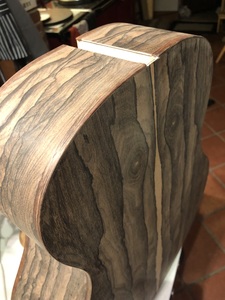
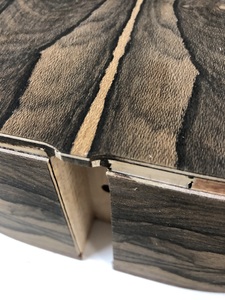
The trickiest bit of the binding process was where the body takes a bit of a dive as it narrows towards the neck joint. I tried to heat bend the binding in both axis but ended up just forcing it into the channel with plenty of highly stretched veneer tape. This seemed to work pretty well and the very few small gaps that were left after scraping were filled with colour matched hard wax filler and are now completely invisible.
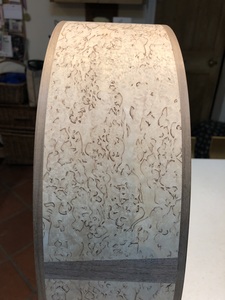
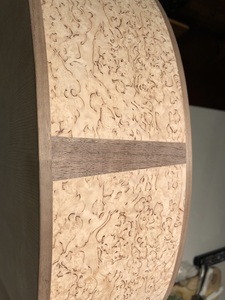
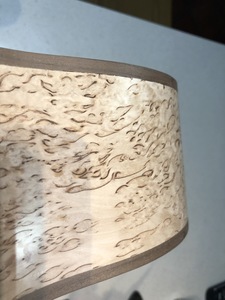
Overall, the process was nowhere near as bad as I had feared and the results better than I had hoped. The rosewood binding on the ziracote guitar offers just enough colour contrast with the main veneer, and this will be accentuated when the finish goes on, and the plain walnut is a wonderful counter to the madly busy massur birch.
Now back to the necks and fingerboards again.


