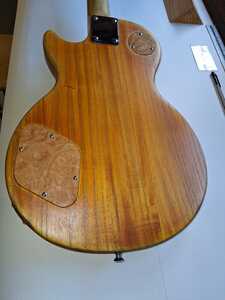
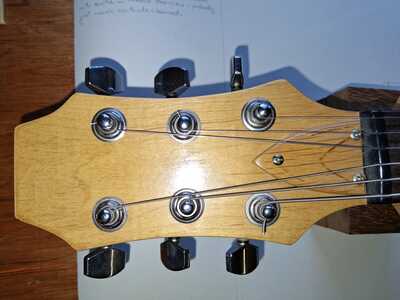
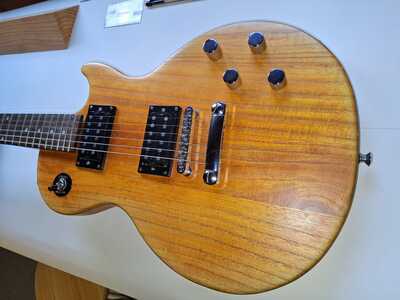
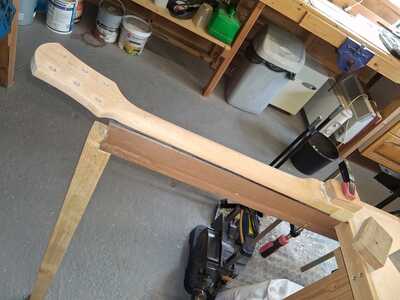
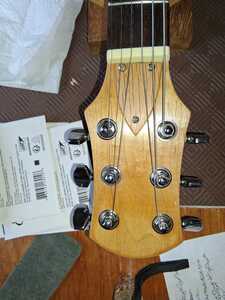
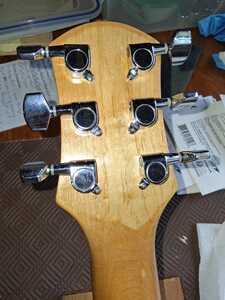
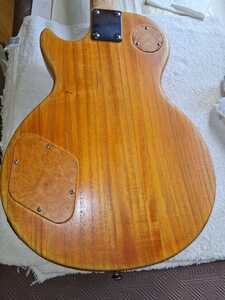
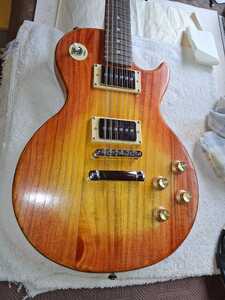
Now it may seem strange to start with some photos of a complete guitar but this is my starting point, the first guitar I built (or rather assembled and finished), a cheap kit that I completed back in 2013, hey we all have to start somewhere!!🤣 Up until this point I'd barely touched an electric guitar and knew next to nothing about them but doing this one made sure I had caught the bug we all know.
Anyway I decided earlier this year that a makeover was required, I wanted to renew the wiring loom with new components, change the pickups to P90 type and refinish the neck and top of the body.
I'm now having trouble posting more photos in this post, so will continue the story on a fresh post, you all will just have to contain your excitement for a while🤣🤣
Brian👍😊🎸
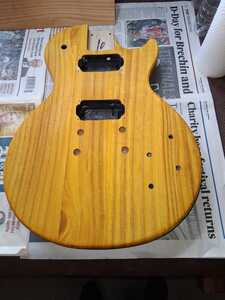
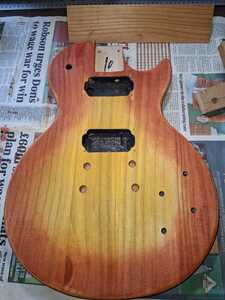
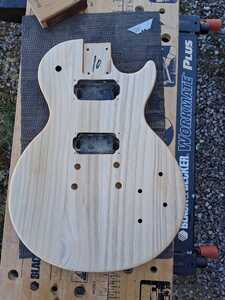
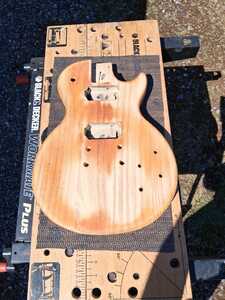
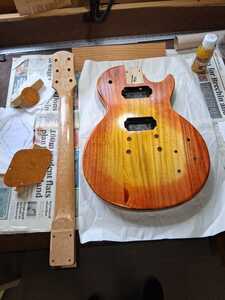
And so the fun begins, neck stripped back to bare wood and headstock reshaped, top of body stripped back restained and sunburst applied. I did the sunburst by hand rather than spraying it and it was easier than I thought it would be. I used Stunning Stain Shots from Crimson Guitars, applied with kitchen roll, the orange border was applied round the edge (a small section at a time) and a dry piece of kitchen roll used to drag the orange in toward the centre to create the fade into yellow. I did a trial run on a bit of ply and also tested each colour mix on the ply before committing to the guitar body.
The reason I was having trouble with posting my photos in my first post was that the file sizes were too big, reduced the file sizes of these here photos, so will see how they turn out (digital age but ageing analog man!!😂😂).
Back with another post later.
Brian👍😊🎸
Next, I levelled the frets, recrowned, polished and dressed the ends. Then I applied Liberon finishing oil to the neck (6 coats) and the top of the body (8 coats). I thought that the oil might make the colours on the body bleed but there was very little bleed and was limited to the first coat.
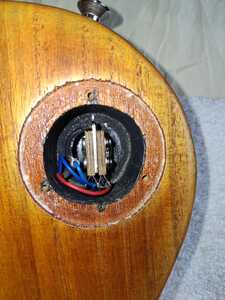
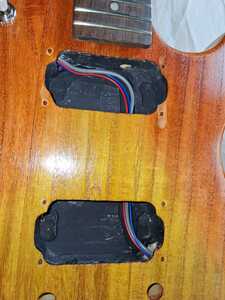
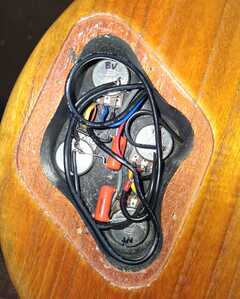
I then refitted the neck and made and fitted a new wiring loom. I felt a change was called for with the pickups, I have other guitars with humbuckers, so I chose IronGear Alchemist 90 pickups from Axetec.co.uk, these are humbucker sized, use humbucker mounting rings and fit the humbucker cavities in the body. Neck pup quoted 5.3kOhms (measured 5.5) and bridge pup quoted 7.6kOhms (measured 7.2).
A new nut and new Knobs completed the makeover, the tuners were OK so they were resused.
I'm pleased with the new look and the new sounds the P90 pickups give compared to the humbuckers. All in all a satisfying wee summer project. It had the added bonus of keeping me from the wrath of my good lady wife (she who must be obeyed), in that it has been decreed that there's no room for any more guitars and that if I want to make more then I have to sell them. She is of course right, from a purely space occupying perspective but, of course, we know that there's always room for another guitar!😂🤣
Thanks for letting me share this with you.
Brian👍😊🎸


