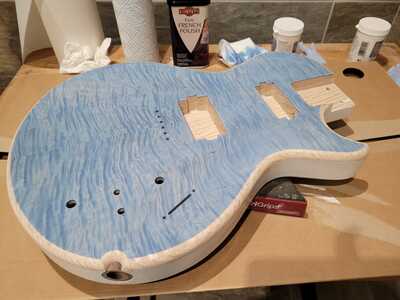
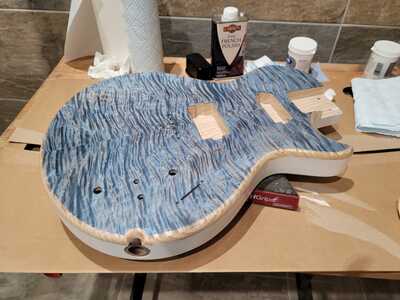
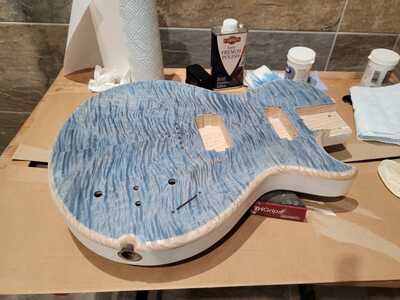
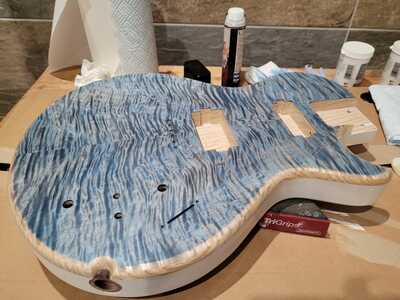
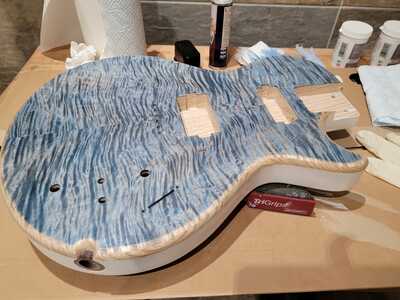
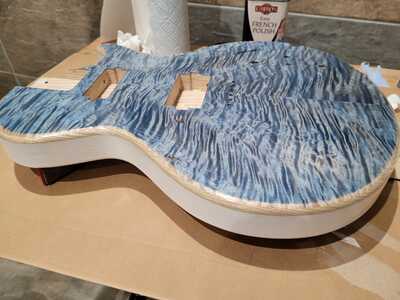
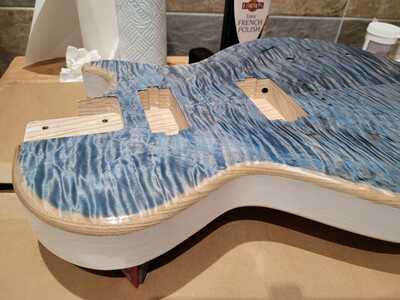
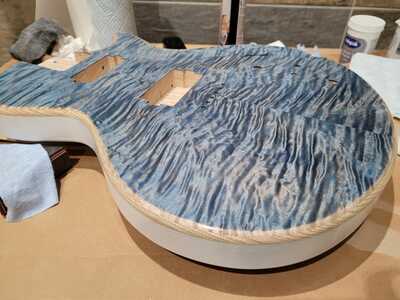
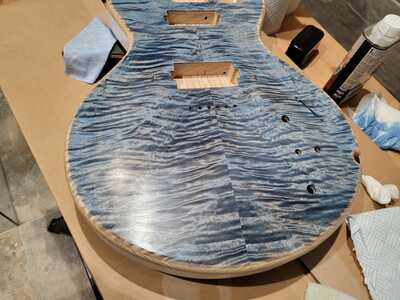
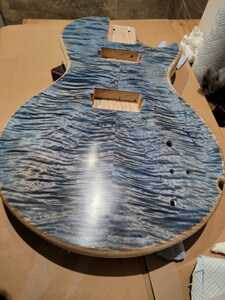
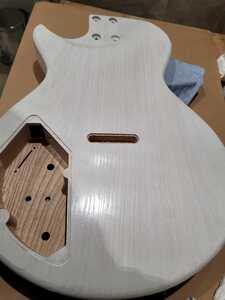
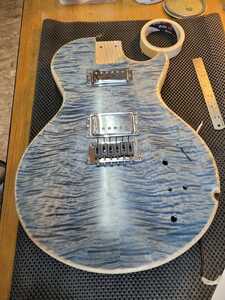
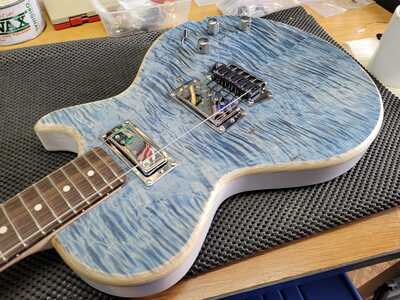
I've spent the last few days wondering whether to add to the "design feature" and repeat something similar elsewhere on the body.
Just in case anyone ever thought that the jack socket was a "mistake"!
On balance, I've decided not to bother. The chance of messing it up further vs the benefit of adding to the design - I decided to err on the side of caution.
So today is finishing day.
I'll try to add some posts-in-real-time.
Online guitar making courses – guitarmaking.co.uk
@10.25
This is the first phase of finishing.
Just rubbed on the Liberon Easy French Polish, maybe 2-3 coats, rubbed on in an area until its almost dry, then start on the next area.
Pretty quick to apply.
Online guitar making courses – guitarmaking.co.uk
@11.00
The polish now feels fully dry (to the touch), but slightly rough in places.
I'm going to give it another hour or two to dry/harden some more, then I'll (very) lightly rub it back with something like 400grit before adding some more polish.
Tune in later for the next exciting installment ...
Online guitar making courses – guitarmaking.co.uk
Thanks @Russ
Thought I'd read the instructions whilst waiting .... no point in reading them first!
Apply one coat at a time and leave to dry for 3-4 hours between coats.
Hmmm, that might be why it feels a little rough in places. I probably put too much on.
Will now leave it a few more hours and I've booked an early-afternoon appointment with the sandpapers ... then I should still get a couple of coats on during the afternoon/evening.
Online guitar making courses – guitarmaking.co.uk
As it's now (just) afternoon, I thought I'd learn from my less haste more speed mistakes, and hasten on.
This is it, now as smooth as a baby's bottom (if that baby had also had its bottom smoothed with 320 grit abranet)
Still got more to it than first thing this morning, so there's clearly some polish-effect still there.
@1200
And after applying *one coat* of polish (not only did I read the instructions, I remembered them too);
@1215
I'm now going to leave that for "3-4 hours" to dry, just like it says on the instructions.
So, next update probably in a couple of hours.
Online guitar making courses – guitarmaking.co.uk
So, next update probably in a couple of hours.
I actually waited the full 3-4 hours!
Here we are with coat #2 applied. It's starting to build up a nice sheen, though you can't really see that in the photos unless I get it where the light is shining at the right angle.
1600
If I'm lucky, I might just get another coat on in another 3-4hrs, just before bedtime!
(I stay up quite late on a Saturday).
Online guitar making courses – guitarmaking.co.uk
Thanks BJP @bpower!
Final coat of today;
You can see the shine starting to build up now
That's it done for today.
It's been a lot quicker process than any of the oil finishing products that I've tried in the past.
And happy with the outcome thus far. I might try some 0000 wire wool & wax on it tomorrow.
Online guitar making courses – guitarmaking.co.uk
Spent some more time in the finishing chamber today.
Rubbed back the top with some 0000 wire wool and then added a very thin coat of Liberon. Left that to dry for a few hours, and then out came the wax.
It's definitely (a) smooth and (b) shiny now.
I reckon that's probably the best finish that I've achieved on a home build - when I've been aiming for something shiny.
Online guitar making courses – guitarmaking.co.uk
Didn't neglect the back - it's had a couple of coats of polish too (as have the sides)
With luck, I'll get some time next weekend to do some assembly. By which time, everything should have hardened nicely.
Very happy with this set of products. I'll use them again on builds in future. Crimson stain (which I've used before, and always been happy with), Osmo white stain, Liberon Easy French polish, and then a fancy wax.
Online guitar making courses – guitarmaking.co.uk
Somehow, the last couple of weeks (when I thought I'd get *loads* of workshop time!) have disappeared with little progress made on this build.
So, a bit of a push before I have to go back to work (next Monday).
I ended up widening just about *all* the wire routing holes, and the screw holes on the neck pickup surround, amazingly without damaging anything!
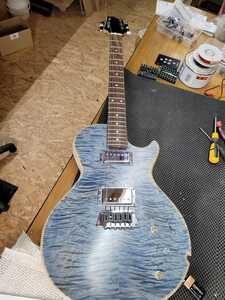
Fitted the neck pickup cover, having first melted a layer of wax across the now-covered pole pieces, and got both pickups and bridge in place.
Online guitar making courses – guitarmaking.co.uk
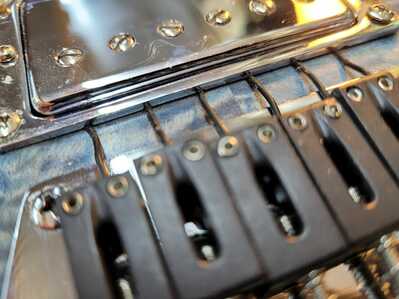
I've got some piezo-equipped saddles there,to feed a Graphtech Ghost system.
The wires from the saddles feed under the bridge pickup surround, via some grooves made in the base of the surround.
You can see the groove for the top E wire in the pick below - I'd not tightened down the screw at that corner when I took the photo - the other wires fit neatly into the grooves so you don't see them!
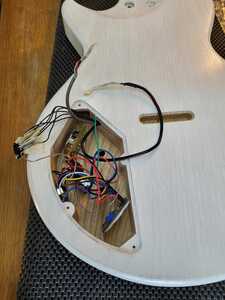
And then, just a few bits of soldering to do ...
Online guitar making courses – guitarmaking.co.uk
The wiring is now done, the passed the screwdriver-tap-on-the-pickups test for the magnetics.
First time!
👍
(That doesn't always happen!)
Went to attach the neck so I could string it up and test the piezos, only to find - not find - the bolts that I thought I'd put aside for this build. Replacements ordered (doubtless I'll find the originals next time I look), so this goes back on the slow lane and I'll focus back on the second build.
Exciting ... which will finish first ... place your bets ...
Online guitar making courses – guitarmaking.co.uk
!! IT LIVES !!
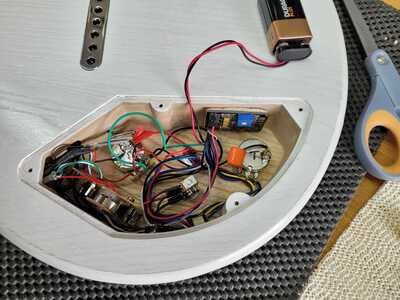
Got into the workshop bright and early this morning to get some work done. Just the outer strings in place at the moment - wanted to give the neck time to settle, and then do some fret/nut work, before I put them all on. Main reason was to check that the electronics all worked as they should.
Amazingly, they did!
All the wires appear to be connected to the right places, and connected properly! No buzzes or crackles.
The battery is just taped to the inside of the cavity cover at the moment - need to find a better solution for that.
With knobs on ...
Online guitar making courses – guitarmaking.co.uk


