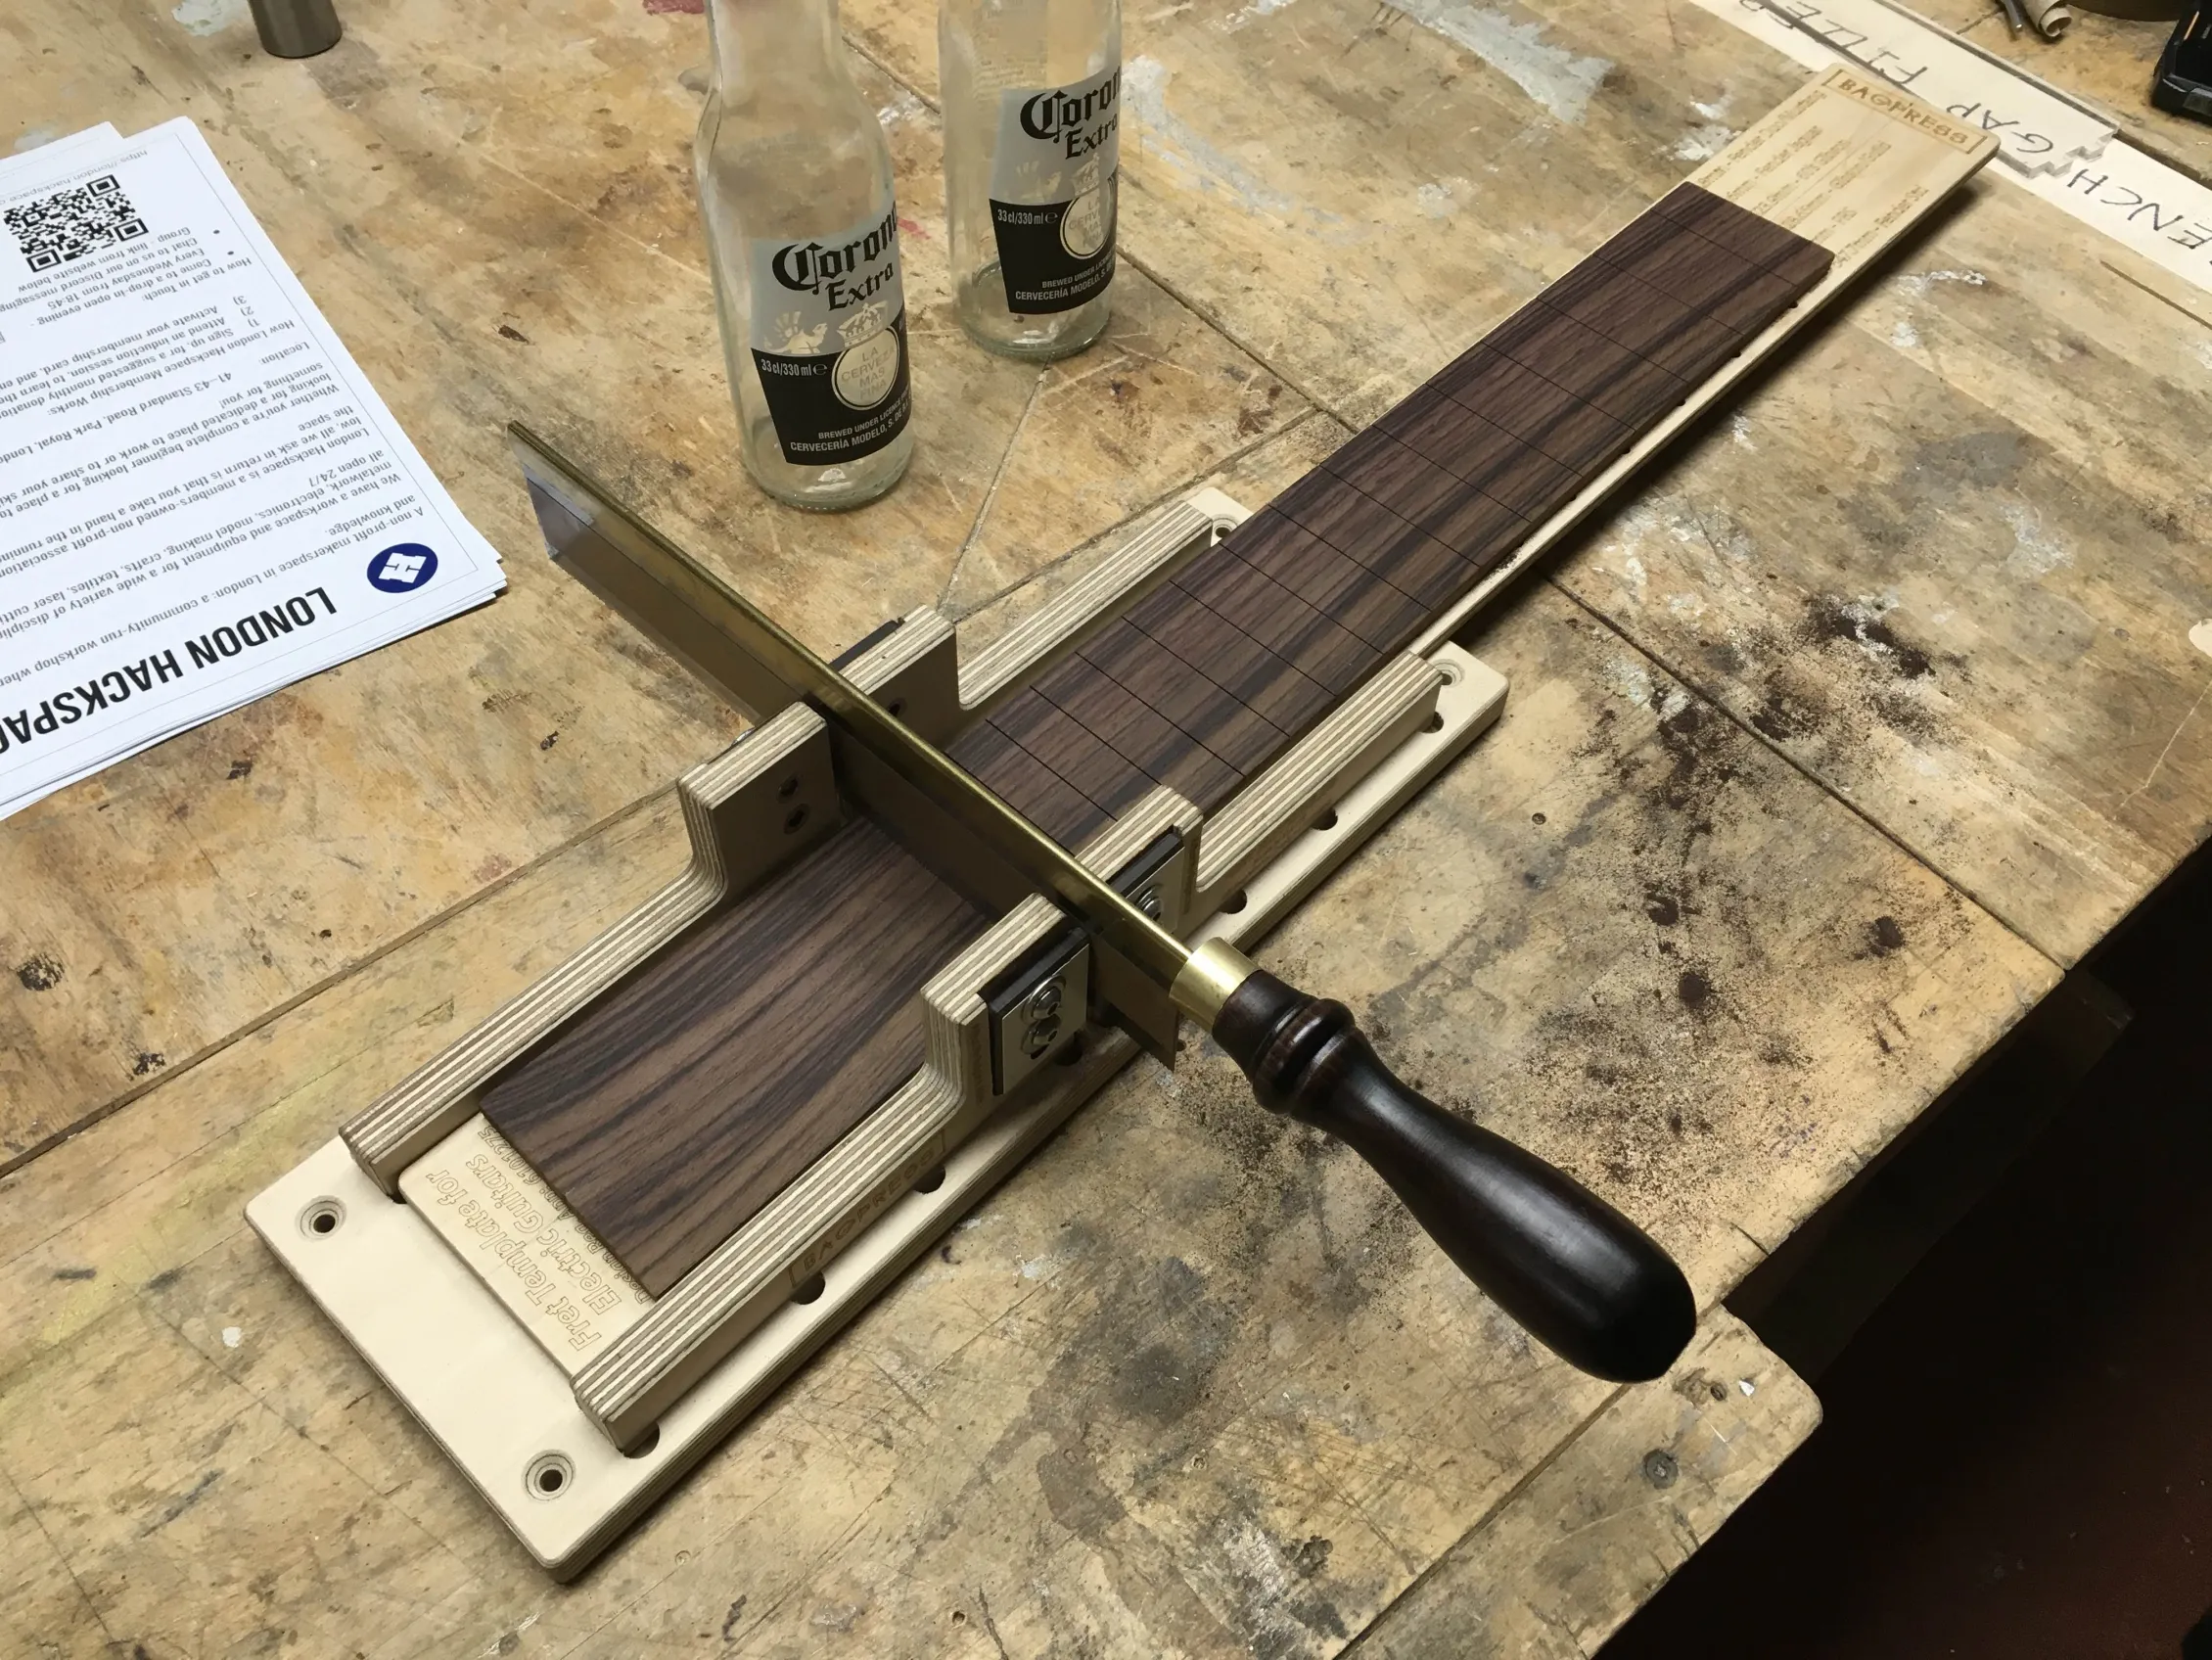
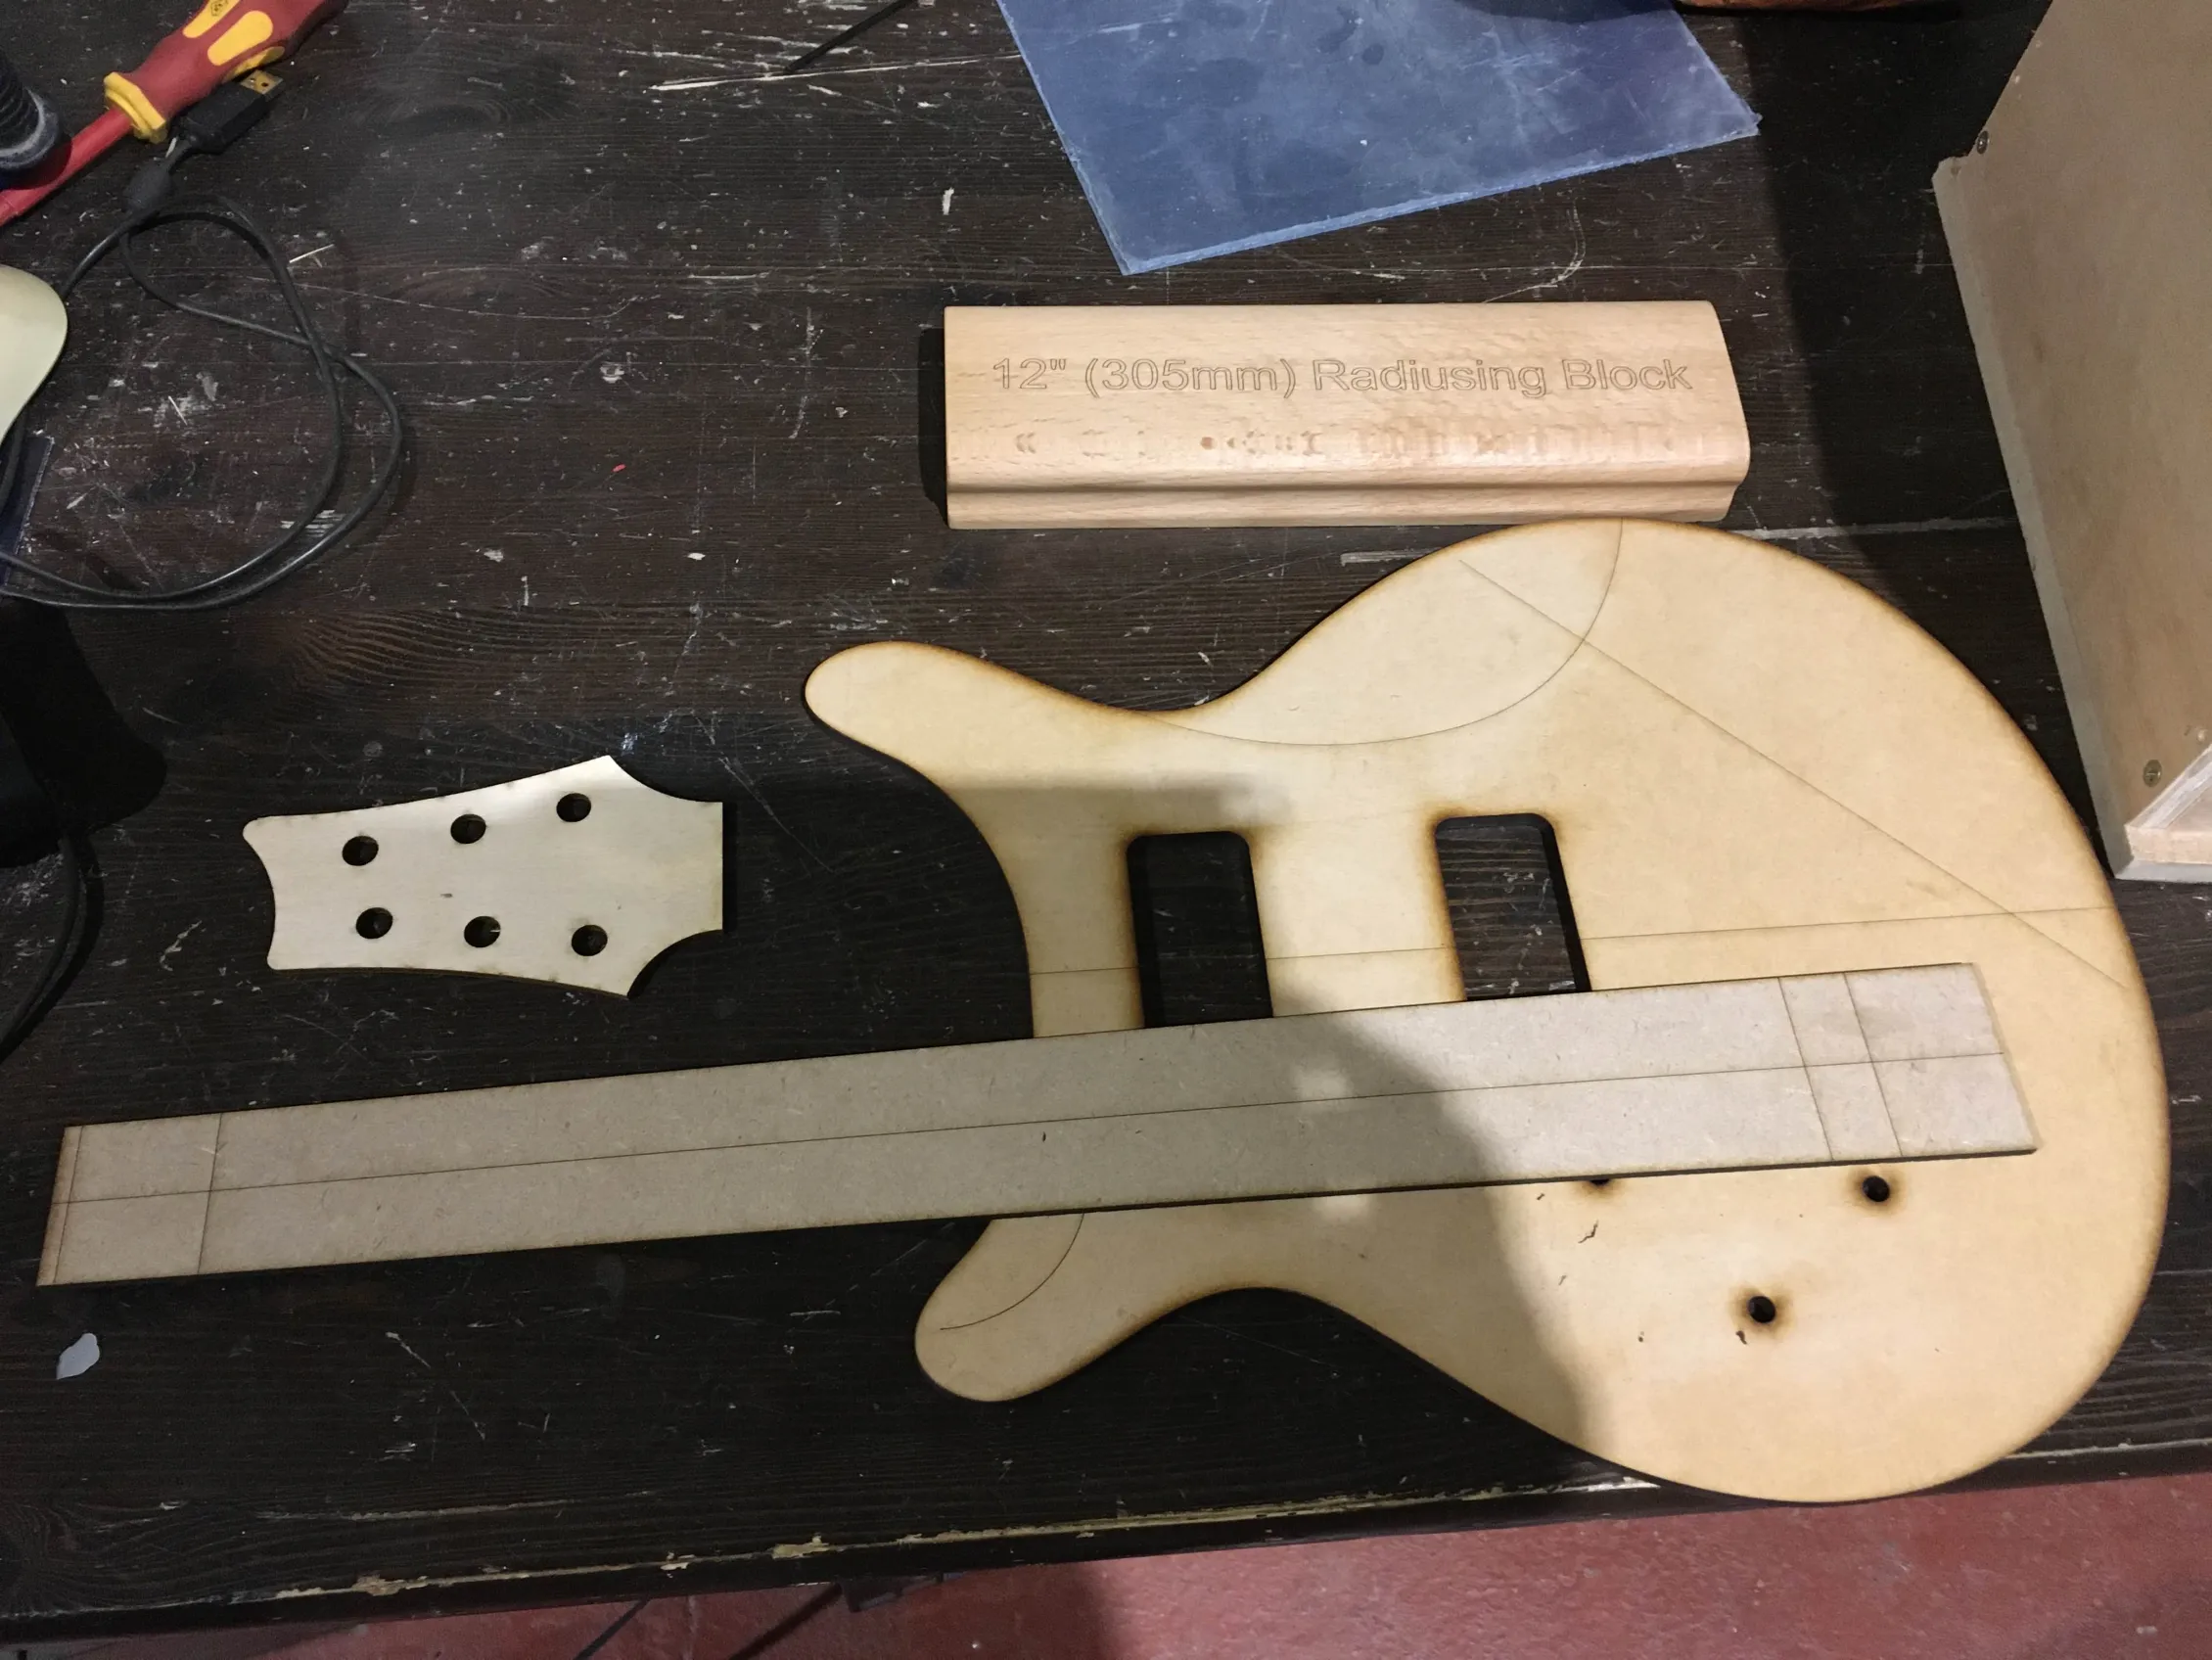
So having joined the London Hackspace in the hope of using the faciities to build guitars and other cool things I somehow wound up first as a maintainer organizing the woodshop and then as a Trustee (director) and have spent the past few years dealing with organizing, making gear work, moving out of our old premises, finding new premises, moving in, building walls and ceilings, inducting new members, etc etc.
This is volunteer work, I don't get paid, I am obviously insane... or perhaps just stupid?
So anyway, a few weeks ago I FINALLY got to start on something for myself, a guitar build, with materials I bought about two and a half years ago (I've got materials for other guitars I've had even longer)
That night I literally got two bandsaw cuts done, but it had gone from being a project I was planning to do, to being a project I am actually doing.
Slowly...
Unfortunately it seems like most times I go in I get caught up dealing with Hackspace things rather than me things. It seems there are always things that need to be sorted, or people with questions, and so on. So I'm lucky if I get one guitar bit done.
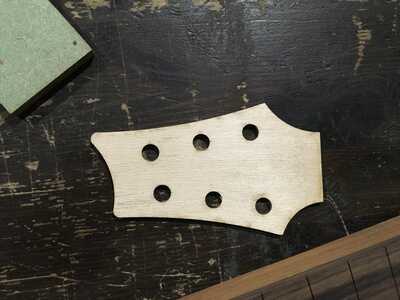
Anyway, the build is an almost-Bandsman, with a couple of slight variations that will become clear as I go along, I'm using one of David Dyke's blanks kits , which is great value for money but has caused me some hassles because the neck bank comes precut with a headstock angle that's a bit greater than I wanted.
So a couple of pics to follow
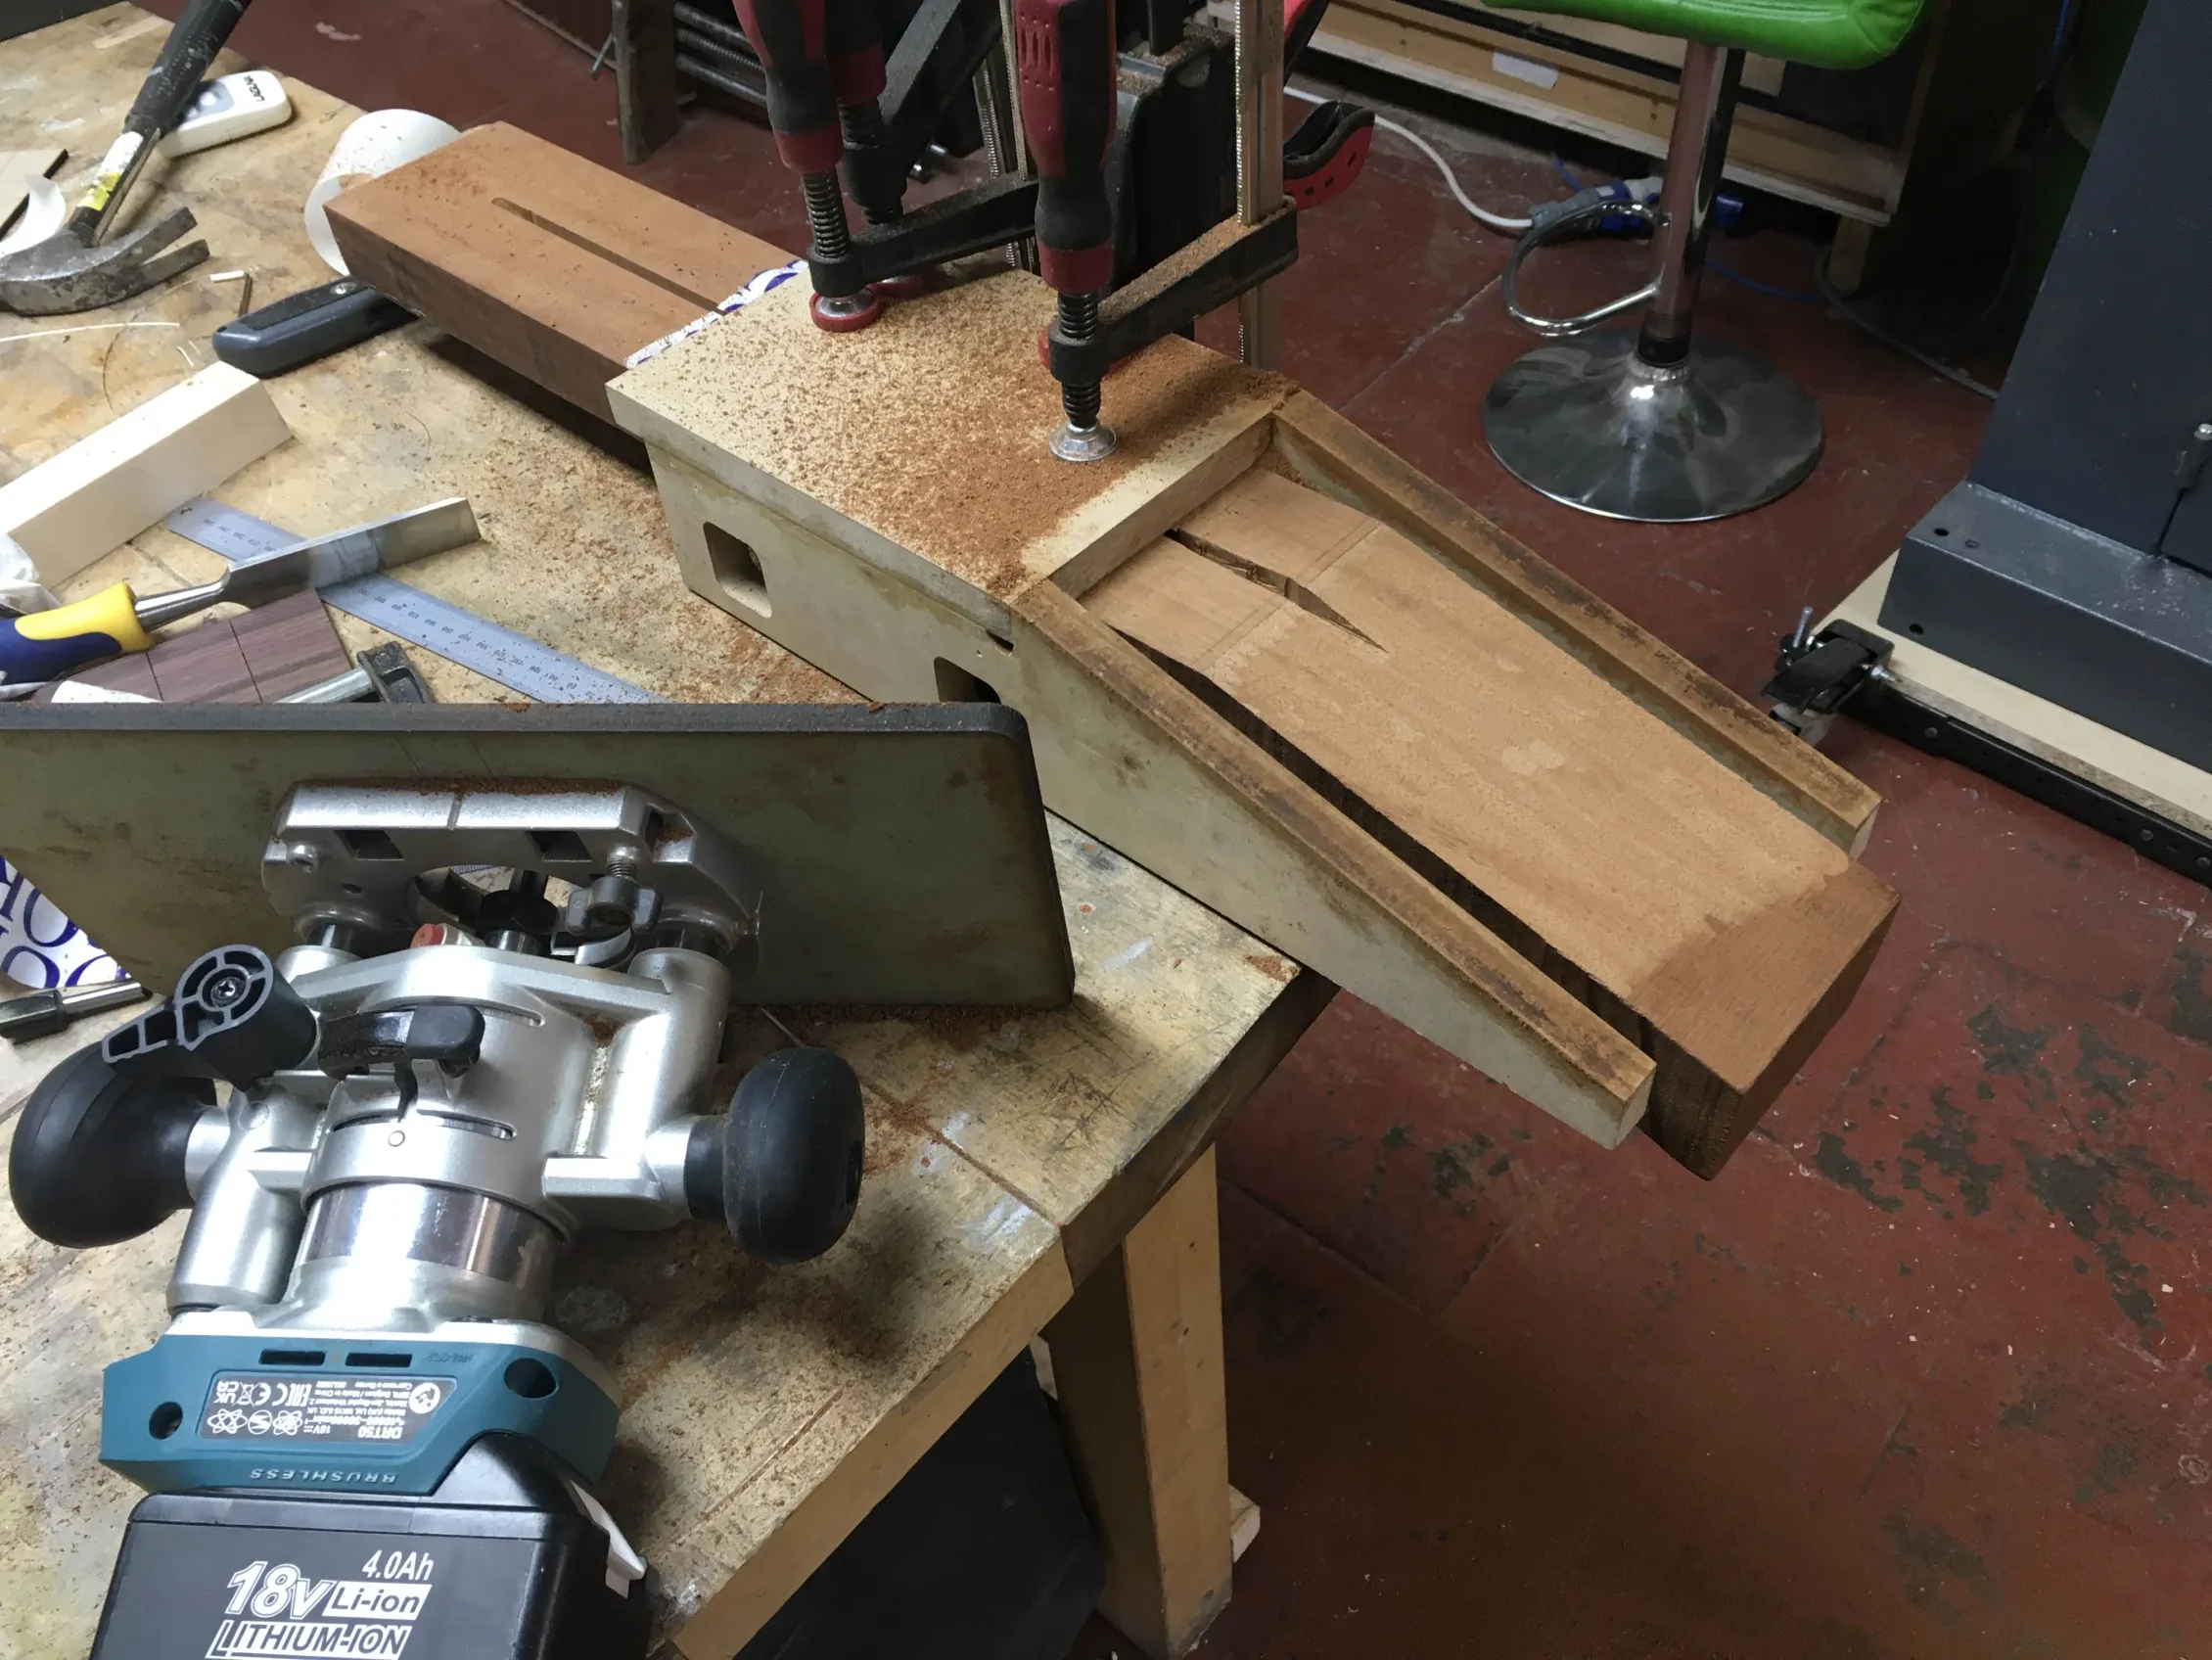
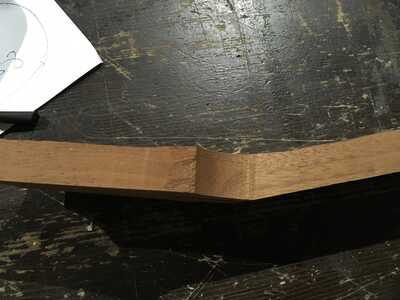
For a couple of reasons I took a slice off the top of the neck blank, then flattened it again using the planer. When it came to routing the headstock angle Mark's Jig wouldn't work because the reference face was the top of the neck (the david dyke blanks are not planed on the back), so I devised the one in the photo. Handy thing about having a laser cutter is that it's easy to cut a 15 degree and accurately. I would have like to have less of an angle, but I was constrained by the shape of the original blank
So now we get to the night I'm starting these posts, I went in to the hackspace thinking I would have a whole evening to myself to work on the guitar, no shop projects, no hackspace system admin, no inductions, just my guitar. I imagined myself getting as far as installing the truss rod, real progress would finally be made!
Yeah, about that...
I went to the guitarbuilding website to check the videos and... it was down.
So I emailed mark to let him know, and got on with trying to fix some niggles with the CNC (shop project)
Carol responded, she did try to get me access to the videos some other way, but apparently that wasn't working either
Then after a while, the website started working again, yay!!
But then the video kept freezing, I thought it must be the website not working correctly still. But then after a while I thought about how ropey the building internet has been since the landlord paid some idiots money to "improve" it, so in desparation I tried hotspotting on my phone
It worked! Finally... but a lot of time lost
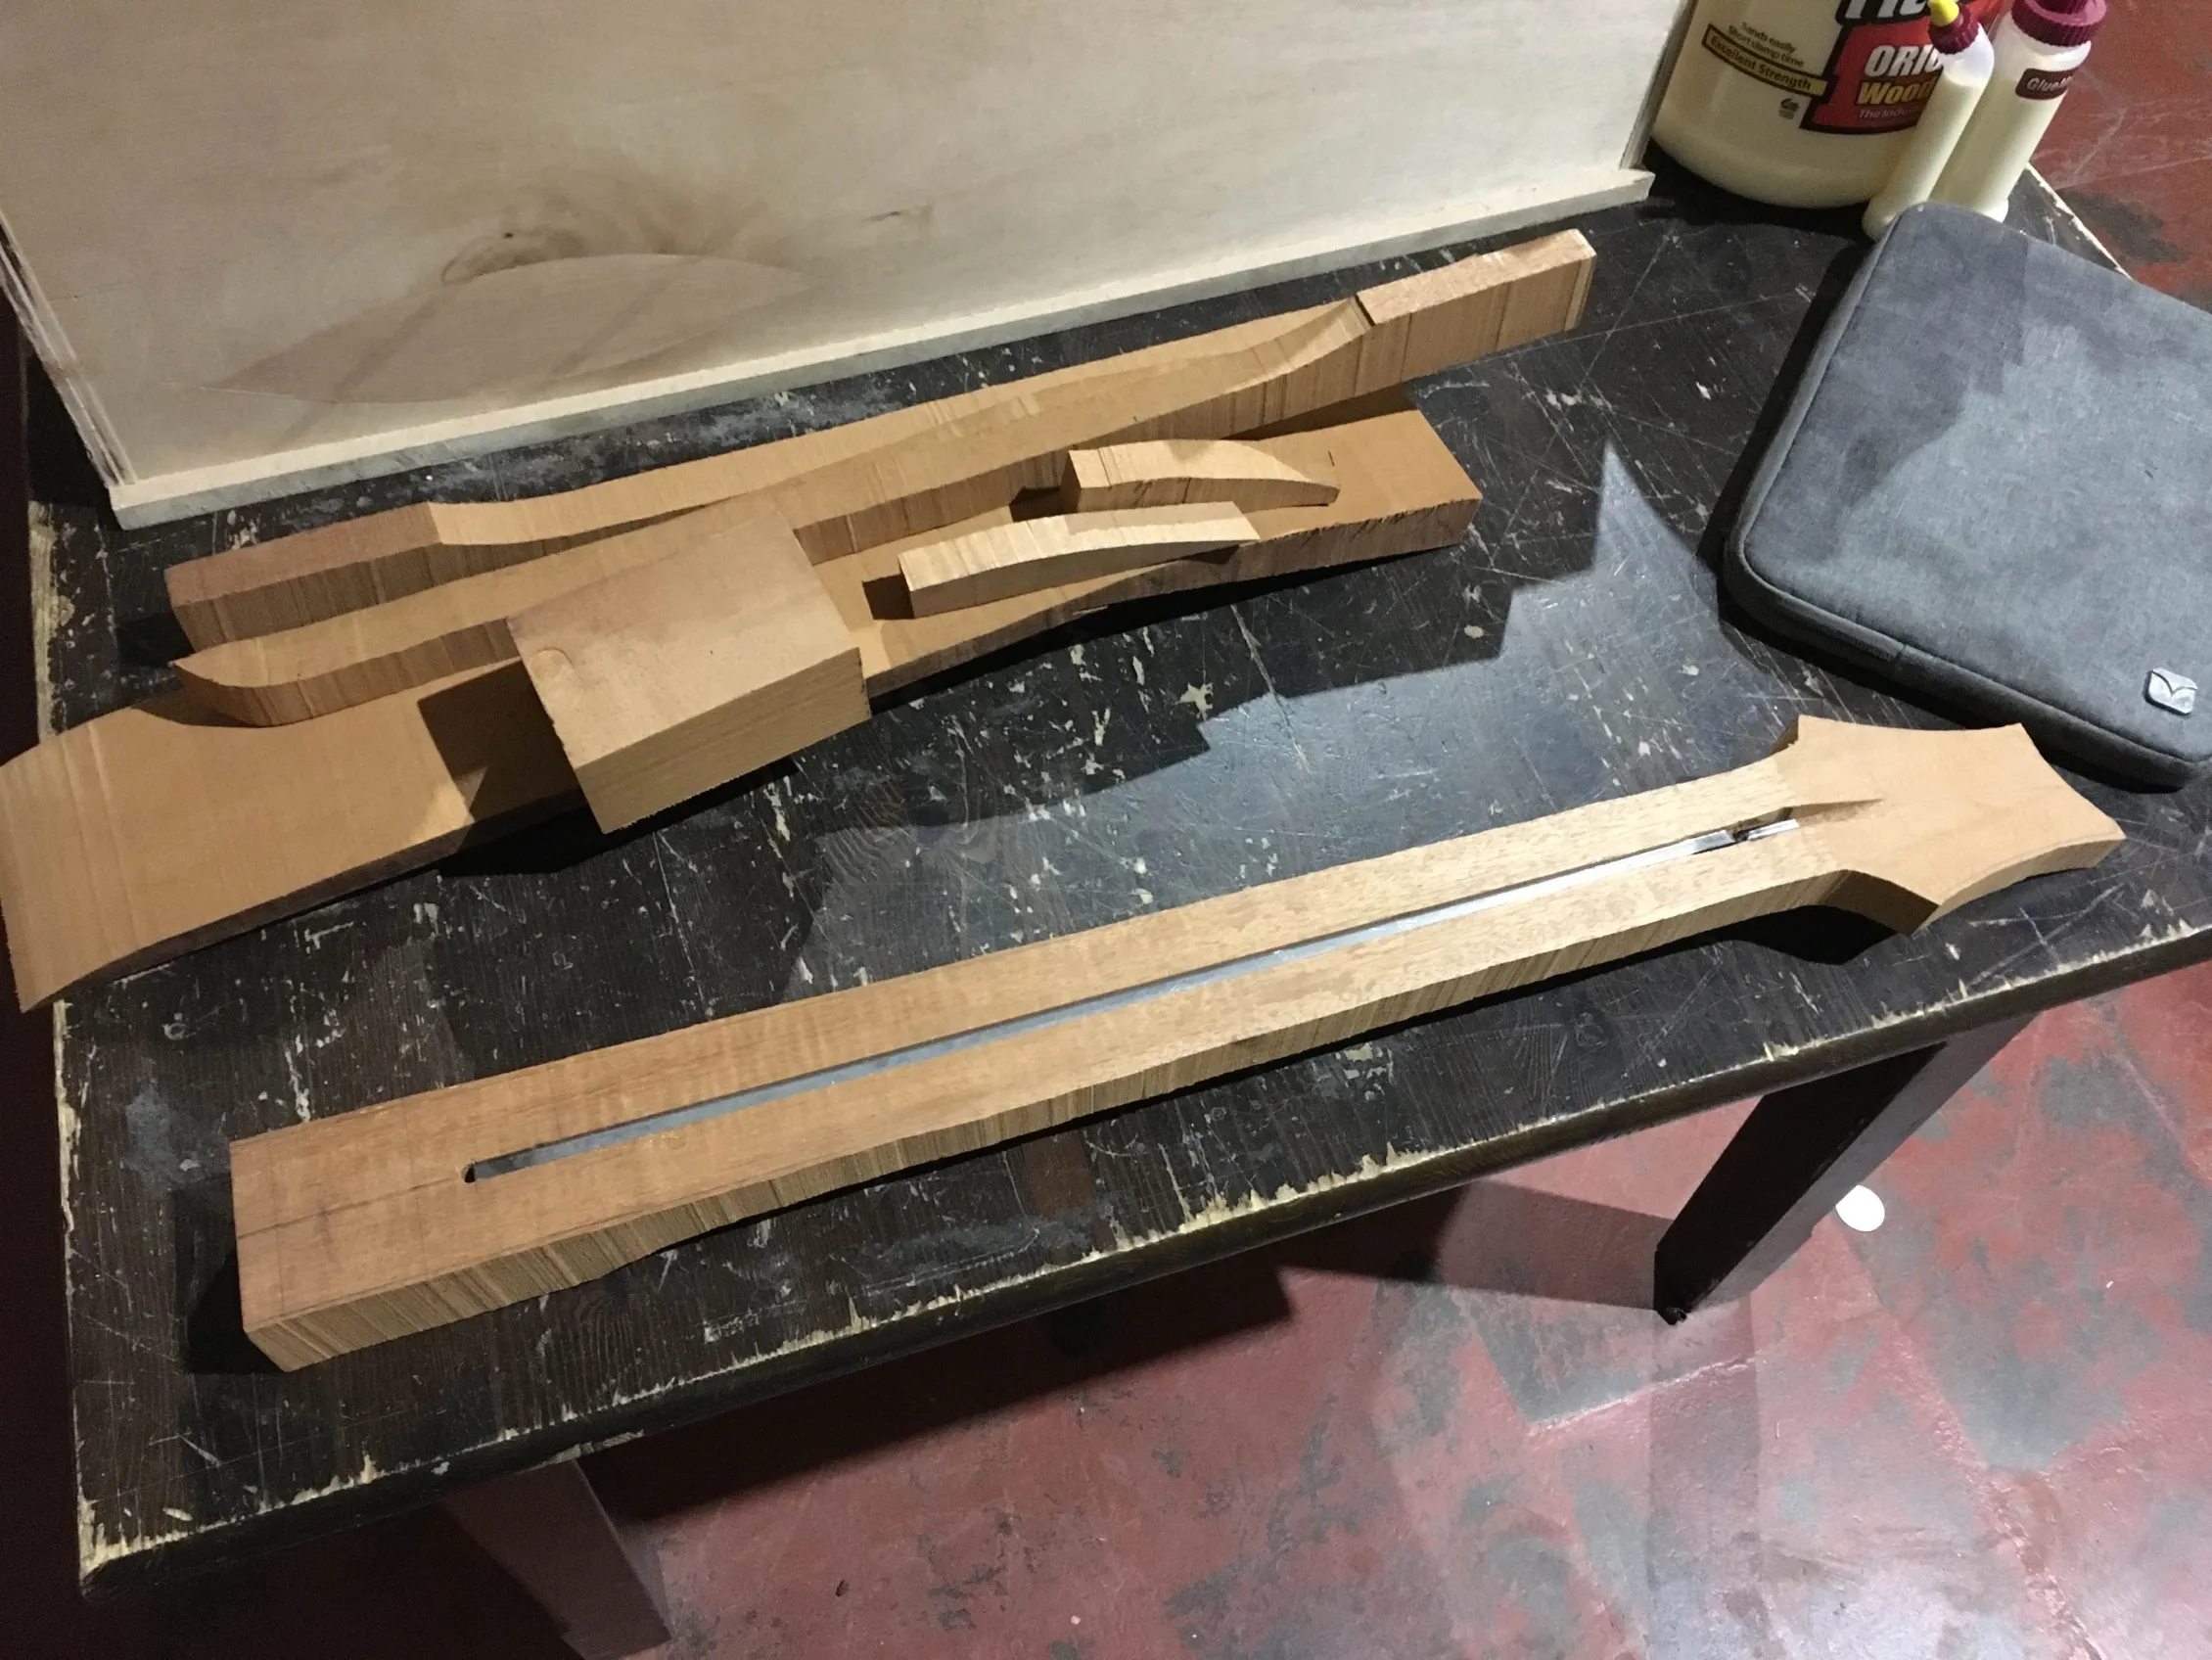
So I just got the "Cut Out The Neck" stage done
But at least now it's starting to look and feel like a guitar neck, rather than a rather oddly shaped lump of wood!
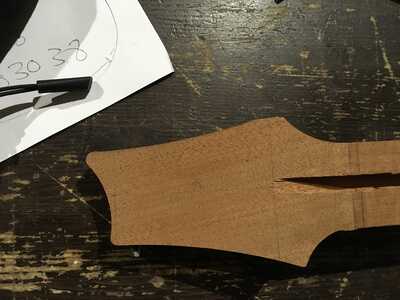
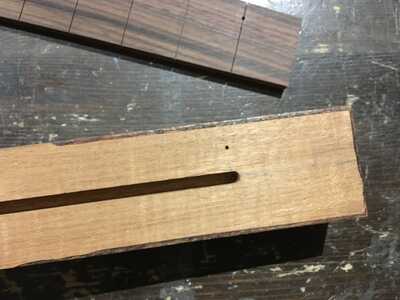
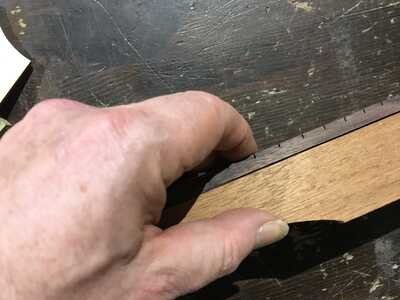
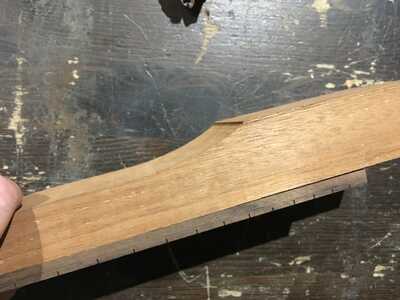
Failure 2, somehow when I was trying to route the deeper part of the neck sides (longer than my cutter so I had to take the template off) I managed to set things so the collet wound up rubbing. I knew something wasn’t right, but it was only when I turned the neck over that I realised. (We have a router table, so the neck was template side down)
Anyone have any thoughts on how best to deal with these issues? I guess slightly modifying the headstock shape is the best thing for issue 1
Hi @jonhodgson
Love seeing progress photos and the story behind them. I wish I had access to the range of tools you have!
As someone that's had chipout and had the collet robbing issue before, I feel your pain.
I'm sure others will have their thoughts, but as a starter here my thoughts.
Headstock. Assuming you've lost the chips and so can't glue them back in, your could either reshape your headstock design or glue another bit on and use your original design (a bit like the headstock 'ears')
Neck, I think there's a few options. Planning the top surface down might be an option. You could fill the gap with sawdust and glue or perhaps install binding? If the fretboard was still flat, I'd go down the binding route
Mistakes will always happen. For me a big part of guitar building is how you correct your errors and what you learn each time.
Looking forward to see how you proceed!
@jonhodgson Totally agree with Dan's comments and would just like to add that routing the headstock shape can be tricky, maybe better to cut close to your template lines on the bandsaw then use belt sander and/or bobbin sander (if you have them) to finish to near the final shape. some of the final shaping can also be done during the neck carve and final blending in of the neck volute to the headstock. Regarding your router tearout problems, if you check out the Guitar Building Tricks and Tips forum and look out for the Ambrosia Maple - Tearout City post you might see some useful info on the subject in the posts from Chris, Dan and myself among others. enjoy the rest of the build, looking forward to seeing your progress.
All the Best👍😊🎸t,
Brian
To avoid breakout I no longer route the headstock profile and use the method described by Brian here...
I think I would try sanding/scraping the top face of the neck to remove the marks left by the collet. Just check the slot is going to be deep enough first - otherwise just continue as normal take it on the chin and fill any gaps later. If you choose this 2nd option make sure to clean up the glue squeezeout extra carefully when you attach the fretboard or the gap will fill with glue which will be very hard to remove.
Measure twice, cut once...


