Good afternoon!
So far I have only built set neck guitars
I think the next build will have a bolt-on fenderish style neck. I'm going to use maple with rosewood fretboard.
Now to the questions:
How do you guys build your bolt-on necks? Single or double action truss rod?
Adjustment in the heel or headstock end?
Pros and cons with the truss rod placement?
Hey @swepri, I've not made any bit on necks yet, but I've set up quite a few guitars with bolt on necks.
The vintage approach is to have the adjustment in the heel. Fender later changed it to the headstock.
While the vintage style leaves a cleaner looking headstock, it means to adjust the truss you need to pop off the neck, retune to pitch, measure and (most likely) adjust again by taking the neck off again. It can be a little frustrating and adjustment at the headstock is just more straightforward.
Having said that, all my Fenders have vintage style necks...🤦🏻🤣
Dan
@liebe Thanks. Yes, there is some struggle with adjusting the heel position. All my Fenders have the adjustment in the headstock and I suspect the newest one have dual action, but I have not verified it (have not needed adjustment since I bought it). Are all the truss rods single action on your necks, or are there dual action rods too?
I have watched the live video where Mark makes a one piece maple neck, and he manufacture the truss rod himself and a curved groove in the neck for it. But I don't think that is the best way to do it with a glued fretboard.
Mine are all one way.
I've not watched that video yet. The truss rod recommended for the Bandsman build is a slimline 2 way and that fits into a neck with glued fretboard without issue, if that helps.
@liebe Yes, I have used the slim dual action rods on my builds, but they all have angled headstocks and a "natural" access under the nut. It seems a bit harder to make the adjustment access look good at the radiused part of the neck/fretboard joint at the headstock.
I do my heel about 20mm deep, measured from bottom of fretboard. I've done pockets 65mm and longer, no issues so far. When doing the pocket for the neck I don't go full depth, I leave the neck high so I can check the height at the bridge first then skim a little deeper if need be.
Always dual action trussrod, there's no reason not to really and it means if you have back bow you can straighten the neck for levelling and crowning frets.
If using a floyd then heel adjustment is best but use a spoke wheel, no need to take the neck off. If doing a hard tail then generally always headstock end adjust.
Back to the 20mm heel, I like 20mm heel then I'll do my carve so the body is 20mm or so. I get 38mm screws from axesrus and screw ferrules to allow freedom of placement and comfort.
Yes buddy, the retainer bar for the strings to be exact. I have to remove the retainer bar to remove the cover to get access to the trussrod. Lesson learned so now it's spoke wheel for floyds lol.
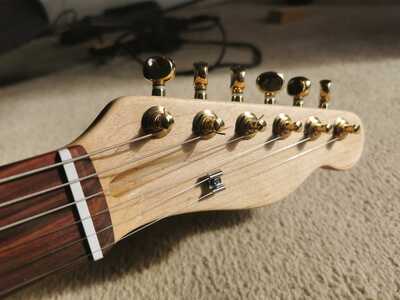
@swepri If you are thinking of doing a parallel headstock, Fender style, then you can do the truss rod either end. I’ve always done it at the headstock end but I’ve recently bought some dual action truss rods with the spoke wheel on so I can try it at the heal end, as Neil @nsj has suggested. I have yet to do this so I can’t comment further.
However, this is my method for making a parallel neck.
I would make life easy for yourself and buy a set of routing templates.
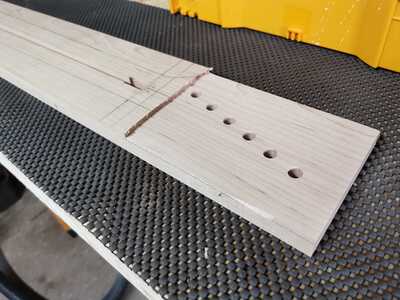
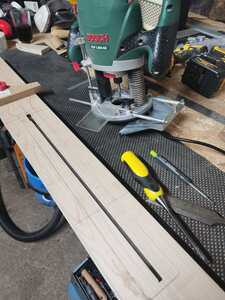
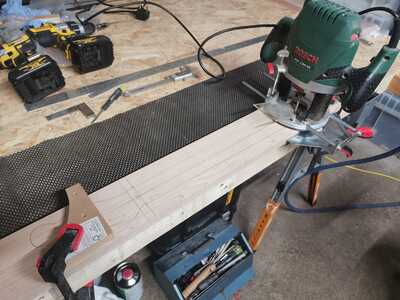
Mark out your neck blank and route the truss rod channel first. Then drill your tuner holes before routing the headstock to the correct thickness, + 1/2 a mil. Obviously to do this you can put the neck blank in your flat routing jig instead of the angled one.
Make guitars, not war 🌍✌️🎸
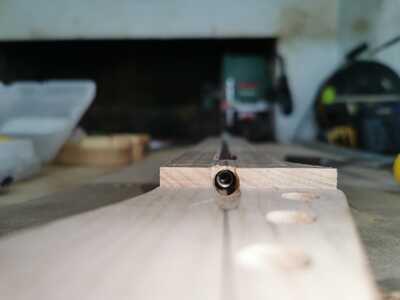
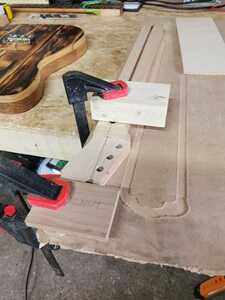
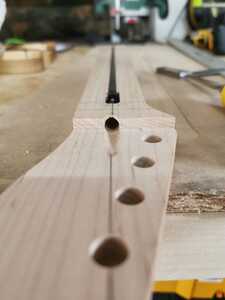
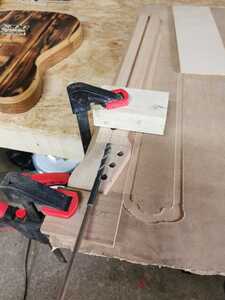
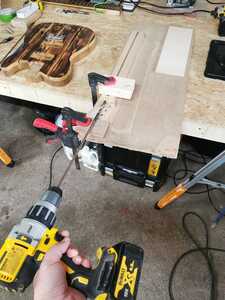
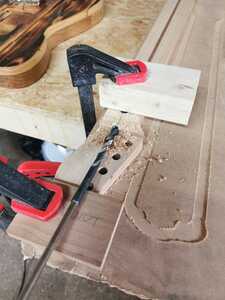
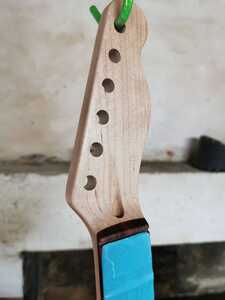
@swepri After that I drill the truss rod access hole, using a very long drill bit, it’s easier this way as it’s almost like lining up a shot in a game of pool or snooker. Clamp the neck down to the workbench and clamp a bit of wood the end of the headstock as a guide the rest the drill bit on. As the headstock has been routed down to the right depth, it’s left a big shoulder to put the tip of the drill bit against. Line it up with the truss rod slot and take your shot! Be careful the drill bit doesn’t wander as you are drilling, keep watching it and feeling it.
Make guitars, not war 🌍✌️🎸
That’s right, it isn’t that different really. Although there is one more thing I’ll show you about the headstock.
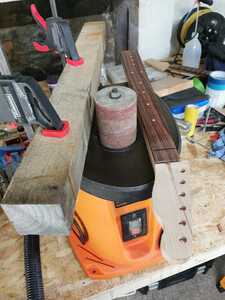
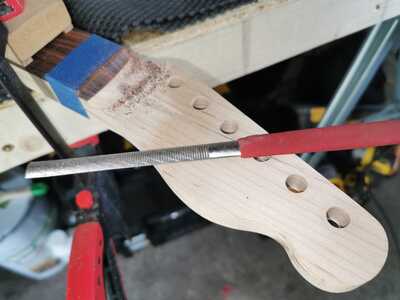
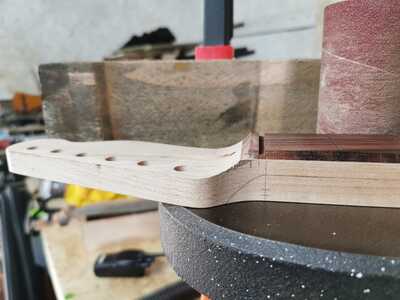
@swepri If you have a bobbin sander, clamp a straight piece of wood to it so you can rest the neck against it. This will be to remove that lump of woods (neck and fretboard) and crest that curved transition. I usually take a lot of it off with a file first and then take it to the bobbin sander. Feed it into the bobbin sander very carefully and take a look every so often to see if it’s ok. When you think it looks right, that’s it, done. I clean up the curve a bit with files and sand papers to blend it all in better.
Have fun!
Make guitars, not war 🌍✌️🎸
Not sure what happened with that last post, it didn’t put the images in. I’ve just updated it.


