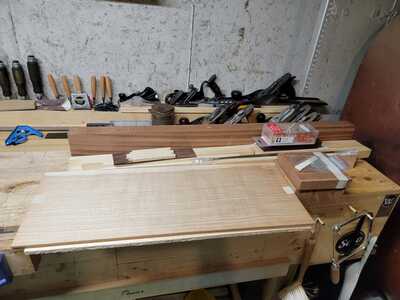
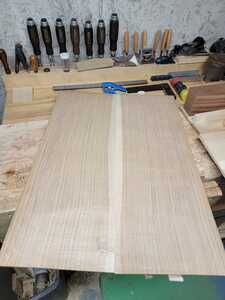
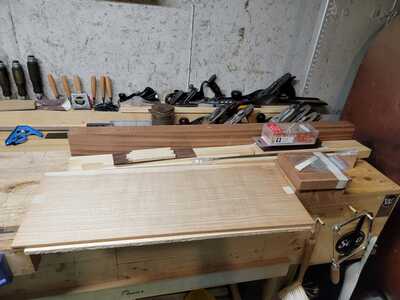
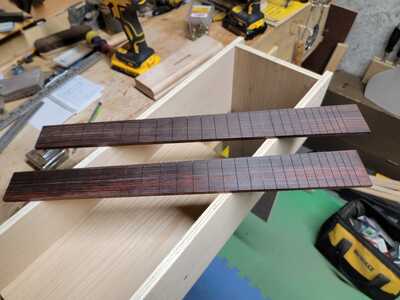
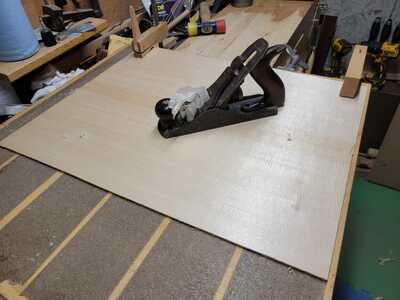
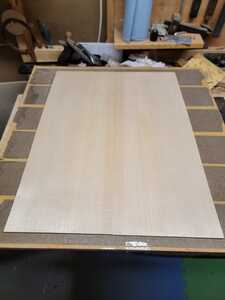
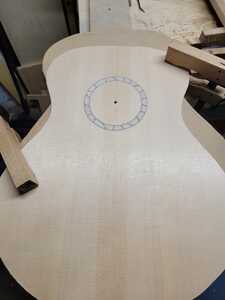
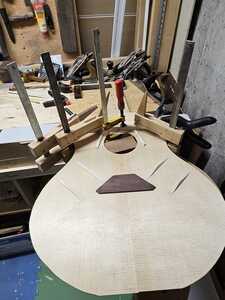
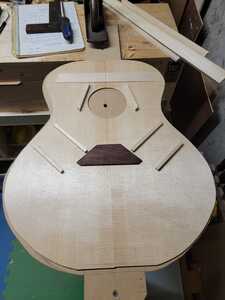
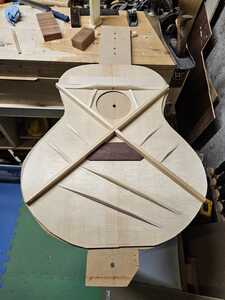
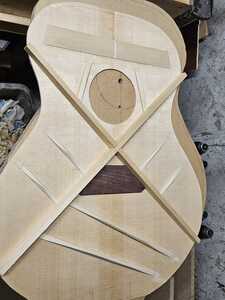
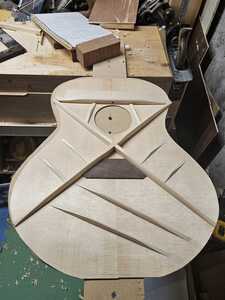
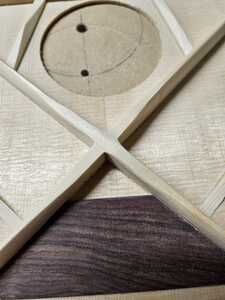
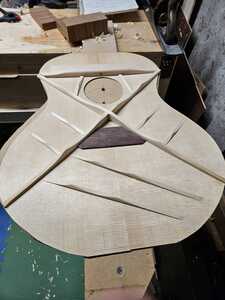
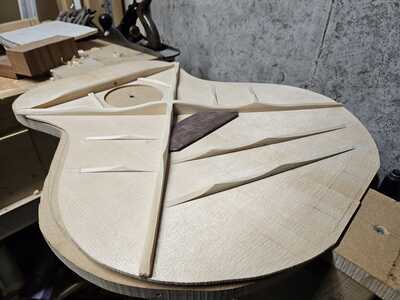
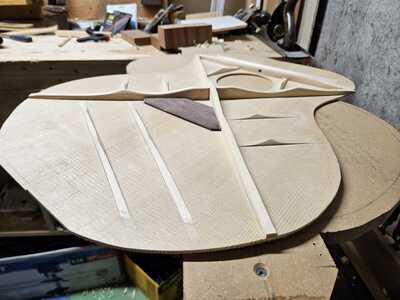
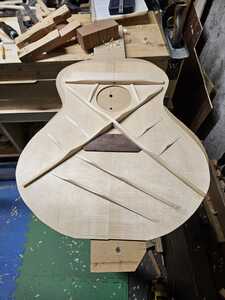
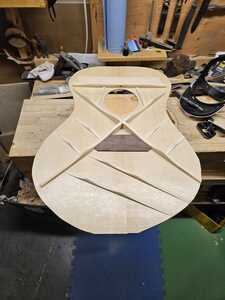
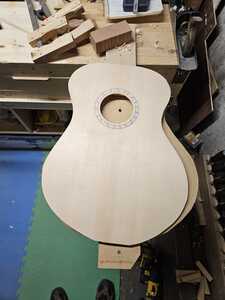
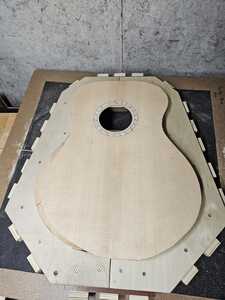
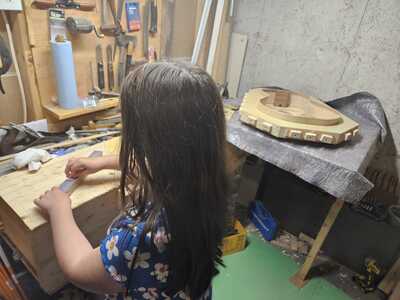
Well... I thunk it's time to start another build. I just had some parts come in. Not everything I need yet but most if it. Just want to let it sit in my shop for a bit before starting the project to let the wood get used to being on this side of Canada. I picked up some pretty cool Japanese walnut and Sitka Spruce top. I'm thinking on doing a remake of my first guitar size, so the bailey one from the course, but better since I've done a couple. I will, of course, be putting the arm bevel in (I really like the look and feel of it). Hopefully this build goes better than the last one. 🙂
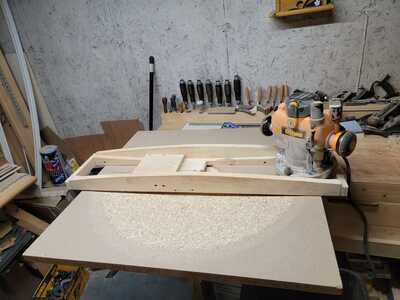
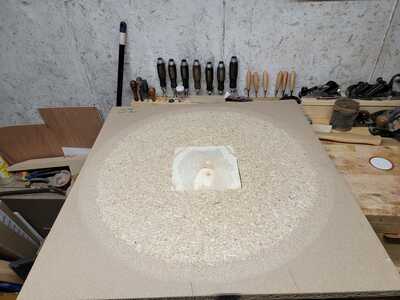
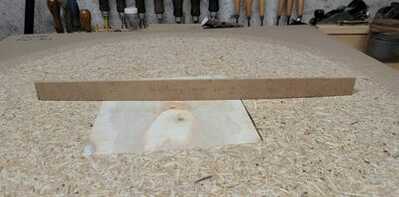
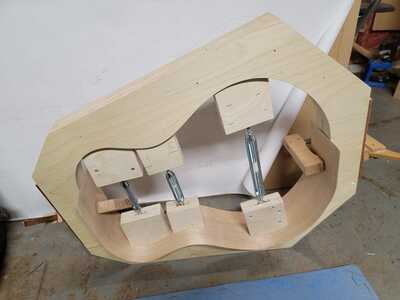
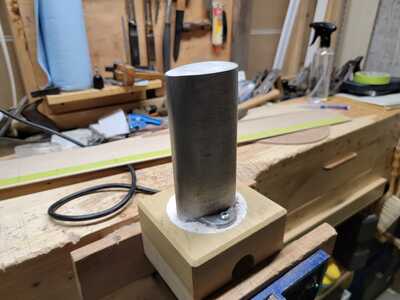
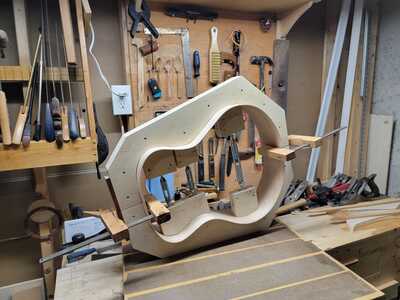
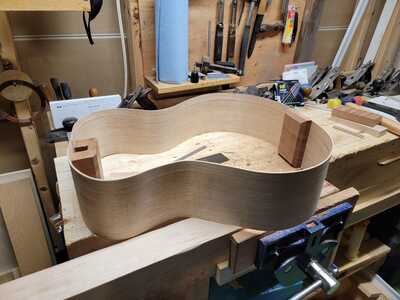
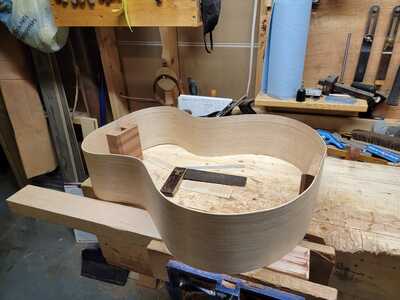
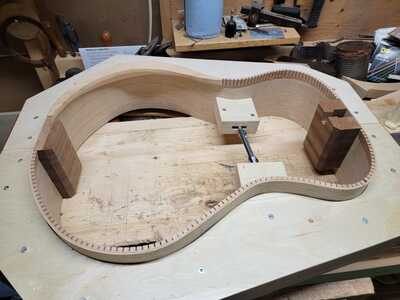
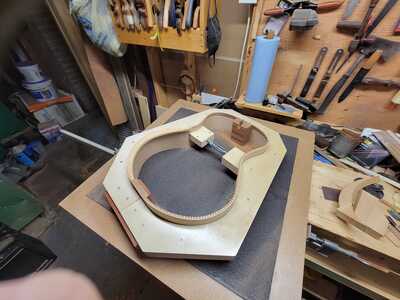
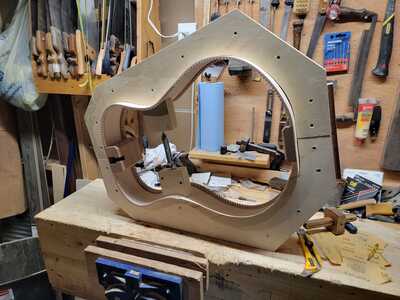
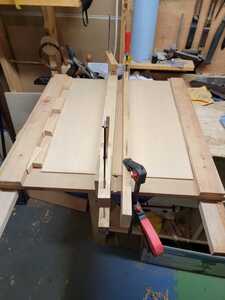
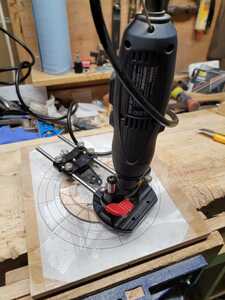
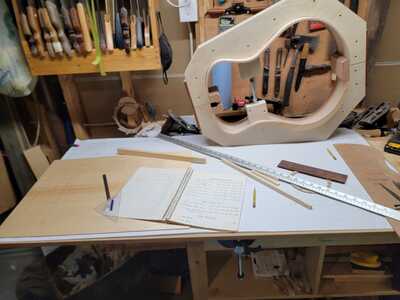
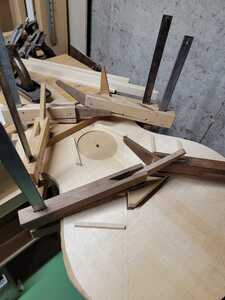
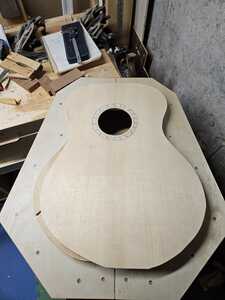
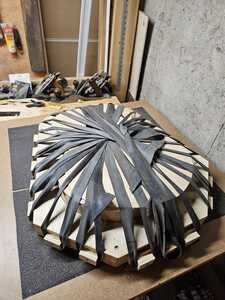
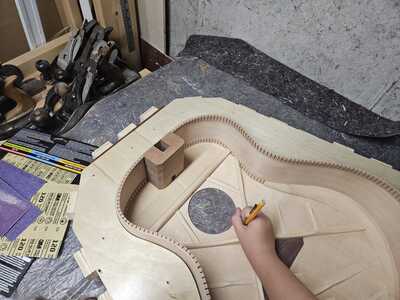
Now to just get a couple more jigs built before starting the build. Today I just finished a radius dish for the front ( I already made one for the back) and I want to make an outside mold for the guitar shape to hold the side. Shouldn't be an issue. 🙂
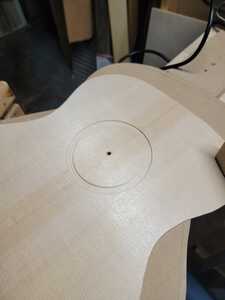
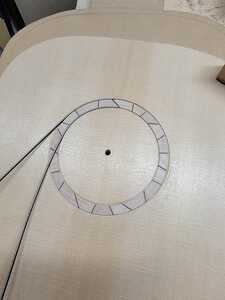
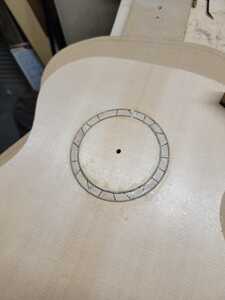
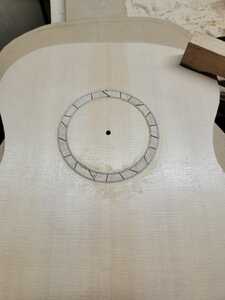
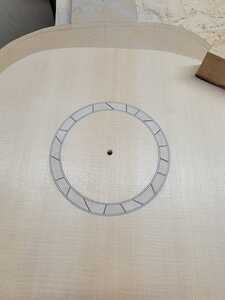
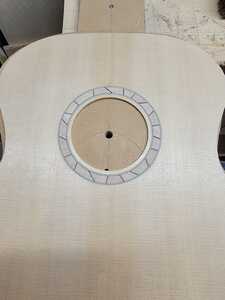
Here are a couple teaser pics.
@poco7 It was not from a plan. I actually just used the radius template that I made on the course and copied the arch on the long rails. I just cobbled the rest of the jig together from scraps. As long as the bottom spanned the entire surface then I knew it would work. And I did disassemble the jig from when I used it on the back radius plate. Just remade the rails and stuck everything back together. Worked out great and checked it with the radius jigs from the course and it seems to be bang on... or at least close enough for me. 🙂
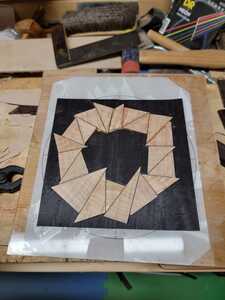
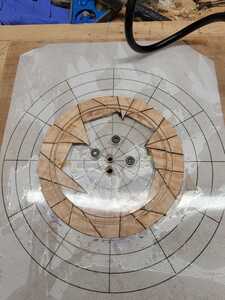
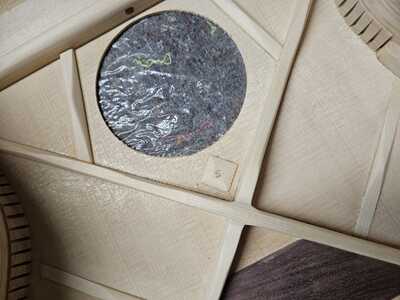
Also the substrate I'm using is recycled material from a printing press in town here. That is the end caps of their plastic rolls that they just toss out. I needed to fill the hole in the middle but I don't mind that if I get free stuff to build with. 🙂
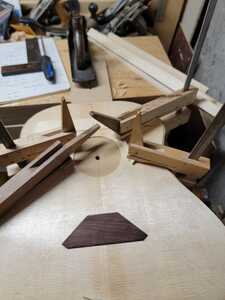
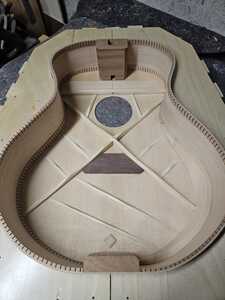
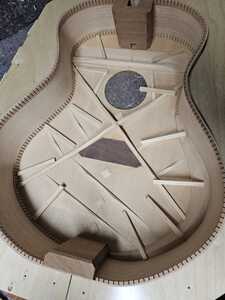
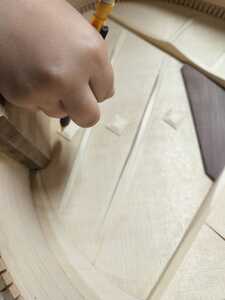
ok... It seems like this build is taking a long time but I'm enjoying the relaxed pace. Here are a few more progress pics. I didn't like the carve on one of the braces (upper face brace) so I removed it and glued a new one on. I'm much happier about this one. Also went a little off script on the brace carve. I think it should be good. We will find out later.
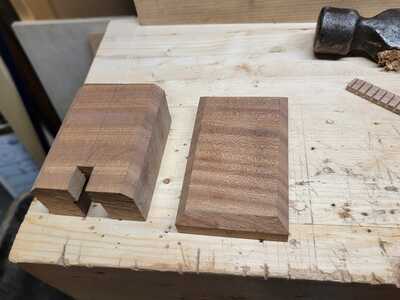
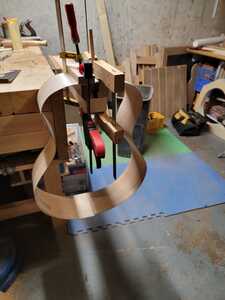
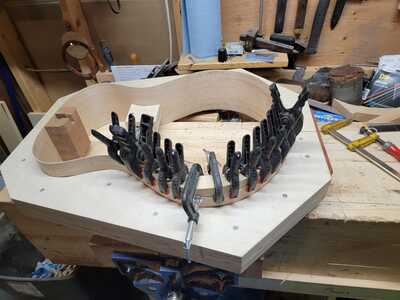
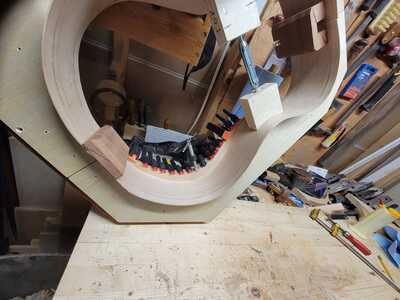
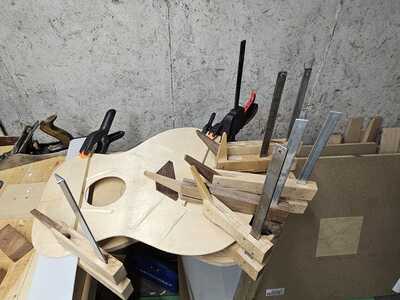
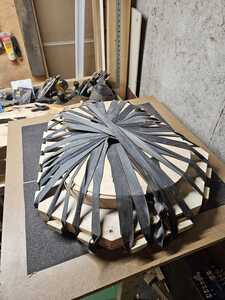
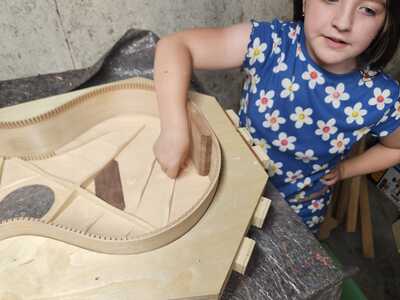
It is always a bit of a "pucker factor" moment when you have everything the way you want and then chop off a part to make the arm bevel. Looks a little wonky until you glue it onto the sides. Then needed to come up with a way to clamp it down. I think this worked. 🙂
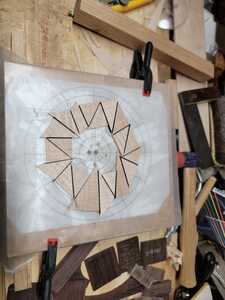
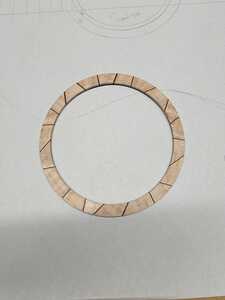
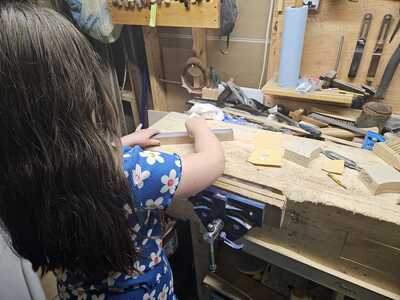
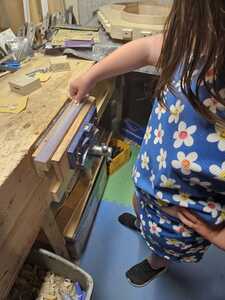
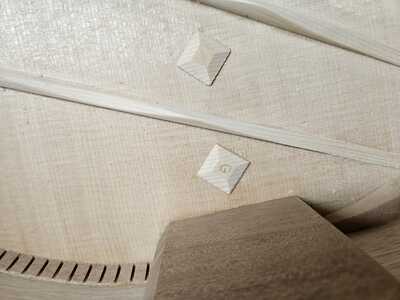
Next was clean up the glue squeeze out and start making some center seam diamonds. Just like all my other guitars I enlisted the help from my daughter. I love getting her involved. You never know... she may become the next great guitar builder. 🙂
The ones she fully does has her initial on them... "G"
That all looks great, I really need to be getting on with my acoustic build, seeing this is helping to spur me on. I like the way you're getting your daughter involved, my daughter gave me a guitarmaking.co.uk gift voucher for my birthday recently, so I'll be renewing my membership and getting back onto the acoustic course.
@robin That sounds fantastic. I know my daughter absolutely loves getting involved with the build. She talks about her diamonds all the time. Also.... acoustics are wayyyyyyyy better than electric guitars. Get at er and post some progress pics. Maybe a little quicker than I do. 🙂


