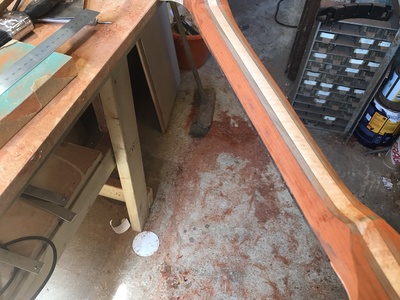
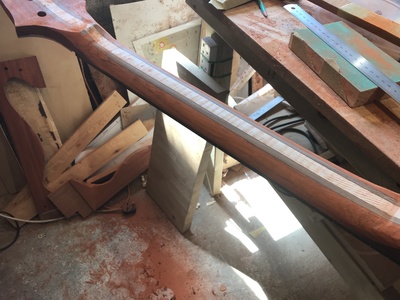
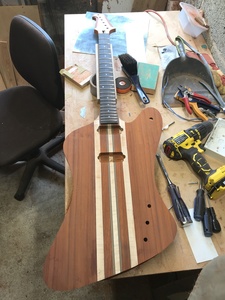
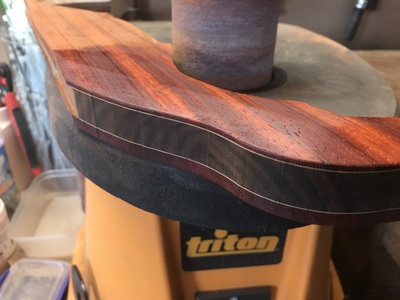
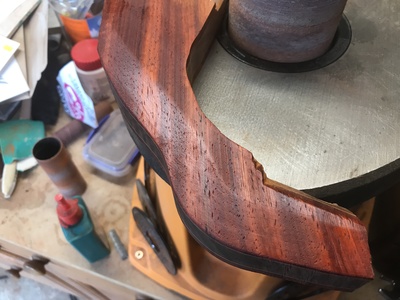
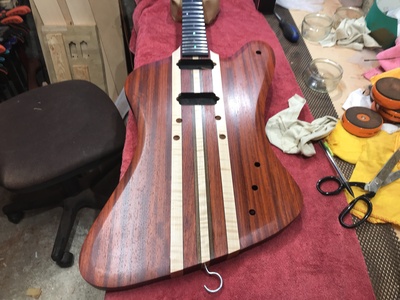
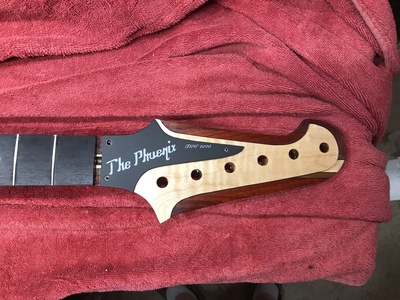
Started my neck carve - ends need sorting but middle bit feels OK - need to compare it to my other guitars...
I did make sure that I was wearing my mask - went in after the shoe shine bit and you could see where the mask wasn’t......
This is my fourth neck carve and I think it is probably one of the best bits of a build along with the first strum and putting oil on the wood...
Measure once........ Measure again......... Sod it - make tea!
Nummy num! I could eat that! ?
Measure twice, cut once...
That's a lot of helpful detail on the build.
I keep thinking that I should try a thru-neck sometime - I guess the cigar box guitar that I actually built in the shape of a firebird a few weeks back doesn't really count ...
Online guitar making courses – guitarmaking.co.uk
Cigar box Firebird looks good!
I have been thinking about sneaking in a solid Uke - possibly Explorer or Flying V shaped.....
Measure once........ Measure again......... Sod it - make tea!
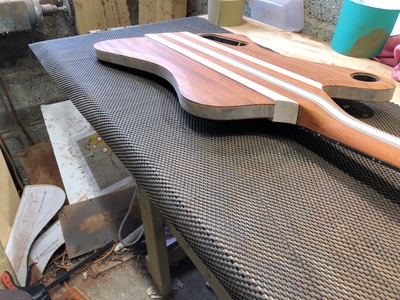
Back to the edges of the wings.....
My experiments had all gone through the Ash veneer into the Walnut - they looked OK but it was difficult to get a really clean line from the Ash - see earlier post.
Thought about just chamfering the Padauk - cutting down to 2mm from the Ash and trying to have a sharp edge where the slope starts.
Think that it will look nice and clean......
Measure once........ Measure again......... Sod it - make tea!
Try to get it the same all the way round - looks ACE! Making me hungry...
Measure twice, cut once...
Cheers Mark!
Getting it even will be the challenge - will put a pencil lines to carve to and keep the facet flat......
Measure once........ Measure again......... Sod it - make tea!
Hi Bill
Shallow chamfers through multiple layers are always going to look a bit odd, mainly because they expose a significant width of glue line. Better to stick what seems like your final plan and just machine part way through the padouk, keeping the other layers as an edge detail. Looks awesome by the way.
Darren
Cheers Darren!
Measure once........ Measure again......... Sod it - make tea!
I'm quietly watching from the back ... waiting patiently (ish) for more progress updates!
Online guitar making courses – guitarmaking.co.uk
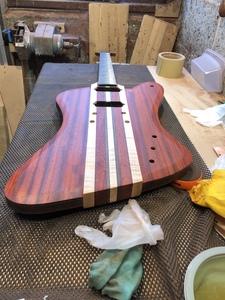
The chamfers have been cut, managed to get a sharp(ish) line where the chamfer starts, need to spend another couple of sessions getting it all even.
I need to mark up, check, check, check and drill holes for bridge and tailpiece/trem.
Measure once........ Measure again......... Sod it - make tea!
@tv1010101 Sorry to be moving a bit more slowly - getting the bridge in the right place means that I have got to be brave and get the holes drilled - I checked yesterday and I think the body angle is right when I ran a straight edge down the frets to the bridge position and there is a small distance from the top of bridge to ruler.
Will hope to get the bridge and tailpiece holes drilled on Sunday!
Measure once........ Measure again......... Sod it - make tea!
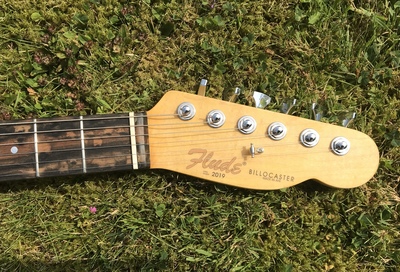
I designed a truss rod cover transfer - more correctly I sketched out my idea and sent it to the chap I found on eBay who did the transfer for my Tele that I built with Mark June 2019.
The chap’s eBay name is nickg21285. I sent him my idea and a trace of the cover on squared paper and a rough sketch - he sent a first design within a day, I tweaked it and he did a final design.
Measure once........ Measure again......... Sod it - make tea!
I need to drill to position the tune-a-magic bridge and tail piece.
From the design course - mark scale line then go a further 3mm on bass side - join those and mark for holes?
How much room from the bridge to tail piece?
Measure once........ Measure again......... Sod it - make tea!
Went back to the Electric Course - 1.5mm on treble and 4.5m on bass side - holes now drilled and holes for tailpiece.
I invested in Famag brad point drill bits after the cheapy i bought ripped a bit out on the Bandsman - they are lovely...
Measure once........ Measure again......... Sod it - make tea!
Sanding finished....
Spent a whole shaping then sanding - did 80, 120, 150, 240 and 320 grit using my lovely Mirka Deros random sander and by hand - took a while but nice and smooth.....
First coat of Liberon finishing has gone on
Measure once........ Measure again......... Sod it - make tea!
🗝️ "Life's what you make it"🗝️
Measure once........ Measure again......... Sod it - make tea!
My truss rod cover is a piece of 2.5mm black plastic with a water slide decal. The silver lettering of the decal doesn’t ‘shine’ but the letters are the ‘Gibson’ font and just about the right size.....
If I got Small Wonder to cut an inlay for ‘The Phoenix’ or just ‘Phoenix’ would an Ebony truss rod cover 2.5mm thick stay flat and be thick enough to put an inlay into?
All I have to do then is to learn how to cut a recess for the inlay....
I can use the plastic one until I get it right! ?
Measure once........ Measure again......... Sod it - make tea!


