Having attended 2 of Mark's workshop courses around the year 2000, being thrilled with the process and the products, I never dreamed that I could build a guitar at home.
When I retired I stumbled across my local Axminister tool shop and enjoyed looking at bandsaws and routers, remembering the heady days in the barn. I purchased a router to make picture frames...
Then they did a guitar building demonstration and I began thinking...
Then I stumbled across Ben Crowe's (Crimson Guitars) excellent guitar building Youtube videos (I still watch all their prolific output now)...
I had kinda kept an eye on what Mr Bailey had been doing over the years and then he announced his online courses and I took the plunge.
I visited Touchstone in Reigate and came away with a plank of bird's eye maple and 2 block of mahogany and some other bits and pieces and so I began...
I worked through Mark's design course. I decided to make a mirror image of the first guitar I made at the Bailey workshop course - why not (apart from the fact that the frets at the dusty end would be unaccessible)?
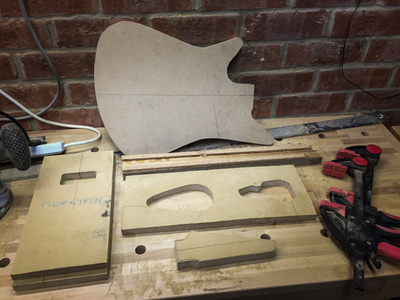
Here is the original (based on Albert lee's signature mode) and my new drawing. This new project took on the working title of TREBLA (being ALBERT) backwards.
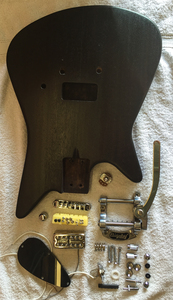
You will note the hardware was to include a single Gretsch Filtertron, Bigsby "tremelo" unit and a roller bridge.
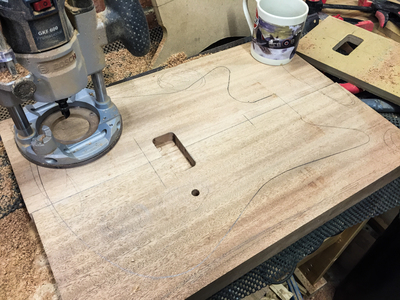
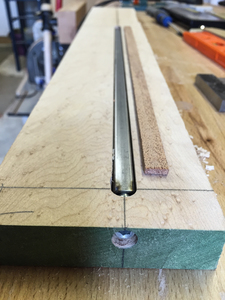
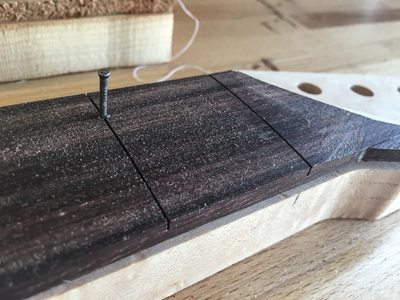
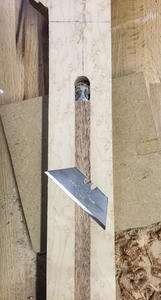
I routed the truss-rod slot after practising on a scrap of wood - I got it slightly off the centre line unfortunately. This contributed to a problem later on...
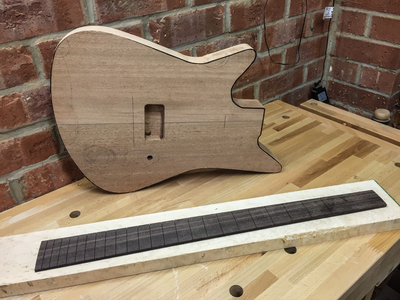
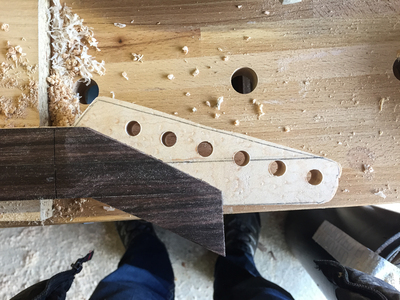
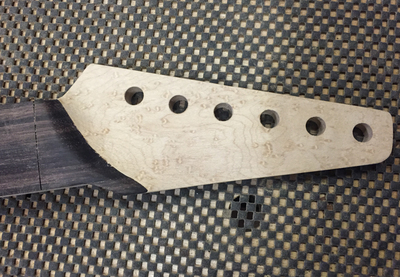
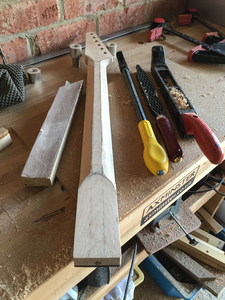
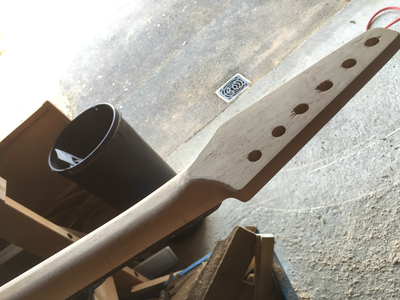
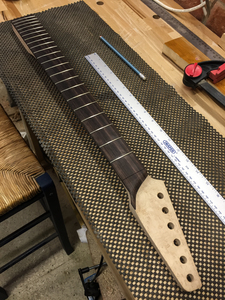
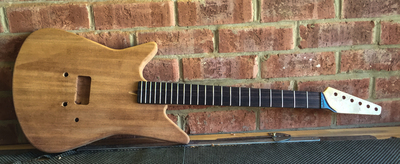
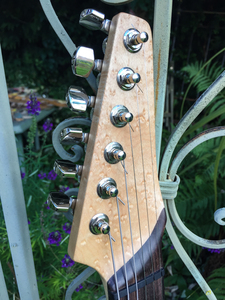
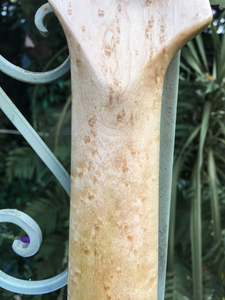
The neck and headstock routed to rough shape using a template to match the fingerboard. I glued an extension onto the board at the headstock end in order to achieve that unusual ebony scarf running onto the headstock. Then I thickness the headstock.
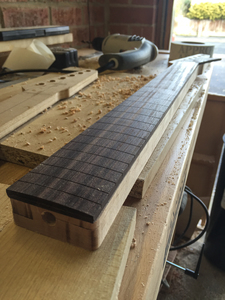
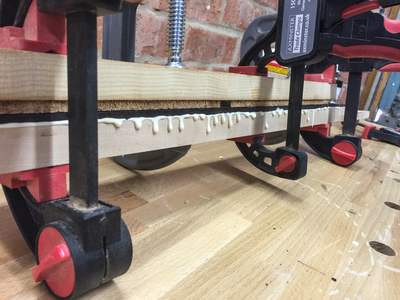
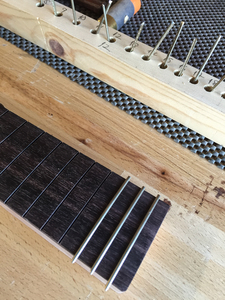
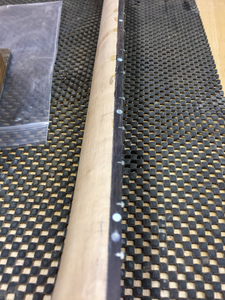
The truss-rod fillet and the face of the neck was levelled and the fingerboard located, glued and clamped.
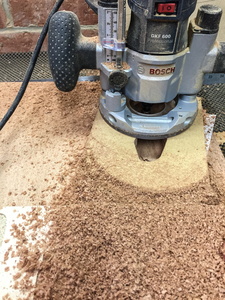
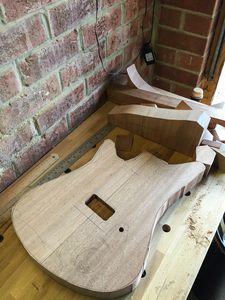
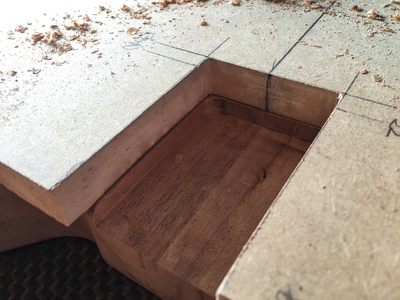
Next was routing the neck pocket using a template and checking the fit of the neck.
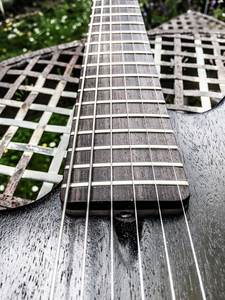
During the final sanding of the neck a line began to appear and with a sinking feeling in the guts I became convinced that I'd sanded down to the truss-rod. I sent to neck to Mark who agreed, flooded it with CA glue and had Billy spray it for strength and resilience. I include before and after photos. Beautiful job, saved the day - today you'd never know!
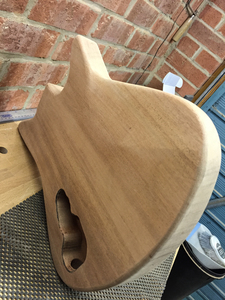
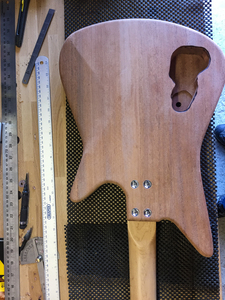
The neck was attached to the body.
And finally...
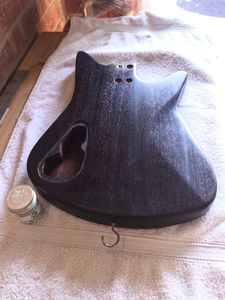
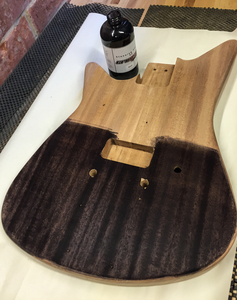
The body was stained with Crimson Guitar's black water-based Stunning Stains. This resulted in a dark plum colour over the mahogany. Liberal coats of Crimson Guitars Finishing Oil were applied rubbing each coat back completely as it got tacky. Lastly Renaissance Wax was rubbed in.
Then came the great day when the instrument was assembled and set up.
I'm just so amazed that this has been possible. It's a great rock 'n' roll guitar and looks fantastic next to it's older brother.
That is a great build too Herb, I like it in black too.
I have just looked up Albert Lee and I see what you mean. I obviously hadn’t seen this design of guitar before. It’s made by Ernie Ball Music Man too. I’ve learned something new today.
Nice job.
Make guitars, not war 🌍✌️🎸


