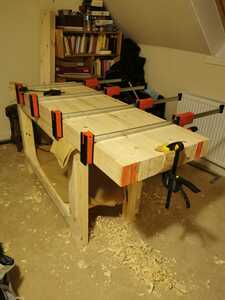
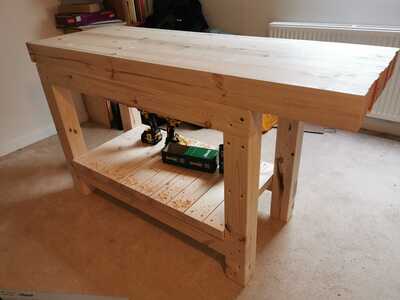
I’ve finally got completely fed up of using wonky, cobbled together, sagged in the middle, unflat so-called work benches. I’m finally building a half decent but solid woodworking bench, it’s not the best bench in the world but it will do for now. This is my indoor bench, it will reside permanently in one of the spare bedrooms, my indoor workshop.
I’ll be building many more benches when I’ve organised my workshops in my outbuildings.
I bought a load of 4x2 redwood, dressed all round, to build this bench for under £150
Also, a box (100 in box) of screws 6x80mm and a big tub of Titebond II wood glue. I decided to use Titebond II just in case I ever decide to dismantle it and rebuild it in a more outdoor environment in the future (that probably won’t happen but I can never say never).
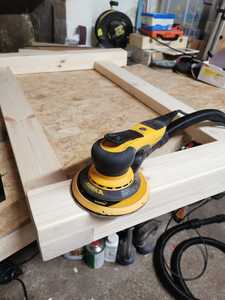
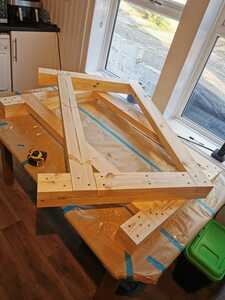
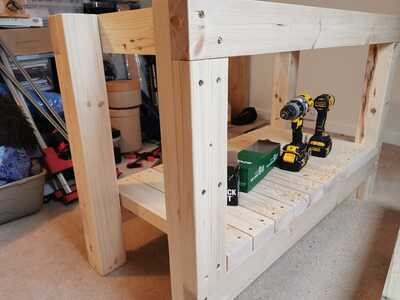
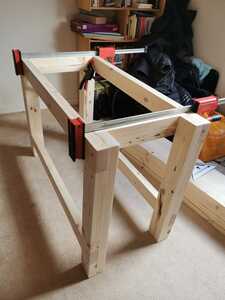
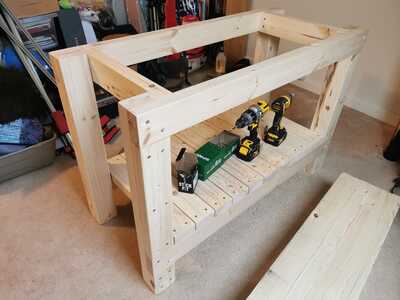
I first used my cut list to make all my cuts of various lengths. Then decided to make the front and back frames. I cut a couple of pieces to join them together at the top and the a load more to act as a bottom shelf but will also join the front and back, and give it all rigidity. I had to assemble the frames on my kitchen table, it’s the only large flat top I have at the moment. Once the frames were built and sanded, I took them upstairs.
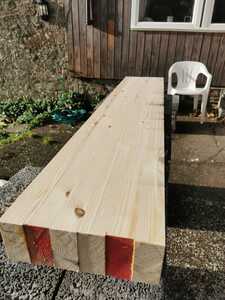
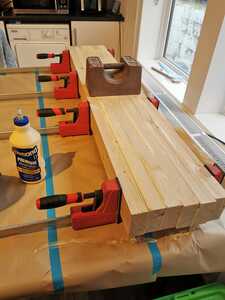
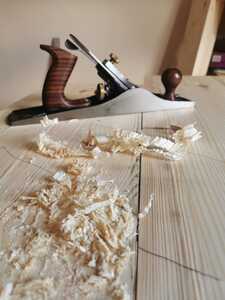
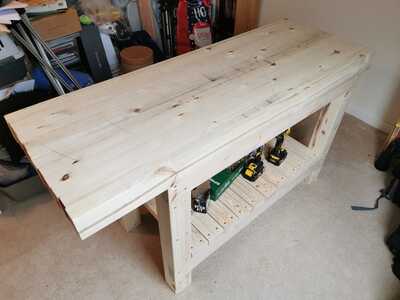
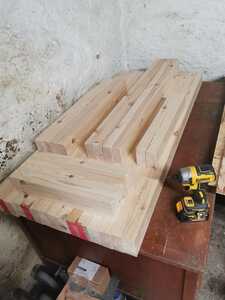
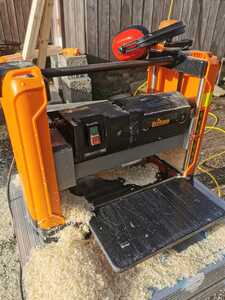
Now it was time to laminate a load of pieces together for the worktop. I decided to clamp two lots of six instead of clamping all 12 at the same time, makes it easier to carry upstairs. Once the glue had dried, I fed them through my planer/thicknesser. Now I can take both pieces upstairs to put on top of the frame. I busted out the No. 5 hand plane and got the edges flat enough to glue them together, left them in clamps overnight.
I’ll have to plane the top until it’s flat, then with the belt sander, then cut the ends off square, then with the orbital sander (going through the grades). I’ll give the whole bench a few coats of Danish Oil to finish and I’ll add a big face vice at some point. I’ll consider adding bench dog holes and other bells and whistles as and when I think I need them.
It’s my first ever proper solid bench I’ve made for myself, it’s going pretty well so far.
I think it’s essential to have a solid flat work surface when making guitars, it just makes life a lot easier.
Make guitars, not war 🌍✌️🎸
@nickkuk I’ve been considering this for some time now and I thought I would wait until I knew where in the room I was going to put the bench. If I was putting it against a wall, I would put some diagonal struts, going from the top of the front going back towards the wall. I am, however, considering having the bench in the middle of the room so I can access all sides of it, increasing its scope as a woodworking tool. In that case, I think I will attach a plywood board at either end so it adds strength in all directions.
Make guitars, not war 🌍✌️🎸
After glueing together the the two main pieces for the top, there were a couple of places where there hadn’t been a full coming together of the two faces. I could see that over time this could become a problem and come unstuck, literally. There were also a couple of areas that weren’t too aesthetically pleasing either. To get around this, I added some cherry strips about 15mm deep and cut some butterflies or bow ties to add some structural integrity, as well as looking aesthetically pleasing. I chose several different hardwoods that are in contrast to the top. I used Mahogany, Oak and Panga Panga. Most of these are off cuts from guitar builds. I’ve installed one so far and I’ll spend time this week installing the rest.
Make guitars, not war 🌍✌️🎸
Make guitars, not war 🌍✌️🎸
Used a small router to hog out the majority to the waste, then fine cut the rest out with chisels. Glued one in and left it overnight. I’ll plane it down today and sand it flush.
Make guitars, not war 🌍✌️🎸


