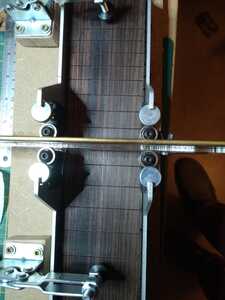
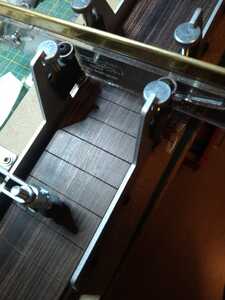
Yesterday, I did not do much, except for cutting the fretslots. Easy Peasy
Today, I made 8° sloped sides for my headstock angle jig , which originally had 12° sloped sides. Since I screwed this together, It became a modular system.
Then I routed the frontface of the headstock angle and cut the neck roughly with the bandsaw.
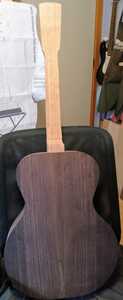
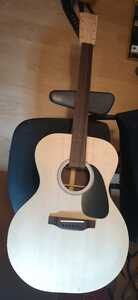
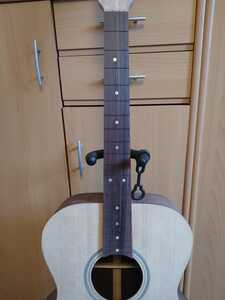
Test fitted on the guitar
Everything seems to be ok, neck is straight on the centre line, I can easily turn the bolts in and out, trussrod is reachable, etc...
I am not 100% sure on the neck angle.. In the course, Mark talks about 2mm clearance at the bridge position, mine is 2.8mm~3mm.
Do you guys think that is ok?
Anyway I still do need to make the neck a tighter fit with the sandpaper pulling trick. So if needed I can still adjust the neck angle at that time.
Notice also that the part of tenon that is visible looks really wonky. But that is only the first few mm, caused by over exaggerated curve while sanding and not paying attention.The neck sits snuggly in the pocket, it will hold, even without bolts.
If I have time tomorrow, I ll drill the pegholes and flatten the back of the headstock.
@koendb I’m sorry I can’t answer your question about the bridge clearance height as I haven’t made an acoustic guitar yet. Everything looks great though, just see what some of the acoustic guys and maybe @markbailey have to say about everything. Keep going. 👍
Make guitars, not war 🌍✌️🎸
Today I spend most of my day cleaning my room and reorganizing my tools cabinets, but did find the time to also route the fretboard to size ( well, the width, not the length yet )
Here's a mockup where I am now:
Note that the bridge is not supposed to be the one that will end up on the guitar. It is an example and a backup plan, should I not be able to make my own for some reason. 😊
That's some great neat and patient work Koen.
Looks like a nice piece of rosewood for the sides - really strong purple-ish colour?
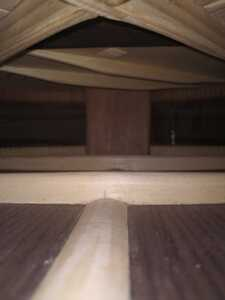
This is my favourite pic so far ...
... showing all the care and neat working inside.
How many hours do you think you've put into this build so far?
Online guitar making courses – guitarmaking.co.uk
Mark talks about 2mm clearance at the bridge position, mine is 2.8mm~3mm.
Does that just mean that your saddle would be 1mm taller?
I can't see that 1mm would make a huge difference - but then my old eyes struggle to see the 1mm marks on a ruler!
Online guitar making courses – guitarmaking.co.uk
Looks like a nice piece of rosewood for the sides - really strong purple-ish colour?
@tv101 Yes it has that purple tone in it, really dark 🤩
How many hours do you think you've put into this build so far?
Oh I really did not pay attention probably more then I think, although to my feeling I am going pretty fast 😊
I can't see that 1mm would make a huge difference - but then my old eyes struggle to see the 1mm marks on a ruler!
1mm can make huge difference when it comes down to action. But I guess we'll have to see and play a bit with the saddle and nut height.
I too, have difficulties seeing 1mm marks, especially when they are subdivided in half mm as well, then the marks are dancing in and out of focus 🙂
But to measure depth or spacing I have this nifty tapered feeler gauge.
Really handy and darn accurate. Works great when measuring string height as well.
... showing all the care and neat working inside.
Incredibly neat, clean and precise work, I’m enjoying watching you build this guitar.
@tv101 and @boo: thx guys! I hope I can repeat it in my next build ( or one of my next builds ) 🙂
There are some quick and easy methods of checking the neck angle to get the bridge height without using mm scales which are hard to read. I have a violin tool which is a ready guide but it would be fairly easy to make one for guitar. All you need is some thin sheet metal sheet or plywood with a straight edge and a 90 degree angle fixed on where the bridge position is. I can show you on the Tuesday video.
Some people call me a tool, others are less complimentary. Tools being useful things.
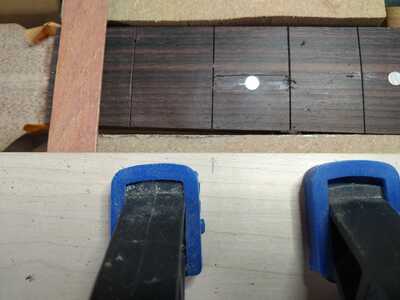
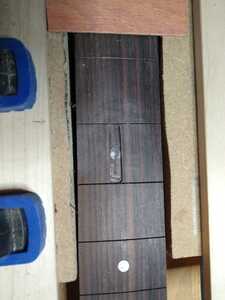
Aah maaan something always have to end up crooked .. this time it is one of the dots which I managed to completely misalign! oh well I am not going to bother fixing that.. This guitar will be called Dotty Parton. Then I have an excuse to have one dot misaligned
I DID measure twice. This was the process: measure, mark, remeasure from all sides. punch
measure again from all sides. .. put it under the drill , make sure the brad point meets the punched hole... and drill ( probably shifted at this stage )
You can measure all you want, I can still screw it up :-p
Next time, I also will leave off the dot on the last fret. It looks weird to me.
Which one is it, I’m guessing fret 3
Indeed @rocknroller912 fret3 😎
@rocknroller912 After our conversation yesterday, I decided to try and fix this dot after all.
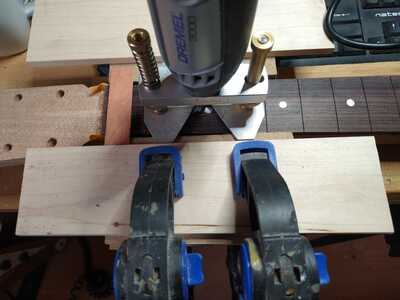
So this morning I made a jig to guide the dremel and remove a patch with the wrong placed dot.
Since I did not install the frets, I followed your recommendations and route a section from one fret to the other one.
Now I hope I can get a patch in place that matches close enough.
Which glue should I use? I would think start with titebond, and fill any leftover gaps with dust and superglue?
I do have some of that teflon stewmac fretslotdam to protect the fretslots when glueing, so I'll certainly use that
I would clamp a straight edge on and use a sharp knife to get a clean edge line. If you taper the patch slightly from to to bottom, you can trim the bottom until it’s a tight fit. If you are filling gaps push the dust in first then drop superglue in. Build up in layers if it’s deep.
Some people call me a tool, others are less complimentary. Tools being useful things.


