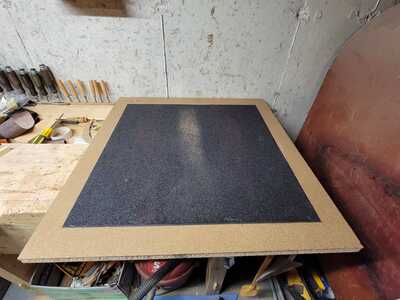
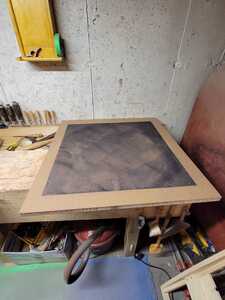
There are a lot of tools you can buy for guitar building that would break the bank if you tried to get them all. What I can not afford I try and build until I can afford to get the nice stuff.
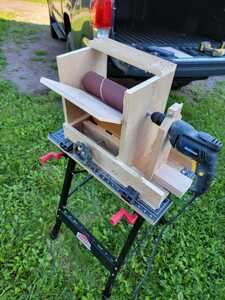
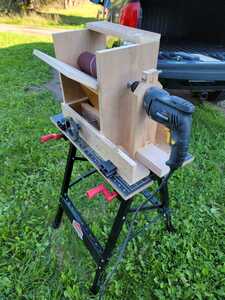
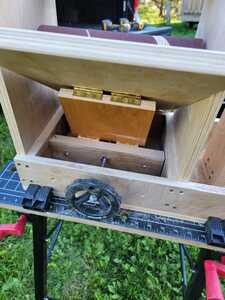
For instance.... A few people want me to make them an acoustic guitar after seeing and hearing mine so I'll be building more than I thought when I first started this journey. A thickness sander would make a few jobs a lot nicer. So far I have been using a hand plane for most and cabinet scraper/sanding block
for the crazy grain stuff. It works but it is pretty labour intensive and a little inconsistant on thickness if you are not careful. For some odd reason I can't convince my wife that a new thickness sander would be worth the money... yet. It is only around $1500.00 CAD. So... I looked around my shop and shed and found enough scraps to try and make one. And it actually works. It is not big enough for a joined front or back but now I'm thinking about making a bigger one with an old electric motor.
So... end of the day... I think I've only spent about $70.00. Not too bad. I'll just buy the stuff that I can't make first. 🙂
I like you're style @bpower , part of the fun of guitar building for me is finding a way to do it. You're next challenge is to add dust extraction to your thicknesser.
Already thought of the dust extraction @robin. If I hadn't broken my hole saw I would have done it. It will have one but for now I just could wait to try it out. 🙂
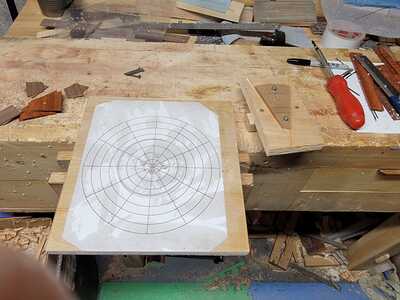
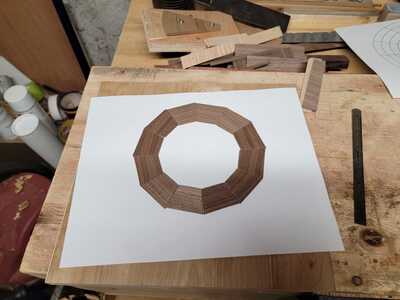
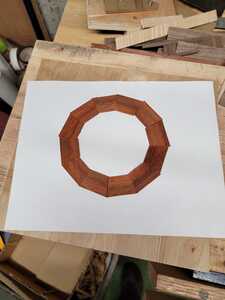
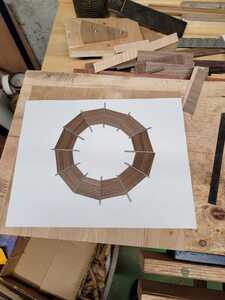
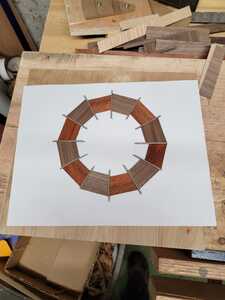
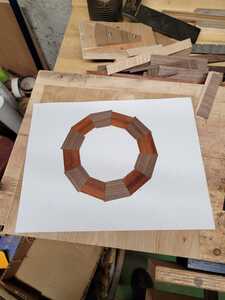
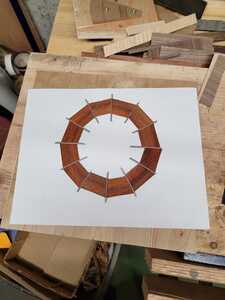
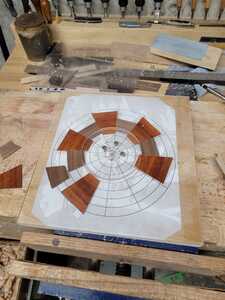
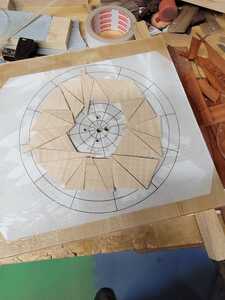
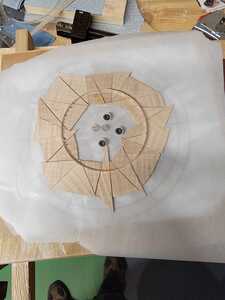
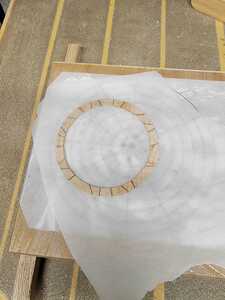
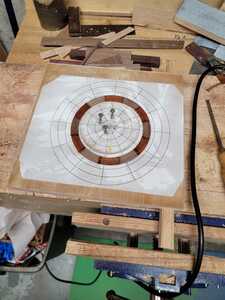
Next on my "I'm too cheap to buy it so I'll try and make it" list. A rosette clamp and jig. And then I played around with some ideas. So cool. 🙂
or maybe a chaotic pattern....
and then the two I decided to glue together and cut out....
Not sure if I am going to use them yet (I'll decide that when the time comes) but I now know the technique works and the possibilities can be endless. 🙂
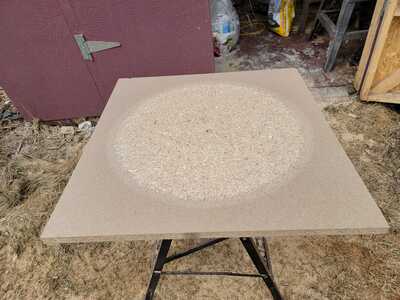
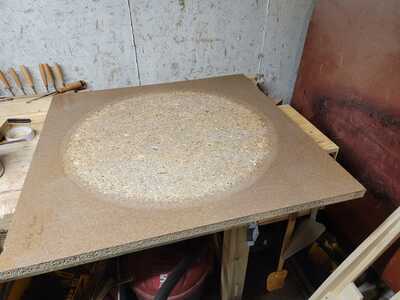
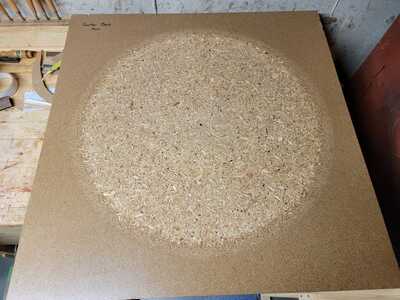
Next on my, I'm too cheap to buy it so I'll build it, tools.... A radius dish for the back of the acoustic guitar. With some scraps I had in the shed, and a little time, I made this. This tool made fitting the back soooo much easier.
I have absolutly no idea what the actual radius is. I just used the arch template from the course and made it from that. Now I just need to make one for the front and that will make the arched braces a lot more easy and consistant to produce.
. A radius dish for the back of the acoustic guitar
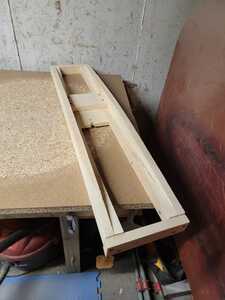
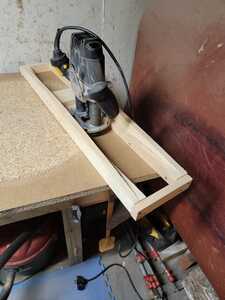
Ingenious, I'm trying to get my head around how you produce an even dish with your jig. I'm guessing its pinned in the centre somehow and you rotate a little bit after each route. But then the centre area wouldn't be routed, but it obviously is.
@robin That is exactly what I did. There was a pin in the center that I rotated on just like a circle cutting jig. I allowed the router to go as close as I dared but that did leave a little circle that I broke off by hand and sanded down to the curve. That little circle supported the middle of the jig for the entire cut so it couldn't sag so it was helpful.


