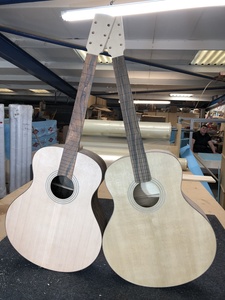
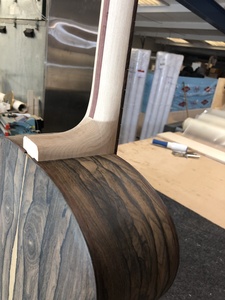
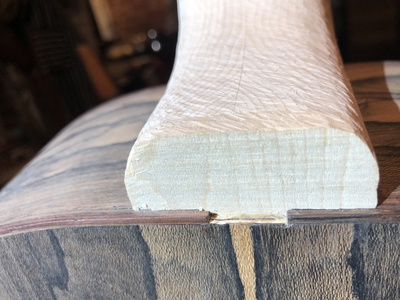
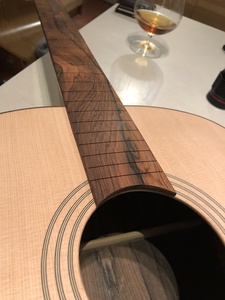
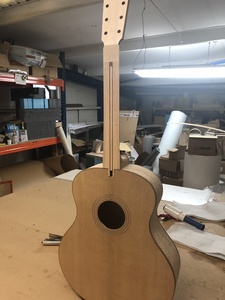
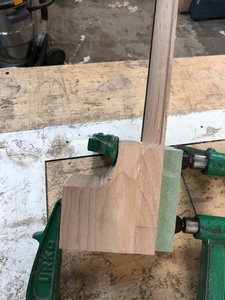
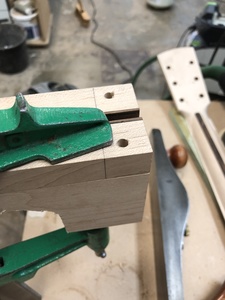
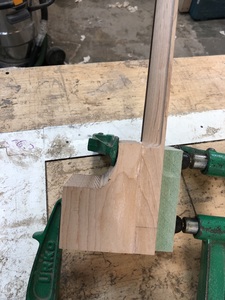
It’s been a while since I last posted but I have been making steady progress. The neck blocks were glue up and I used a couple of dowels in the off cut area to make it easier to clamp them up. I then sanded the end of the tenon square and pretty much to final length, trimmed out the excess on the bandsaw and and then routed the neck tenon and body mortise to final size on a home made jig. This left about 0.2mm of trim which was pretty quick to remove with chisel and sanding block. The alignments weren’t too far out but there was a little bit of fiddling required to get everything perfectly square. I then set about evening up the shoulders of the neck to achieve a perfect fit and to angle the neck very slightly.The undercut was then made and the bolt holes and dowel nut holes drilled into the tenon. I bit of drill wiggling later and the bolts were tightened and I had fitted my guitar necks! A big moment as my dread of this process was probably the main reason I have taken 35 years to make my first guitar. The fretboard was then clamped in position on the neck and drilled through at either end with a 1mm drill to allow veneer pins to hold it whilst being glued. Screw fix sell then in 500g bags so if anybody wants some........
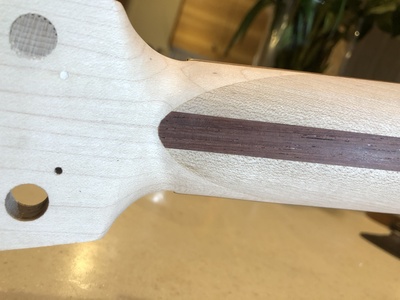
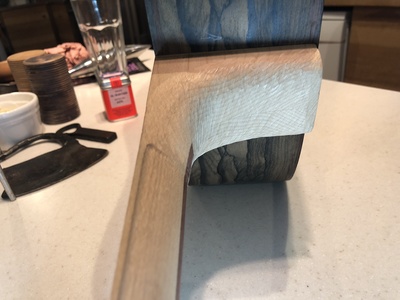
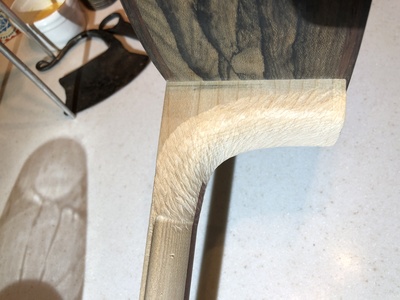
Once the fretboard glue was dry I started shaping the heel with a round microplaner. This made a pretty neat job and remove material at a fair rate, which considering it was mainly end grain hard maple was very impressive. It took a couple of stages to reach a shape that I was happy with and I then had to go back and adjust the shoulders slightly as I had cut back to the undercut. In future I will do the first stage of neck shaping before the fit so I can avoid having to do it twice. Most of the final shaping of the neck was done with a scraper blade and again, the speed with which this got it down it to a stage ready for sanding was impressive. A final sanding with 180g and then 320g abrasive and its pretty much ready for finishing.
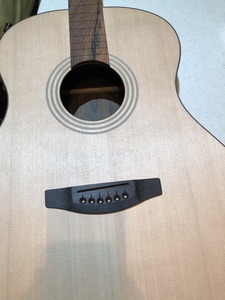
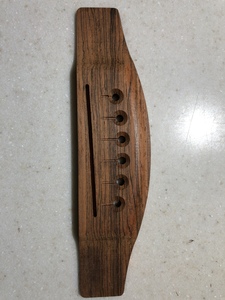
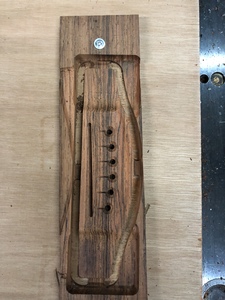
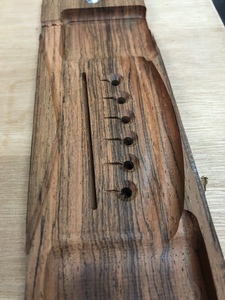
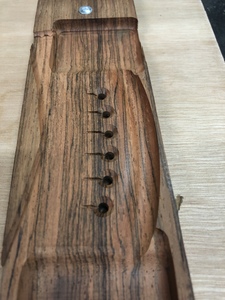
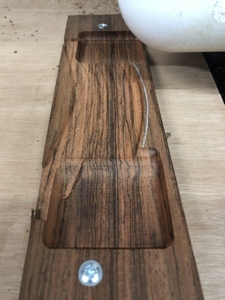
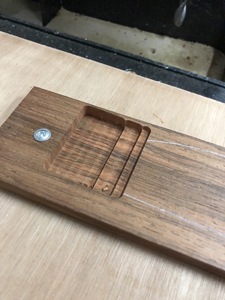
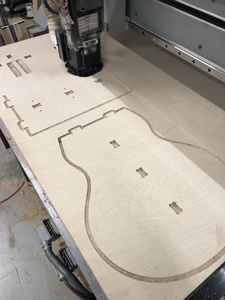
I then set about drawing and programming for the bridge machining. The first cut is a clearing cut that removes much of the waste and then a 10mm ball end cutter forms the basic shape. The pin holes are drilled and countersunk and then the saddle slot formed. Finally a very small (0.5mm radius) tapered ball end cutter machines the ramped string relief slots before the perimeter is cut leaving four tabs to secure it to the off cut. I intend to make a several of these in rosewood and ebony and then decide which one suits each guitar best.
Off to sleep now and tomorrow I will be tackling the headstock veneering and logo inlay. Any guesses?
Cheers
Darren


