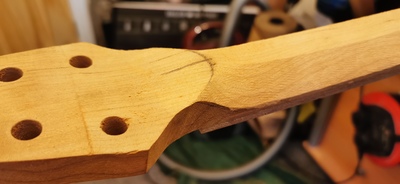
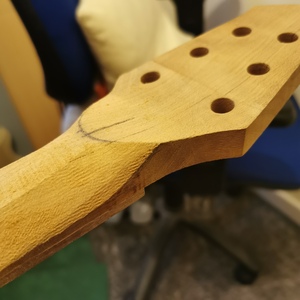
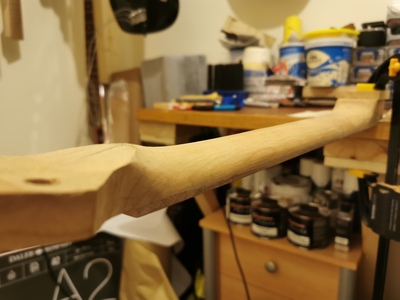
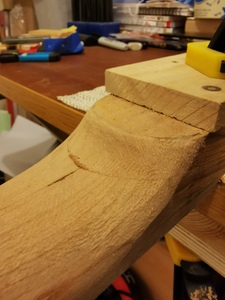
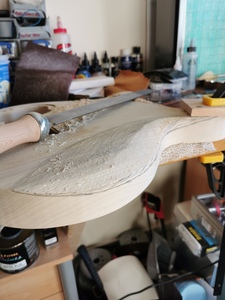
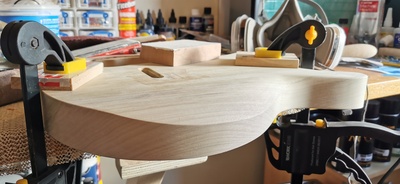
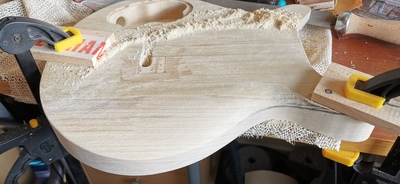
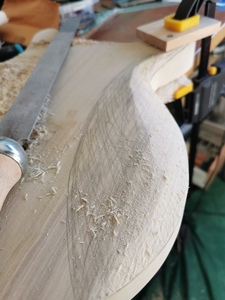
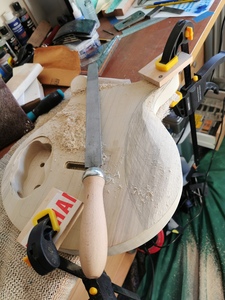
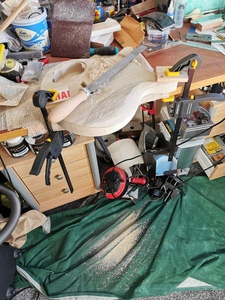
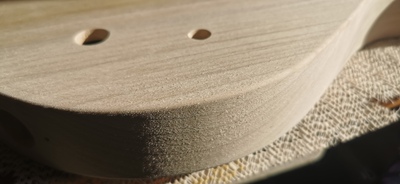
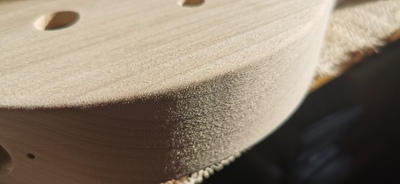
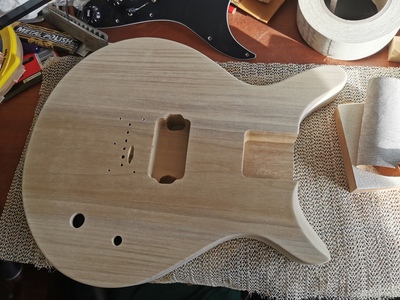
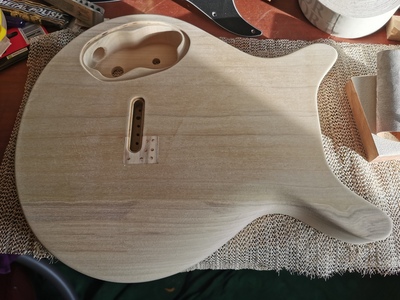
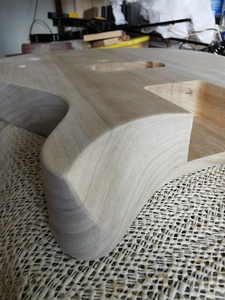
When you cut your body blank, save the bottom scrap part of it by the heel long enough to cut out a mini cap specifically for the neck tenon. You will be surprised on how the grain pattern lines up to the body really well.
That, sir @Clinton, is a *very* cunning trick. Top cunning.
👍 👍 👍
Online guitar making courses – guitarmaking.co.uk
Can you guess how on Earth I managed to make this mistake? (See pics)
Well, I'm guessing that the template slipped?
At least your router "experience" happened on the back of a guitar that's going to be painted. And the fix looks nice and neat.
I had a similar issue (though, to be fair to the router, mine was more caused by inadequate maths rather than an errant router) on the front of a guitar that wasn't going to be painted ...
... pretty much all of my builds have given me an opportunity to learn something new (as in finding a fix for another c0ck-up!)
Online guitar making courses – guitarmaking.co.uk
Well, I'm guessing that the template slipped?
@tv101 No, actually the template stayed in place. The main template that gets stuck down to the work piece is the outer part, it has a hole cut in the middle to house the inner templates. These inner templates, used with a guide bush on the router, provide the perfect shape to be cut for the string ferrule block to fit in perfectly. The first inner template is used to cut the full depth of the ferrule block and then it is removed. Then the second inner template is placed into the outer template, this one is slightly wider to route a shallow lip around the top of the cavity (similar to when you route the control cavity and then route for the cavity cover (a nice plastic one 🤣).
Now, once I got this far, I obviously wanted to check that the ferrule fit nicely into its cavity and to do that I had to remove the inner template. It did fit nicely but I wanted to route just another half millimetre, just to make it sit slightly lower (Note: when the guitar is painted, it will add material back on).
Now for the stupid bit.
First I removed the ferrule block. I adjusted the router depth, put the router back onto the template, turned it on and started cutting. Something didn’t feel right and I just caught sight of both inner template pieces sat on the worktop. 😳 I had forgotten to put the second inner template back in before routing. The guide bush cannot follow the template if it isn’t there. 😱😡🤬
I hope this makes sense.
So I will put this down to my routing “experience”. 🤣🤣🤣🤣
Make guitars, not war 🌍✌️🎸
(similar to when you route the control cavity and then route for the cavity cover (a nice plastic one
That reminds me, I haven't routed deep enough for a nice wooden control cavity cover, I must remember to do that before I carve the front.
SS frets: Tools
First thing is that you’ll need a few new tools, cool right?
I highly recommend the fret cutter and tang nipper from Summit Tools.
You can’t use regular cutters and nippers on SS as it will definitely chew them up. Obviously you only need the tang nippers for binding and/or blind fret ends.
The Summit fret cutters have angled handles that makes it easier to snip the ends over the body on acoustics and set necks. Since they are strong enough for SS you can obviously also use them for nickel.
http://tonetechluthiersupplies.co.uk/summit-ergonomic-fret-cutter.html
http://tonetechluthiersupplies.co.uk/summit-fret-tang-cutter.html
If you already have a fret bender it should work without a problem but for several jobs you’ll really want a heavy duty model for long life. A pair of fret bending pliers is a good thing to have and essential if you’re fretting a compound radius board.
Imo you can’t hammer in SS frets, you need to press them in. I use Jaws from SM and a small arbor press. You could use a pillar drill with a fret press caul but I don’t like using the drill for jobs other than drilling, but it can be done. If you go this route be sure to leave the machine unplugged so you don’t accidentally turn it on, stupid muscle memory! 😂 And I don’t really know how to explain this but you’d need to take the pressure off of the crank that adjusts the table height. First adjust the table height and then undo the crank a little, do you know what I mean?!?
With regards to leveling, crowning and dressing all the regular tools work. For crowning I use the offset diamond files from SM/Elmer. If you normally crown with a three corner file you will not like SS! But using a three corner file is too slow even for nickel imo. I do use them but only for touch ups while dressing or if I’m going for perfection to blend in that small facet left behind from the crowning file.
Practice on scrap...
SS frets: Technique
I prefer to buy straight wire, even in nickel. The rolled wire is usually a tighter radius then I need and even though my fret bender has the ability to straighten it, I find that with SS it’s tricky to get the radius correct after straightening and then re-bending it so I prefer to creep up on
the radius with a straight piece to begin with. I typically use Wagner fretwire. I like it how I like my women: tall and thin. I use the 9662SS and it comes in 7cm straight lengths and as a bonus it’s clean so I don‘t have to degrease it. Sintoms is also good stuff.
When you trim your pieces to length you must cover it with a rag, towel or whatever to keep the pieces from flying across your bench or into your face. Even then a rogue piece can find it’s way to your forehead, yes that happened to me once. This is probably a good time to put on your saftey glasses. Covering with your hand while cutting means that the piece will fly into your palm and slice you. You will definitely have to give a good hard squeeze on the tool to cut it and then you will realize how tough SS really is! Cutting nickel is like butter by comparison. The cut end will be razor sharp so I quickly file each one to prevent painful torn fingers.
The wire must have the same radius as the fretboard, no over bending like with nickel! SS is so hard that it will not conform to the radius so if you get it wrong it will be high in the middle or the ends will pop up. This is a bit tricky to get right because you have to creep up on the desired radius with the bender. Try not to go too far and this is also where the bending pliers come into play. Getting everything perfect doesn’t really exist but the pliers help if you’re a bit off with the bender. Like I already stated if you’re doing a compound radius the pliers will be a big help. Don’t overthink this part, just get it as close as possible and you’ll be fine. It’s not that difficult to get it right.
Then just install them as normal, but with a press. I start the fret with a hammer on one end and then press it home. I always use glue on a refret but if you’re building and get the fit right you don’t have to use glue. Personally I would put a few drops in the middle and on the ends anyway.
Be careful again when trimming off the excess after installation but in my experience they don’t fly around as much if you haven’t left them too long to begin with.
Filing the ends flush isn’t too bad but you will definitely notice a difference doing the bevels. For this job I always use a few layers of masking tape on the fret tops in case I slip. Yes I’ve done it on SS and it will still put in dings that you will have to sand out or if it’s really bad it would be better to replace the damaged frets. Just take your time, be mindful and you’ll be fine. For the bevels I use one of the specialty beveling files.
I level them the same way as nickel, with sandpaper on an aluminum beam. I’ll start with a few pases using 240 to get the party started but quickly switch to 320 and then 400. I sand lengthwise and also sideways to make polishing easier/quicker. I’m not a fan of polishing frets! I don’t mind the other aspects of fretwork but polishing gets on my nerves! 😆
Now for crowning. I’ve seen so many people on FB bitching about having spent 3 hours crowning SS frets blah blah blah. They are clearly doing something wrong.
If you’ve installed your frets properly then you don’t need to do much leveling. Therefore you don’t need to do much crowning. Installing frets properly means your fretboard is level as can be and you get the frets installed as level as possible. Once you have three frets in you can start checking them with a fret rocker to be sure they are going in as level as possible. You should only have to kiss the tops to get them level so you’re not removing much material (which is your goal in the first place) and then it’s quick work with a crowning file, boom!
File the pokey corners, dresss the ends and then polish them out and you’re done!
See, that wasn’t so difficult! 😆
Practice on scrap...
SS Frets: Summary
Are SS frets more difficult to work with? Yes. Are they a total pita and not worth the trouble? Imo, no!
I love them. You can polish the living shit out of them and unlike nickel that polish lasts. This also helps playability as they’re silky smooth when bending helping you to get those notes to really soar.
People will say they sound a bit brighter than nickel and honestly, I can’t hear the difference. But show me a guitarist that doesn’t mind a little more cut to their sound anyway.
It’s probably more noticeable on an acoustic and I’ve refretted those as well and my customers were always happy. 😝
It’s possible if you have a heavy touch that you might wear out your strings faster, I’ve had SS frets in my V for nearly 20 years and I haven’t experienced this.
I love the fact that they will last 4 or 5 times longer then nickel frets and for building I think they’re the ultimate, you know that your product will be much longer lasting.
But like anything else they’re not for everyone, you should just give them a try if and when you feel up for it. They are definitely not recommended for your first few fret jobs. Fretting is tricky enough to learn all the ins and outs (especially refretting) and getting the basics down first will make using SS easier.
Try them in some fretboard off cuts to get the feel, it ain’t no biggie.
I know that you’ve built a few (probably several) guitars already so you’re ready.
https://images.app.goo.gl/7pwGYsgB6LUXAjHu8
Practice on scrap...
@mattbeels Wow man, this is cool. Thanks for taking the time to write all of this. I think I’m ready so I’ll try some on a build this year sometime soon. Love it. Thanks man. 🤘
Make guitars, not war 🌍✌️🎸
My pleasure dude. I probably forgot something so feel free to ask if something doesn’t make sense.
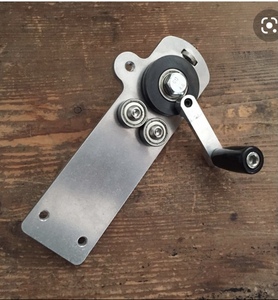
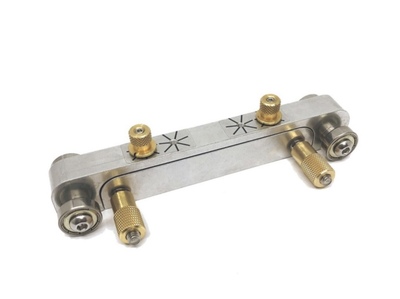
Ah, one thing I did forgot but applies to any fret material is the use of pre-cut fretwire. They’re too short for some benders, so to use that stuff your bender has to have the two bottom rollers real close to each other, like this:
This isn’t mine, just a stock photo. I think this one is sold by Elmer but not sure. I got my fret bender from a machinist in Canada years ago along with one of those sliding vices for adjusting acoustic bridge saddles. The one that SM sells for like $175! His was every bit as good as cost half as much. That tool is also sold by Elmer in case anyone is interested. But a lot of places have a version by now.
This one looks exactly like mine.
Practice on scrap...
The Bandsman, what an awesome design. Quite a number of people have been asking me what kind of guitar is that and if I could build for them. It truly is an appealing guitar.
I agree. But if you’ve got people asking you to build, congratulations!
You should jump on that...
Practice on scrap...
Did a bit more today, got it all rounded over. Not done much today I know but there are other things taking my time up, like airbrushing and painting.
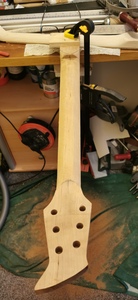
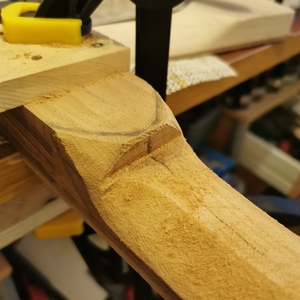
If you remember, the heal and the headstock on this neck are stacked so you can see the join lines. I’ll see if I can refine the sanding further tomorrow. Today’s tools used were Shinto rasp, small curved razor file, cabinet scraper and some 80s sandpaper on a flat block. Oh and a straight edge to check for flatness. 👍
Make guitars, not war 🌍✌️🎸
A bit of carving, sanding and finniting, including raising the grain with a damp rag and sanding and finniting again. Look at that belly carve, I’m happy with the transition.
Make guitars, not war 🌍✌️🎸
Make guitars, not war 🌍✌️🎸


