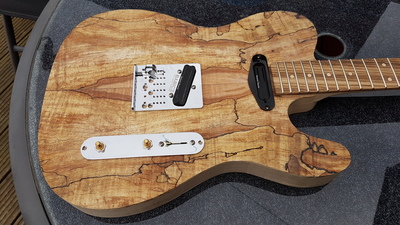
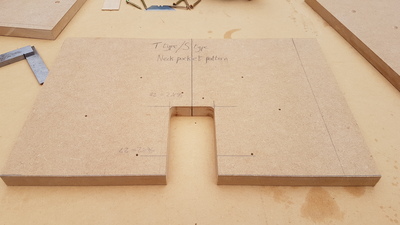
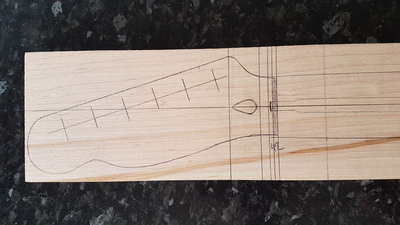
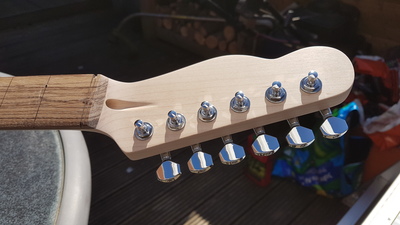
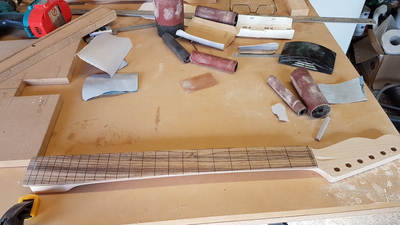
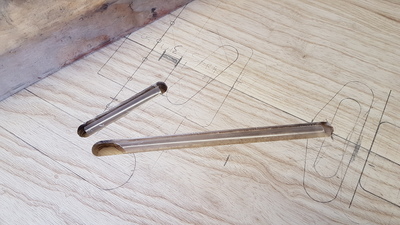
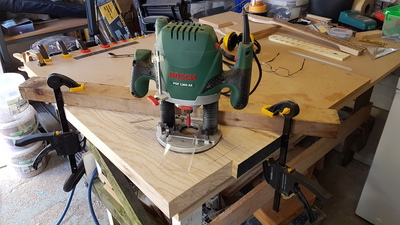
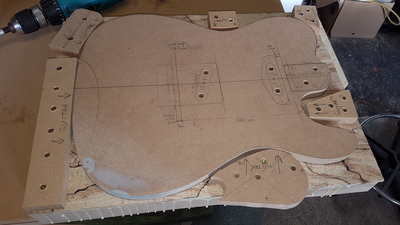
I am making a bolt on neck guitar using a lot of same techniques that I learned from doing Mark Bailey’s online Design your own Guitar and Build your own Guitar courses. I took the measurements from an existing guitar I had and made patterns and jigs accordingly. I chose four types of wood for the body, top, neck and fretboard.
Make guitars, not war 🌍✌️🎸
I ordered some fantastic woods from Mark Bailey for this project.
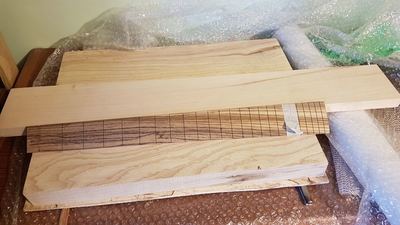
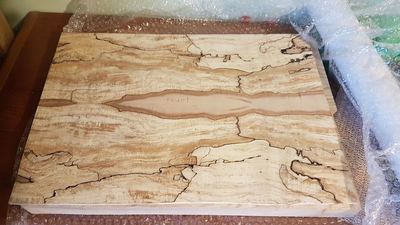
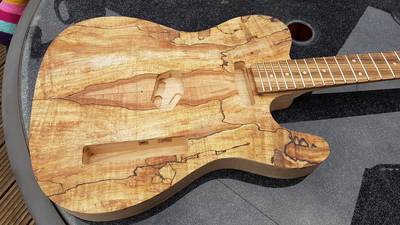
I used Ash for the body, Spalted Maple for the top, Maple for the neck and Zebrano for the fretboard.
Make guitars, not war 🌍✌️🎸
Make guitars, not war 🌍✌️🎸
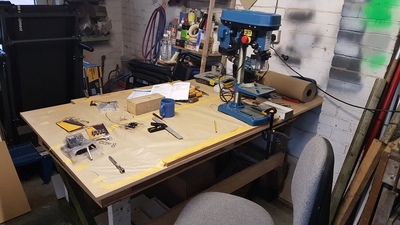
I made some different patterns for this build that were different that the ones used on my original Bailey Bandsman build. I wanted a better bench for this job so I made a sturdier one from an old pallet and some other wood I had knocking about. I invested in a few more tools and machinery as well.
Make guitars, not war 🌍✌️🎸
Make guitars, not war 🌍✌️🎸
Make guitars, not war 🌍✌️🎸
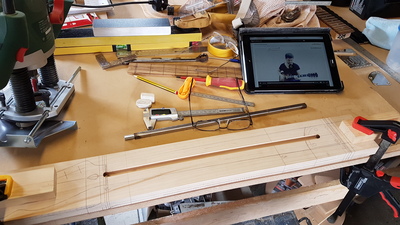
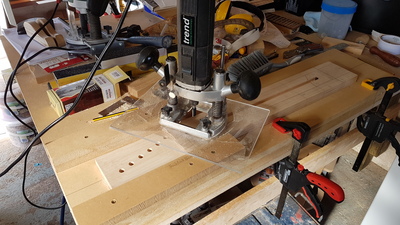
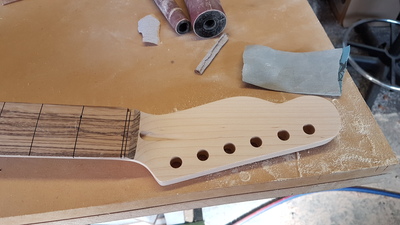
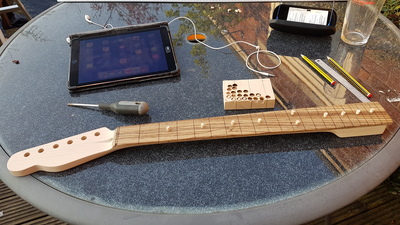
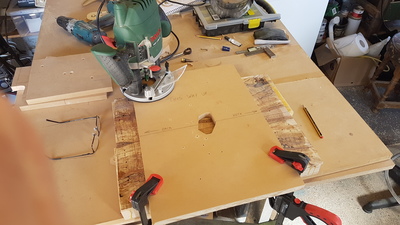
I used a jig and a router with an extended base plate to surface route the front face of the headstock. This is a parallel headstock with the neck (not angled back like a Les Paul) like a Tele or Strat. This being the case and that the neck blank is thinner than one used for my Bailey Bandsman build, much less material needs to be removed with the router but need to be just as accurate.
Make guitars, not war 🌍✌️🎸
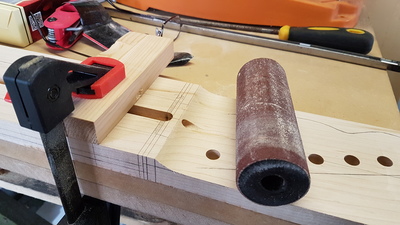
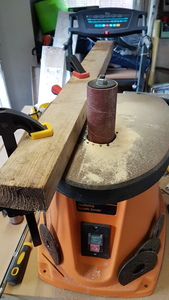
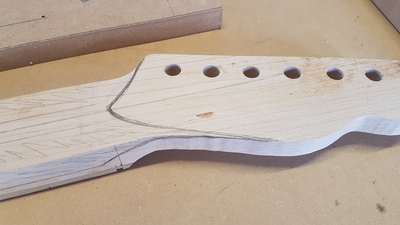
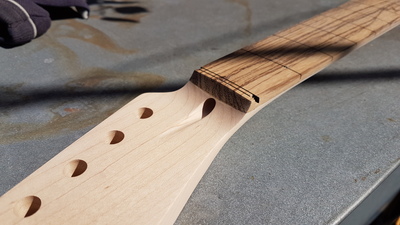
As the design of this neck needs a curved transition from the headstock to the fretboard, I used a spindle sander to achieve that. Common sense told me that I couldn’t just put the neck on the machine and just hope it would turn out the way I want it to. I clamped a straight length of wood to the flat bed of the sander so I could use it as a support guide. I had to make sure that the sanding head couldn’t go any deaper than the thickness of the headstock before starting to sand the transition.
Make guitars, not war 🌍✌️🎸
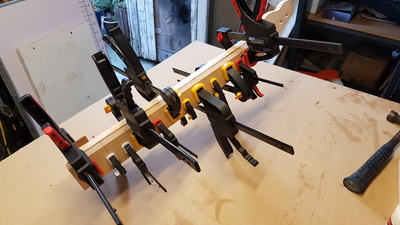
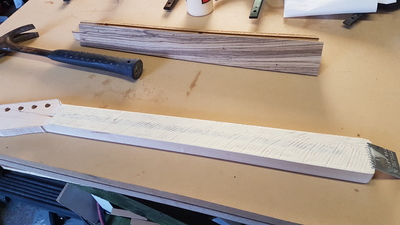
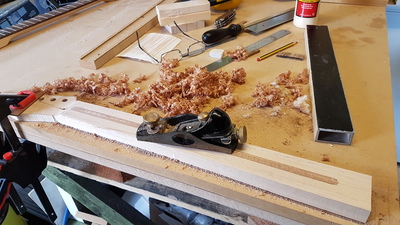
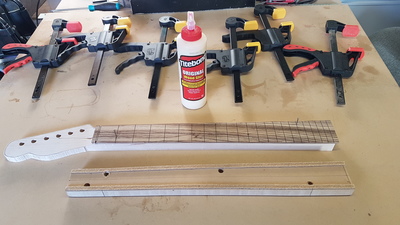
Time to put the truss rod in, glue a fillet in, plane the excess off when dry and put the fretboard on. This was held in place with clamps and a caul and a couple of pins for alignment whilst the glu dries.
Make guitars, not war 🌍✌️🎸
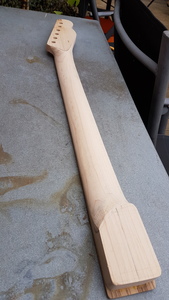
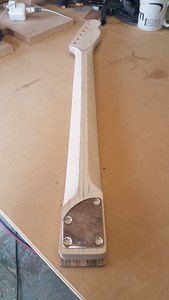
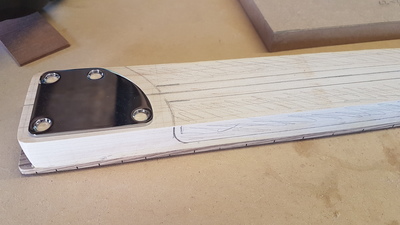
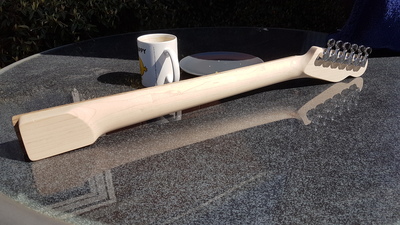
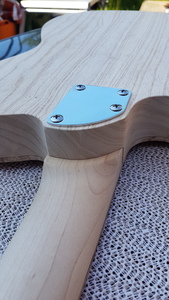
Time to carve the neck. This was a transferable skill that I learned from dong Mark’s online course “Build your own electric guitar”. I made an adjustment to the neck heal as I bought a curved neck plate so it makes the guitar a little more ergonomic when playing the upper frets.
Make guitars, not war 🌍✌️🎸
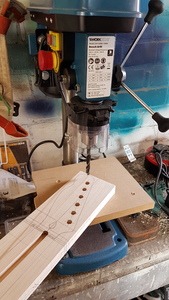
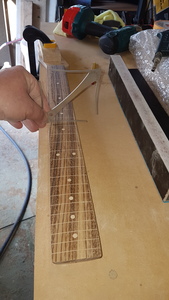
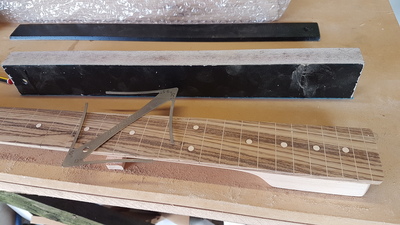
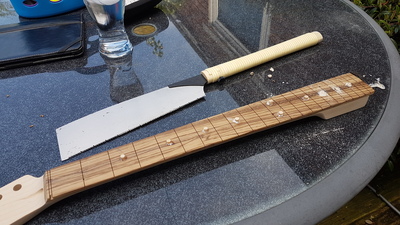
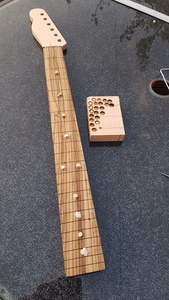
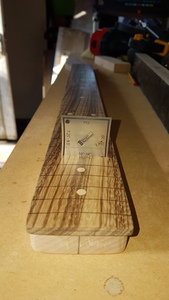
Time for some fretboard work. I marked out on the fretboard where the fret markers were to be drilled and then drilled them. I also used an off cut from the Maple neck blank to make some Maple plugs with a plug cutter of the same size as the drill bit used for the holes, this was done on the drill press. I used CA glue (superglue) to bond them into the holes and used some spray accelerator to speed up the curing process. When dry I cut off the excess with a flat Japanese pull saw before flattening the fretboard (keeping the radius) with a sanding beam. Keeping the radius is imperative and needs to be checked after every short sanding application. I went through the grades of sandpaper and also checked the depth of the fret slots with a gauge. I cleaned it all up and it was then ready for frets.
Make guitars, not war 🌍✌️🎸
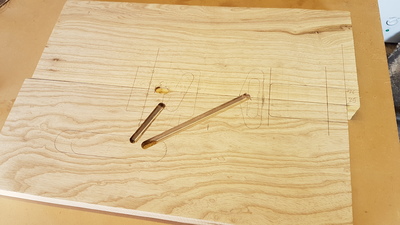
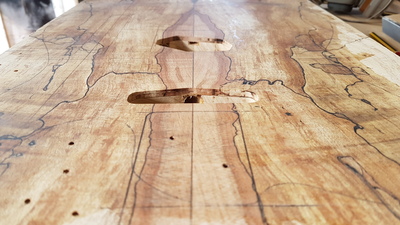
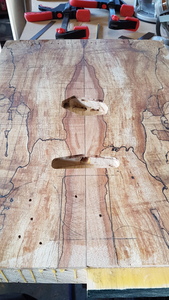
Before laminating the Spalted Maple top to the body blank, I wanted to route some channels for the pickup wiring from the pickup cavities to the control cavity. To help prevent the glue from filling these channels up, I inserted some plastic tubing.
Make guitars, not war 🌍✌️🎸
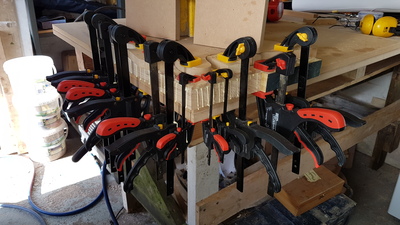
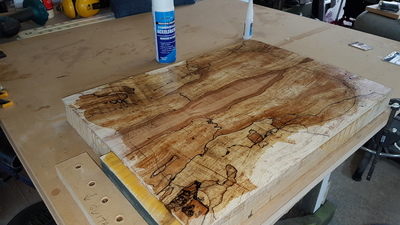
Time to laminate the Spalted Maple top to the Ash body blank. I just lined up the centre lines after applying the glue and used lots of clamps and weights, and used some strategically placed screws and off cuts to help keep it all in place. It all looked a bit ad hoc so I will have to make a jig for this process in future builds.
Make guitars, not war 🌍✌️🎸
With the nature of Spalted wood being inconsistent and unpredictable, it has to be stabilised. I did this by applying CA glue (super glue) liberally and spreading it around with an old credit card. I used the CA accelerator spray again to speed up curing time.
Make guitars, not war 🌍✌️🎸
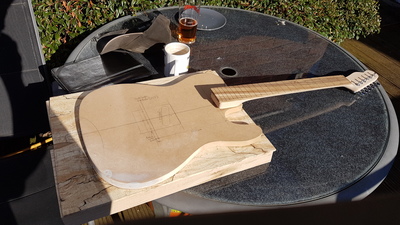
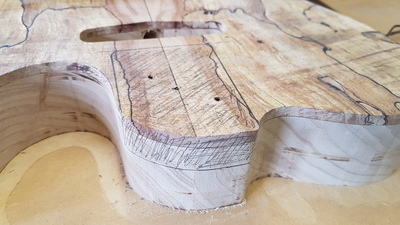
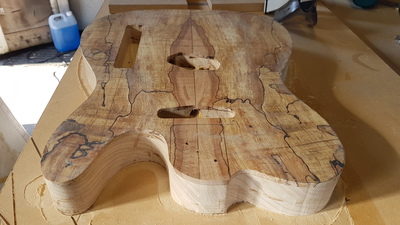
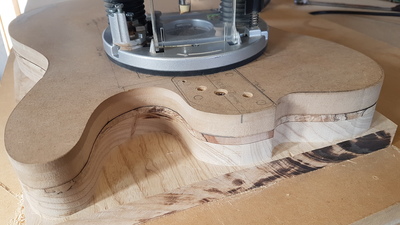
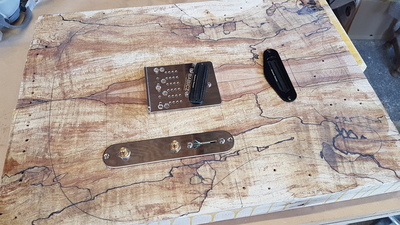
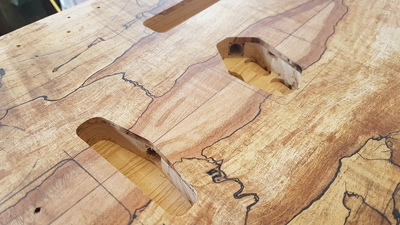
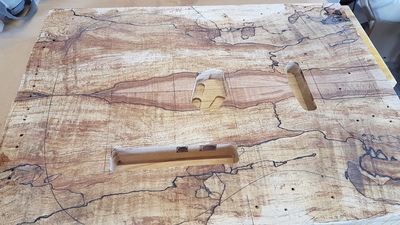
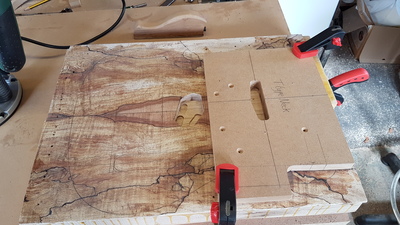
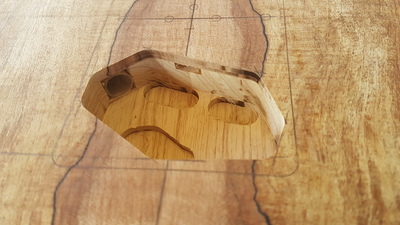
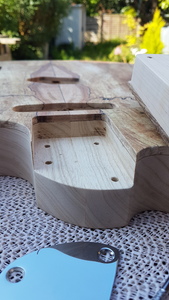
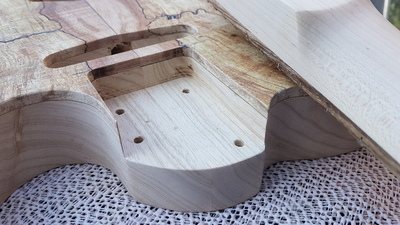
Now it was time to mark everything out onto the top, ready for some routing. Several jigs were used to route out the pickup cavities, control cavity, the main body and the neck pocket. Note: normally I would have cut the body shape out on the bandsaw before routing off the remainder but at the time my bandsaw was not working properly. I ended up routing it all out.
Make guitars, not war 🌍✌️🎸
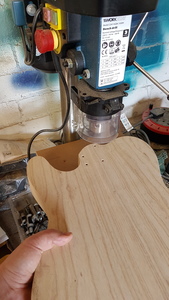
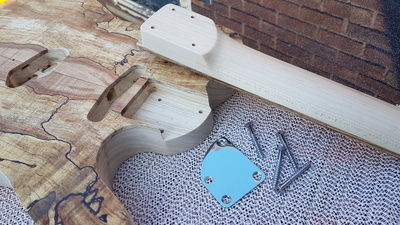
After some test fitting of the neck and careful placement of the neck plate, I marked the holes for main neck screws. I then drilled them out carefully on the drill press.
Make guitars, not war 🌍✌️🎸
To transfer the corresponding screw holes to the neck I put the neck into the body, it was a nice snug fit. I then slowly drove the screws through the holes in the body until I could feel them pressing into the neck. I did this with all four screws and then took them out again, removed the neck so I could drill them properly. I had to be careful not to drill too deep but deep enough. The joinery came together well once I could put all four screws in fully with the neck plate on.
Make guitars, not war 🌍✌️🎸


