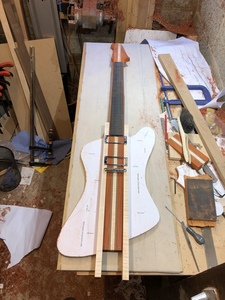
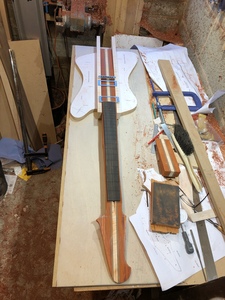
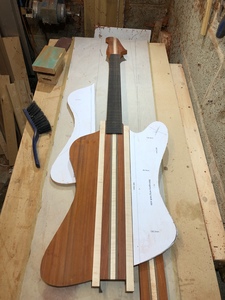
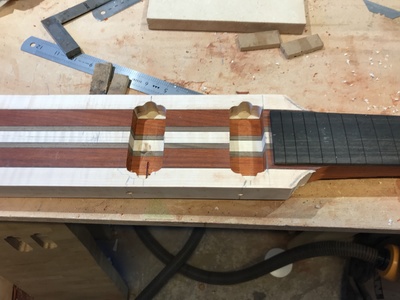
I have thicknessed the headstock and started to shape it - also trimmed the neck a bit...
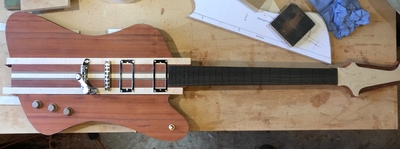
Just thought I would try bits in roughly the right places..........
Measure once........ Measure again......... Sod it - make tea!
Just read through this, she's a beauty!
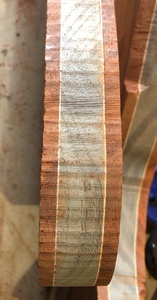
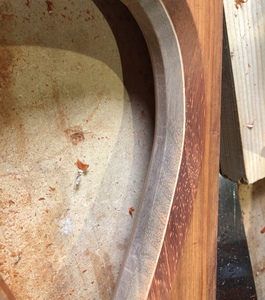
I have glued up and bandsawed the upper wing. Straight from the bandsaw.
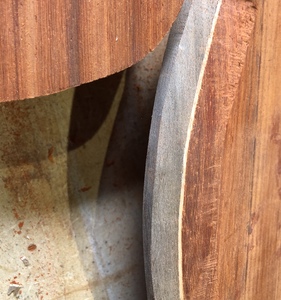
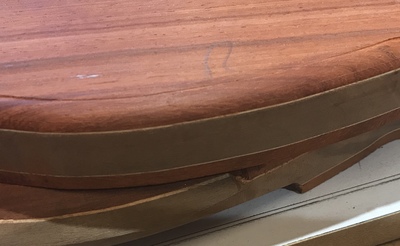
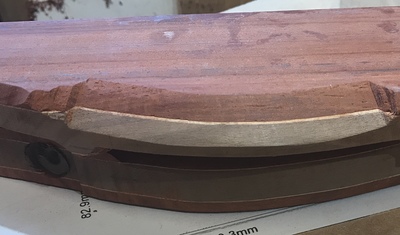
I am trying to decide what to do to the edges - just a 6mm round over or a wider facet - tried this with a 45° cutter on the wing offcut.
or just using rasps and files...
Any thoughts?
Measure once........ Measure again......... Sod it - make tea!
The neck has been profiled - truss rod fillet glued in, planed and scraped flat.
The upper wing has been routed to final shape - the lower wing will need a channel for wires and a control and switch cavity and needs a bit of thinking about.......
Measure once........ Measure again......... Sod it - make tea!
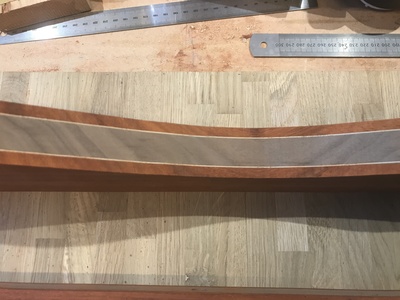
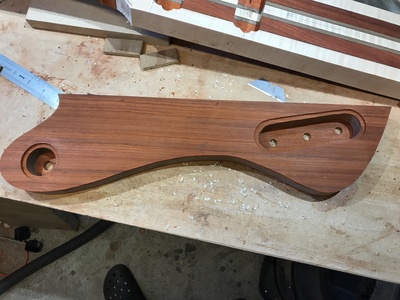
Lower wing glued together and cut out - there is a channel routed into the middle Walnut layer to take wires from the switch and pickup cavities (when I have cut them) to the main control cavity.......... ‘There may be trouble ahead’......
Measure once........ Measure again......... Sod it - make tea!
How do I fix the wings in place - just good flat surfaces and glue or dowels or something else?
Measure once........ Measure again......... Sod it - make tea!
Nearly messed up earlier......
I have been routing control cavities - one for the switch and one for the pots.
I made patterns for the cavities and for the recess for cover for cavities.
Routed both cavities to full depth using short and long cutter without needing to remove the pattern.
Lined up the recess pattern for the switch, set router depth, turned on router and the cutter took a chunk out of the pattern because the long cutter was still in the router and the bearing wasn’t touching the pattern.....
Swear words happened but luckily I hadn’t plunged so it was only the pattern.......
New pattern made - cutter changed - recess successfully cut......
Good catch! Lucky.. At least you know what went wrong - careful now... 🙂
Measure twice, cut once...
How do I fix the wings in place - just good flat surfaces and glue or dowels or something else?
Did you make an angle on the front of the body?
Lay the guitar face down on the clamps so the front of the body lines up as flat as poss -
The 'neck stick' will protudre from the back - you can remove this excess after the glue is dry - I'll see If I can cover this in a Livestream on Sat or Weds...
Measure twice, cut once...
Thanks Mark!
Measure once........ Measure again......... Sod it - make tea!
Just to complicate things.....
The centre part of a Firebird is thicker than the wings - so there is a little step top and bottom - the plans I bought have the centre bit 40mm thick and the wings 34mm so a step of 3mm top and bottom - the centre of mine has turned out 38mm thick.
Measure once........ Measure again......... Sod it - make tea!
Hi Bill,
given the shape I would go for a chamfer. I think it has enough radical curves in its frontal elevation so the contrast should look pretty sharp. If you hate it you can always blend it in later.
All the best
Darren
Yep - 1 up for chamfer...but it's your call!
Measure twice, cut once...
I am also favouring chamfer....
So I mark the target line on the top and side of the wing and then carve it the same way that you use to put the first chamfer on a neck carve (do it to one line then the other then join them up by taking off the lump.....
Measure once........ Measure again......... Sod it - make tea!
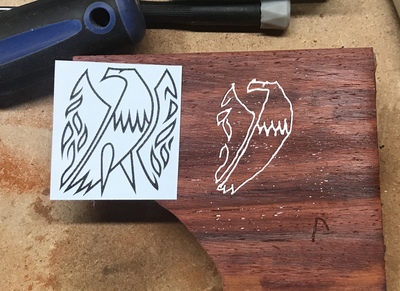
The Wonky Phoenix.....
Follwing Darren King’s idea of using Milliput to do a Phoenix logo I printed a logo, stuck it on with Titebond to a piece of scrap and tried to cut it with a tiny (StewMac) router bit and Dremel.
First problem was that as soon as you start to cut you can’t see where you are going for bits of chewed up paper.....
Don’t laugh too much at my wonky part Phoenix!
Second problem is flecks of Milliput in the grain of the wood.
Thinking that I could stick the drawing in place with double sided tape and then with a fresh scalpel blade cut either side of the printed line then use the Dremel to remove the wood.
Do I just need to sand more to stop the fleck effect before applying Milliput.
Measure once........ Measure again......... Sod it - make tea!
Answering one of my own questions now....
Just tried cutting both sides of a line with a fresh scalpel blade then running the Dremel between the cuts gives a much better result - it will take a while to do the cutting and will use several blades but it is much less wobbly.
Measure once........ Measure again......... Sod it - make tea!
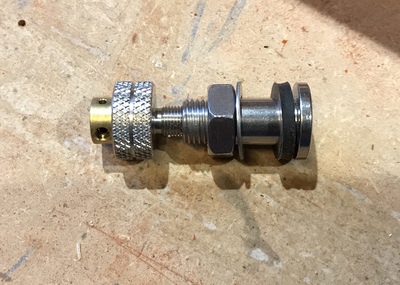
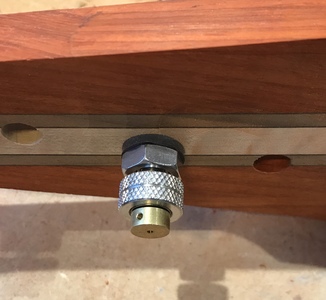
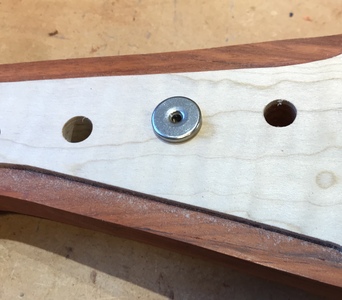
Firebird Tuners - the Steinberger Gearless Tuners are not in production and fetch a hefty price -
found these - Riot Tuners by Alpaca Guitars - seemed to have some good reviews - needed to play with the positions for a while.
Measure once........ Measure again......... Sod it - make tea!
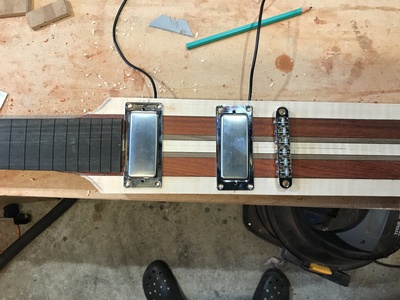
I finally got up courage to cut the pickup holes. The pickups are from Mr Fabulous in Australia.
Also added control cavities - a channel is routed in the Walnut layer to connect the one for the switch and the one for the pots and to take wires from the pickups - if all has gone well I will be able to pull wires through....... If not I will panic!
Measure once........ Measure again......... Sod it - make tea!


