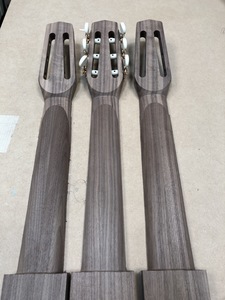
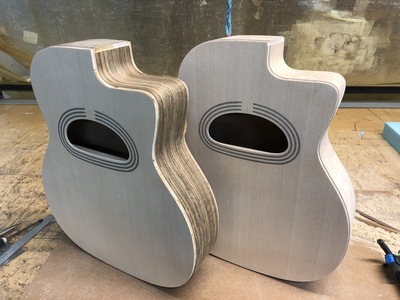
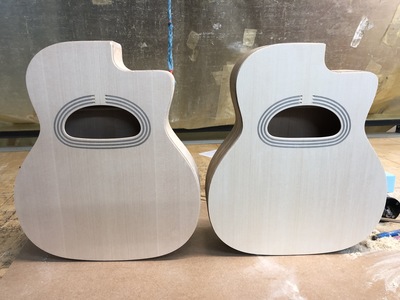
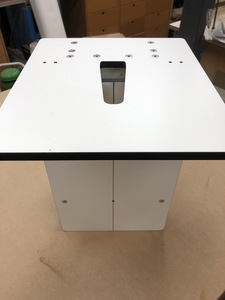
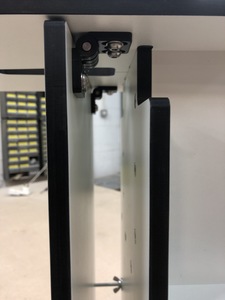
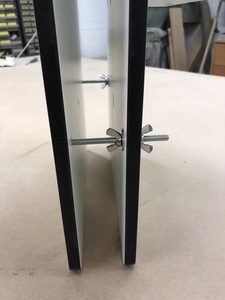
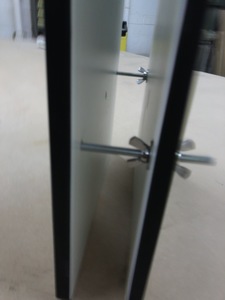
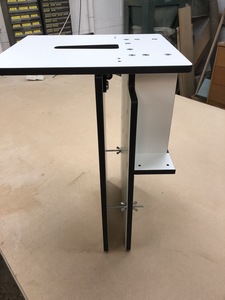
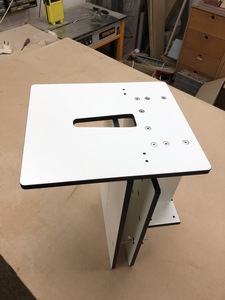
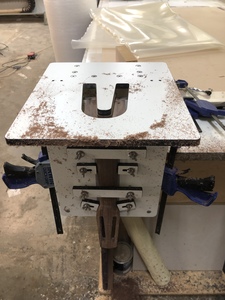
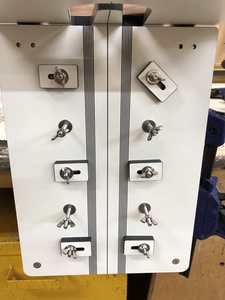
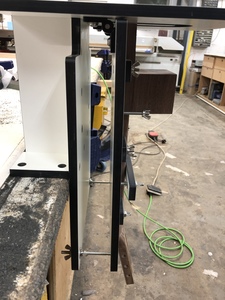
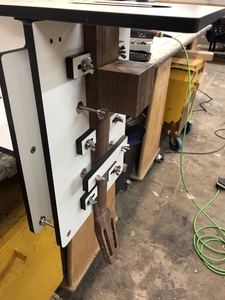
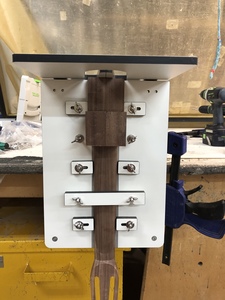
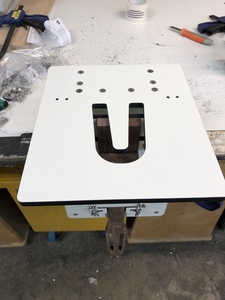
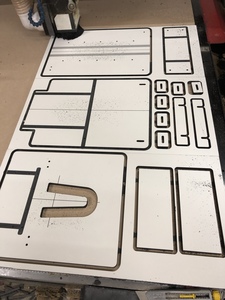
Time to face up to my fears! Thinking about how to cut, and then possibly adjust, a tapered dovetail joint for the neck was one of the main reasons I managed to put off building a guitar for 30 something years. It was only when I realised that bolt on necks were a 'thing' in acoustic building that I finally got down to it and my first two guitars employed this system. However, now that my two Maccaferri Concert models are approaching this stage of the build I have decided I can put it off no longer and so I have spent most of the past weekend thinking about how to go about it as these guitars don't lend themselves to having bolt on necks. I have bought the Wealden guitar dovetail cutter (T1030B-1/2) and I have checked out various YouTube videos but these weren't especially helpful. I also researched commercially available routing jigs but none of them seemed to offer a particularly satisfactory solution so I decided to design my own. Besides, none of them appeared to have templates close to what I need for the Maccaferris. It took quite a bit of drawing and head scratching but this is what I have arrived at for cutting the body half of the joint. The angle of the clamping plate can be adjusted as can the forward/aft position relative to the routing template by virtue of the slots in the hinges. Whilst the angle between the soundboard and the neck block should be exactly 90° the adjustment on the jig means that if there is a bit of a discrepancy then this can be easily compensated for. There are a few centre line reference marks that I still have to add but, other than that, it is pretty much ready to go. I intend to machine a few trial blocks before cutting the guitars just to make sure everything aligns properly. The jig is made from 12mm solid laminate but I guess most of could have been made from plywood with only the routing template needing to be harder wearing. All I need to do now is draw and make the jig for cutting the male dovetail on the neck! At least (I think) I now better understand the geometry of the joint and what the jigs needs to achieve.
That is the prettiest Dovetail Jig I ever did see!
Measure twice, cut once...
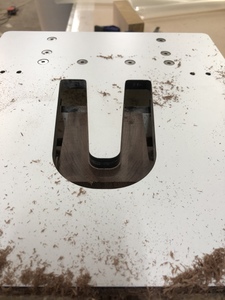
Ok, so I have now made the jig for machining the dovetail on the neck. I kept as many of the pieces identical to the body jig although I reduced the overall height of the jig slightly.
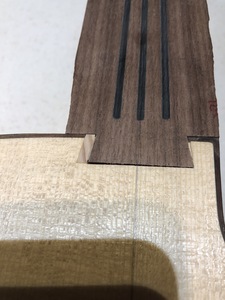
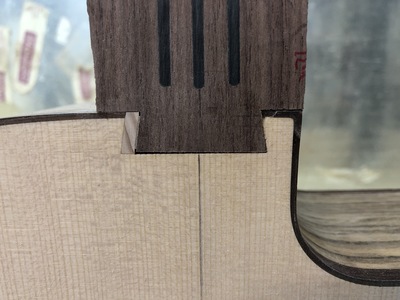
I routed a couple of test blocks and then took a deep breath and ........ It all worked pretty well. The is a very small amount of play in the joint but, once I have undercut the mating faced the neck, a layer of kraft paper on either side of the dovetail should bring everything nice and tight. I will adjust the template a little for the neck part of the dovetail before I machine the second guitar and this should sort out this issue.
Question: The plan for this guitar shows the neck and soundboard being perfectly aligned but should I allow a small neck angle? I know the tension on the nylon strings will be a lot lower than with steels but as the neck has no truss rod there is limited scope (no scope!) for adjustments after the neck has been glued. Anyone got experience of nylon stringed guitars? Currently the straight edge sits about 2mm above the soundboard at the position of the bridge which kind of looks ok but I don’t want to end up having to install a very high saddle. Suggestions?
Cheers
Darren
Yes - Nylon guitars are traditionally built up flat on a board - face down - the neck is attached to the soundboard in a straight line. Along the plane of the fretboard - it is flat.
With a Maccaferri like yours I would suggest an angle is probly needed - would be a good idea to make the bridge for comparison
Depending on the height and style of the bridge you may even need to make an angled shim to go underneath the fretboard..
IMHO
2mm is probly OK - you could make the fretboard and bridge and pop them in place just to check...that is what I would do.
Hero points duly awarded BTW!
Measure twice, cut once...
Hi Mark,
Thanks for your input. This model is nylon strung and has a fairly normal bridge bonded to the sound board rather than the free floating version and tail piece of the steel string versions. If you are saying that flat is the norm for nylon strung instruments then I will probably try to get as close to this as possible. As the plan shows the neck and soundboard aligned, but with the strings attached, I just wasn't sure whether this was indicating its position with the string tension pulling it up a little. If reworking the joint becomes a complete nightmare I can stick the fret board to a tapered board and put it through the sander to mostly compensate for the neck angle. It's 6mm thick so I should be able to take 1mm off and it not really be apparent.
No problem - glad to help
Also bear in mind that 'Normal' nylon string guitars generally have a MUCH higher action - like 3-4mm (ish)...as opposed to 1.5-2mm (ish) for a steel string. Not everyone is overly happy about that...again it is a matter of choice but...generally speaking:
Higher action = more tone
Lower Action = easier to play
Measure twice, cut once...
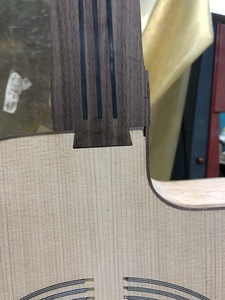
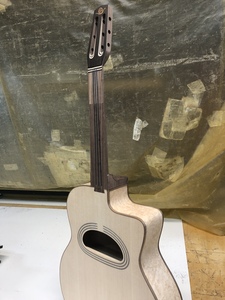
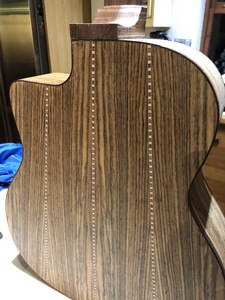
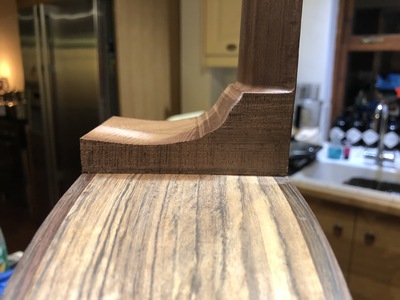
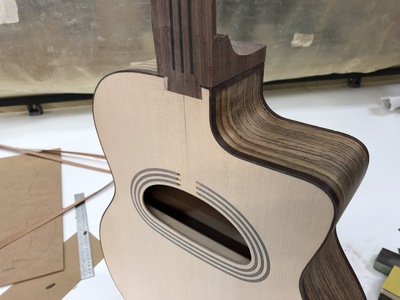
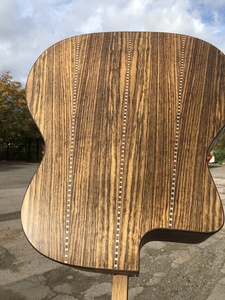
I've now got the neck onto the tropical olive Maccaferri although the sharper eyed of you may notice a small glitch caused by the body moving on the jig whilst it was being machined. Could have been worse and I have now stuck some patches of 320g sandpaper on the jig at the clamping points so this can't happen again. Glued in a section of dovetail and then machined it again and the neck now fits beautifully. It's not about never making a mistake, it knowing how to hide them! Now onto the fretboard which I have already cut for the frets but not shaped or trimmed to length.
Things are moving on. The body of the tropical olive Concert model has now been lacquered and the neck has had two coats, a rub down and now a final application of grain filler before another couple of top coats tomorrow. Initially I used a Morrells spray can nitro but I really wasn’t impressed. The lacquer seemed to be really thin, presumably to enable it to spray efficiently under the relatively low pressure inside an aerosol, but this meant it was really very susceptible to runs and pooling.
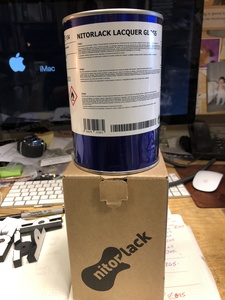
I saw this product at the London Guitar Show last weekend, ordered some immediately, and it arrived at lunchtime today. I haven’t sprayed nitro before but this lacquer is a dream to use and hardens sufficiently to rub down within an hour or so. I sprayed the guitar using a small gravity fed spray gun from Morrells which only cost about £20 but the cost saving on aerosols will pay for this within a guitar and a half.
I have sprayed the body and neck with the matt version of the lacquer and then wet sanded/burnished the finish with 1200G abrasive which gives a beautiful satin sheen.
Hopefully by the end of the weekend I will be in sight of the finishing line and aim to have strings on it byTuesday at the latest,


