So after all the troubles with the splits in the soundboard, I managed to fix it somehow. Hopefully it is strong enough and it will hold.
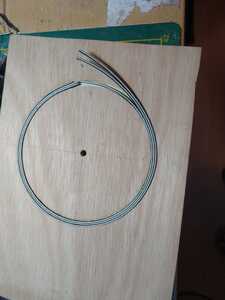
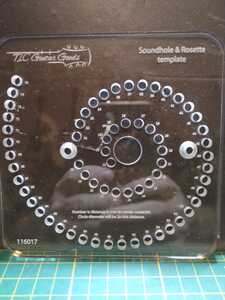
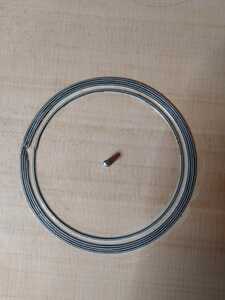
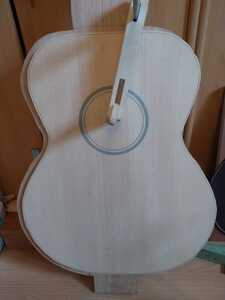
Over lunch time, I had a go with the dremel and a scrap piece of plywood to create a rosette. It took a few attempts to learn to work with that routerbase and soundhole template i bought from TLC Guitargoods in the Netherlands.
I made a mess with the curfling and dont have much left, but some little bits and pieces 😀
Anyway, using the bending iron and a bit of water helped immensely.
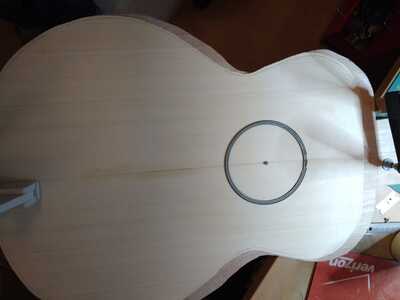
Since it was rather easy, once I had the hang of it, I decided to push through and made the rosette on the actual soundboard, while watching the video on that section very carefully as not to make mistakes.
This went VERY smoothly and was actually easier then on the plywood.
I managed to do a pretty clean glue job as well. I did prefer to use a dry cloth instead of a damp one.
That was key for my crack repairs as well I think. Not entirely sure on that.
All in all I think that looks like a half decent job no?
Looks like a neat job. I found the Dremel difficult to use as I’ve always cut inlays by hand in the past but have had to convert to power tools due to hand problems. I’m still not loving it. Sound hole template sounds good, I bought the attachment for the Dremel router base but it was so sloppy that I had to make a new brass bush and centre pin on the lathe so that it cuts a true circle.
You should have more confidence in your own ability to solve problems as as they arise. Doing an impressive build so far. I’ve worked on lots of factory guitars over the last 39 years and it’s amazing how many botch ups are covered by a paint finish.
Some people call me a tool, others are less complimentary. Tools being useful things.
I bought the attachment for the Dremel router base but it was so sloppy that I had to make a new brass bush and centre pin on the lathe so that it cuts a true circle.
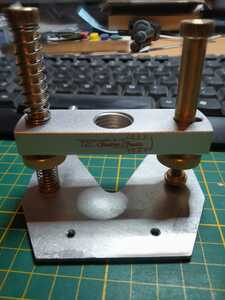
Ah that sucks man, was it the original dremel router base? Mine is a metal one, not unlike the one that Stewmac sells ( I wonder if they are 100% the same, just rebadged )
And this is the rosette and soundhole template, which is purposely build to accept this dremel base.
It is pretty similar to Marks DIY solution.
I must say, it took me a few tries before I understood how to properly align it and make it sit tight.
You should have more confidence in your own ability to solve problems as as they arise. Doing an impressive build so far. I’ve worked on lots of factory guitars over the last 39 years and it’s amazing how many botch ups are covered by a paint finish.
Thanks man. I really appreciate that. I am not used to work with wood (or any other craft for that matter, I am a lazy IT guy after all ) , so yeah I am not very confident about all of this.
I do have determination. If I set my mind on something I WILL make it happen, one way or another. ( Even if that means covering up screw-ups with a paint finish 😉 )
My Dremel router base is the same as yours and I got it from a reputable firm, but the circle attachment, which is a rectangular plate, was unavailable so I got one on Amazon which I think is a cheap Chinese copy. It works accurately now with a tight fit on the brass bush and pin. Making the pin was hard as the metal swells up with being heated on the lathe which affects the fit, so I had to keep waiting for it to cool down. Think I got it correct on the third attempt. Lathe work is fun especially making your own tools and jigs.
The circle cutter is interesting. I have something similar for drawing with pencil and paper but didn’t think of it for sound hole cutting. I might try and copy it for Dremel as I have some 2mm solid acrylic plastic bought for template making. Added to the list of 1000 jobs.
Some people call me a tool, others are less complimentary. Tools being useful things.
So after all the troubles with the soundboard, I had issues with the back panel as well. While on most part of the panel, I was able to smooth and bring the panel to thickness, a section on one end of the panel was really rough and no matter what direction I was trying to plane , it was fighting me, up to a point where I even ripped a whole chunk of wood out. It was rough on both sides, with deep pits and dents.
Glued the chunk back in.. Resharpened my plane blade,... I kept going at it, but I then realized, that , by the time I would be able to plane it all flat, I would have maybe a 1 mm of thickness left.
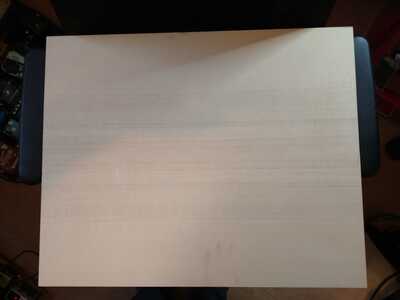
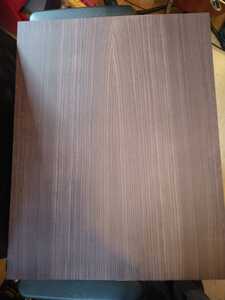
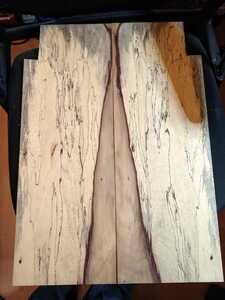
So I decided to buy a new set of back and side panels, as well as a new soundboard.
This time I ordered at Madinter in Spain, with added calibration and drying options, so I would not need to thickness the panels.
Soundboard and back are thicknessed to 3mm, sides are thicknessed to 2.5mm. i will probably take the sides to a friend and use his planer thicknesser to nip off another 0.3 mm.
The soundboard feels a lot more robust then the previous soundboard I had.
Glue up was easy, scraping and sanding too.
Starting with good quality material is a must, especially if you are new to this.
Therefor, if you can, buy from Mark and Carol! ( Unfortunately they cannot send some woods over to EU mainland anymore due to brexit )
Therefor, if you can, buy from Mark and Carol! ( Unfortunately they cannot send some woods over to EU mainland anymore due to brexit
Brexshit strikes again. 🤬 This Tory government is also destroying the UK, our democracy is being eroded right under our noses.
Make guitars, not war 🌍✌️🎸
Today I spend all day getting better at sharpening knifes, plane blades and chisels..
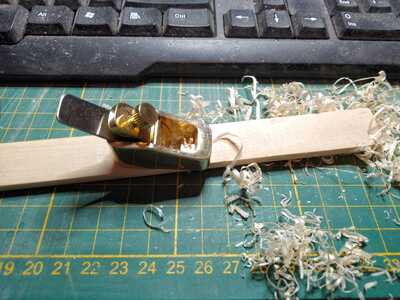
For the rest, I just tested my cute little flat sole mini plane. Practicing arching bracings on a left over piece 😎
I am getting addicted to handplaning . I loved creating all my braces from one big chunk of spruce and then plane them by hand.
Still too lazy to clean up afterwards though.. 🤣
Some people call me a tool, others are less complimentary. Tools being useful things.
I hope you has e better luck this time
The wood feels totally different, but I don't know if that is just my brain playing tricks on me.
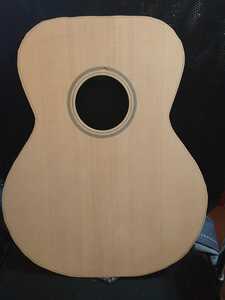
Routing for the rosette was also less fuzzy, much more crisp edges.
I also checked the humidity in my room, which dropped to 40%. Now I wonder if that could also be a reason why the previous board cracked so easily
This morning, I sanded the rosette flat, which took only a few minutes, since I did quite a good job with the mini planer and chisel ( That curved chisel I bought from this shop is awesome! I can recommend it)
I am really proud how neat I was able to get it that flat without any scratches on the soundboard at all.
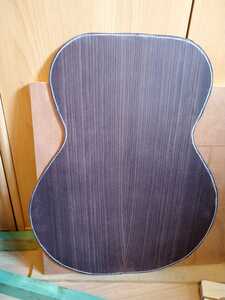
And here we are now, after bandsawing..
Quick question: I have tiny gap where the ends rosette meet eachother. Visually no issue sincr that will he hidden by the fretboard, but is it recommended to fill that gap with sawdust and ca glue ? Or do I leave it like that?


