Ok, so seeing as I have a bit of a thing for laminated guitars I thought I should have a go at a classic. I should say at this point that I knew a guy when I was growing up in Scotland in the the late 70s/early 80s who had a D hole Maccaferri copy and this instrument, and what he told me about Django and the history of the instrument itself, were major inspirations in my desire to build guitars. I’ve tried tracking him down but after more than 35 years it’s not always that easy! If you know a D. Stewart from Dunfermline please ask him to get in touch with me, It would be great to catch up.
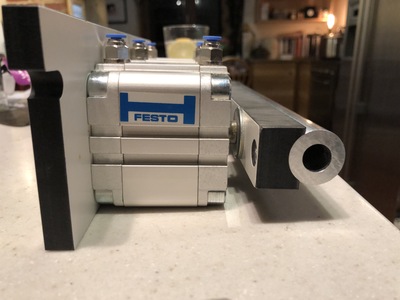
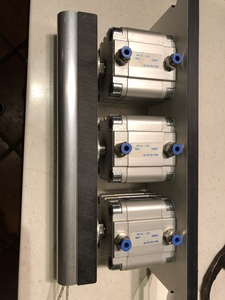
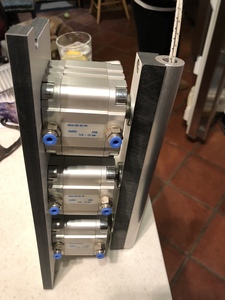
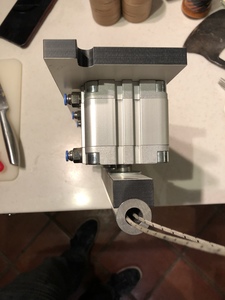
Anyway, back to my next builds. I have an ebony and a santos rosewood guitar, both of the same design as my first two at the body assembly stage but I have also started on the construction of an oval sound hole Selmar inspired instrument. I say ‘inspired’ because I am not intending to produce an exact museum grade copy but rather an instrument that takes on the main form and design of the original but with a few tweaks. Mind you, trying to establish what is the ‘true path’ is not a simple task in the world of Maccaferri/Selmar/Django as there are so many variations and developments over the relatively short number of years of production. One of the main features of these instruments is the crease, or ‘pliage’ in the soundboard and the majority of ‘copies’ try to avoid incorporating it with proper ‘heat bent’ soundboards being considered something of an exotic rarity. I will let you know how I get on with this but suffice to say ‘I have a plan’ and it involves heat, aluminium tube, pneumatic cylinders and cartridge heaters.
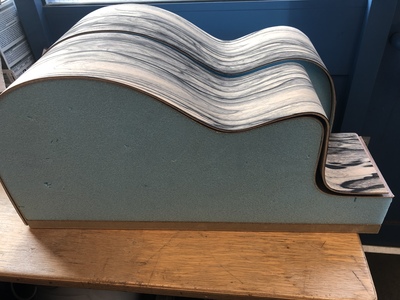
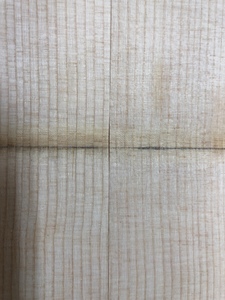
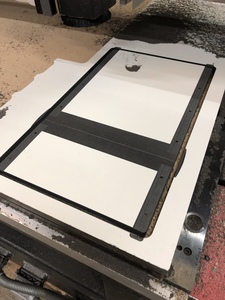
In the meantime here are the pictures of the side and back laminations of my first gypsy guitar made in a rather non traditional white ebony/ figured sycamore combination. They are made up of 5 layers of veneer - 3 long grain and two cross grain which give a finished thickness of around 3.2mm. The three inner layers are all mahogany and all the veneer leaves have been RF edge glued prior to lamination. Given the thin soundboard ,unusual bracing and the pliage, this should make for an interesting construction.
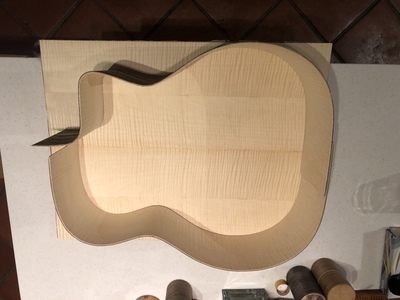
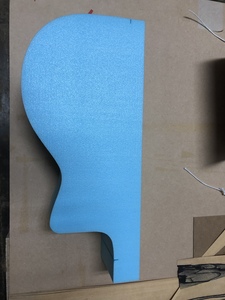
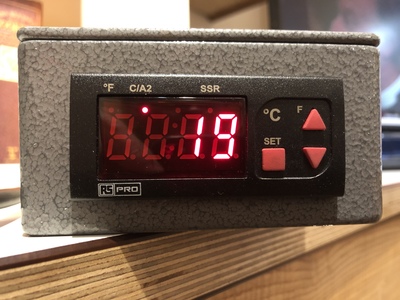
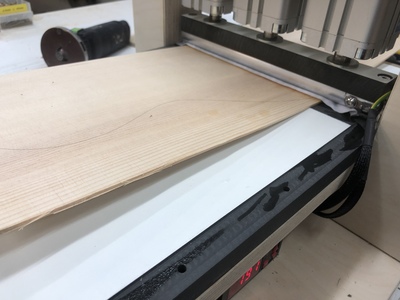
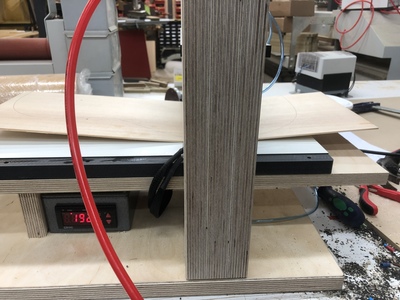
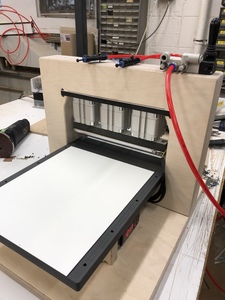
Ok, so the pliage bending machine is coming along nicely. The 1” x 1/4” aluminium tubing was spot on and the 1/2” 425 watt cartridge heater is a really good snug fit so I haven’t bothered with any heat conductive paste, just a grim screw at either end to keep it in position. A small RS controller and thermocouple will be controlling the temperature with three 50mm diameter x 20mm stroke pneumatic cylinders providing the grunt. At 10 bar they can exert nearly 600kg of pressure so I think that should be enough. I will be making the plywood surrounding frame tomorrow from three layers of 24mm birch ply. I have used this construction before and it does produce the most fantastically rigid frame. The machine is designed to bend each half of the soundboard prior to bonding them together but my intention is to trim them on the veneer saw first and then there should only be a stroke or two on the shooting board required before they get stuck together. Mmmmmmm, so I guess an kinked shooting board will also need to be made! It’s never ending......
The first pliage has been pliaged! I only had time for one very quick test before I left work today but it looks VERY promising. Given that I didn’t time anything or do anything more scientific that crank up the temperature, press the bar down hard and then release it after the steam stopped coming out I think the result is pretty damn good! Both halves have turned out almost identical with less than 0.5mm of difference. The edges to be glued have receded very slightly at the point of heating which reaffirms the need to bend the halves, reshoot and then glue rather than try to bend an already glued up soundboard. There is small degree of crushing at the sides with most scorching but hopefully at lower temperatures this won’t happen. In any case, I think I would rather have a little bit of compacted material at this point rather than having to score a cut line across the underside which is evidently a fairly common practice. There is no apparent cracking or splintering of the grain on the face at all
The bed has an 8° channel and even though I haven’t measured the resulting sprung back angle in the soundboard I don’t think it will be much different. The scorching is way more that I would like (although it doesn’t show on the front at all), so I will try some bends at lower temps tomorrow. I may also move the heater cartridge more towards one end of the aluminium pressure bar as the heat is definitely concentrated in the 150mm section corresponding with the heat source position. I had thought the heat might distribute more evenly than this but in fact this may be an advantage. Given that the soundboard has to flatten out where it joins the side it is probably no bad thing if the crease, sorry - pliage, isn’t quite so sharply defined at the outer edge. It will mean referencing both sides of the soundboard to the same edge of the jig but this isn’t a problem as I can remachine the angled recess in the centre of the bed.
Anyway, to sleep and dreams filled with gypsy jazz and funny shaped sound holes!
Holy Guacamoli !
That is a serious piece of kit - not for the beginner ;P
We did this on the course once here in the workshop but just used a basic hot pipe in a wooden mould to clamp it into -
Also we bent ours AFTER joining. I was a little worried it might separate during the heat bending process but to me it seemed to be the easiest/best way to go and I can report it is still in good form after 10 ish yrs...we used Titebond Original (the king of glue (not a sponsor!))
For anyone who may be interested I think that the bend in the soundboard 'Pliage' is there to increase the angle of the strings over the bridge.
Maccafferri guitars normally have the strings mounted into the tailpiece like a jazz guitar. This requires an angle to pull the strings down hard enough on the bridge/saddle.
Normal acoustic guitars avoid this problem of course by having the strings mounted inside the body.
Stunning work as usual Darren!
Measure twice, cut once...
Hi Peter,
In response to the chat on the Live stream today .......
The controller that I used for my pliage bender is from RS part number 124-1059. It will switch up to 8 Amps, or more if you use it to control an external higher current relay. It accepts a range of thermocouple types all of which are listed on its spec sheet which is downloadable from the interweb.
Post relating to heated pads coming shortly..
Darren


