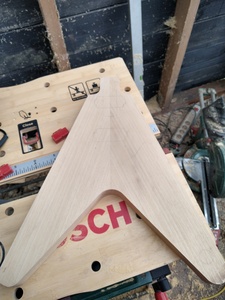
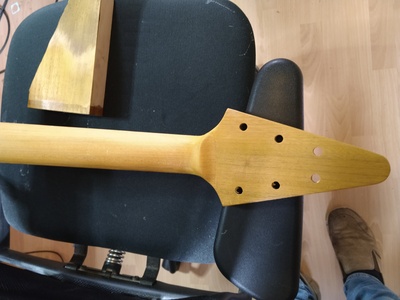
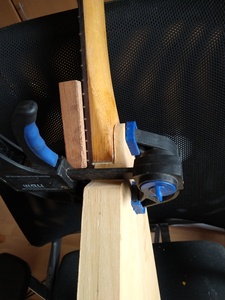
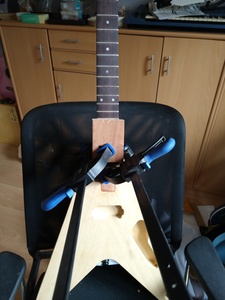
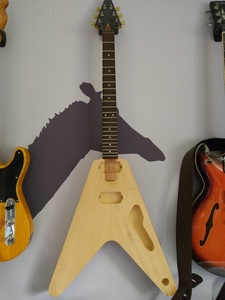
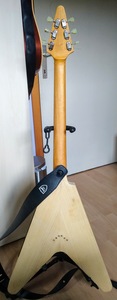
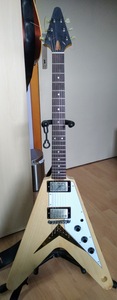
Some more progress.
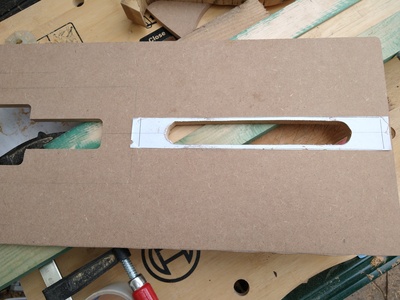
Routed the trussrod channel.
Unfortunately I had problems keeping the guide rail tight against the edge, resulting in a very messy channel.
It is still a pretty tight fit overal and the only spot where it is a problem, I used some pieces of veneer to keep the trussrod in position.
No noises from the trussrod when shaking the neck so I am not too worried.
It just looks very messy to me.
I should probably start using a proper routing jig for this job.
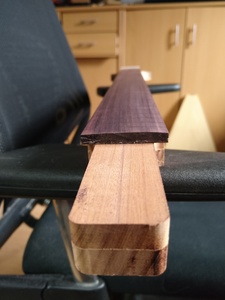
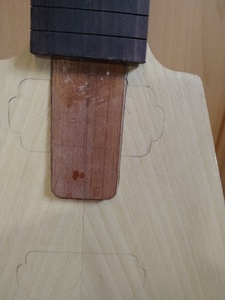
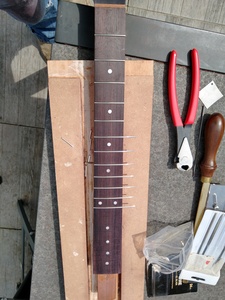
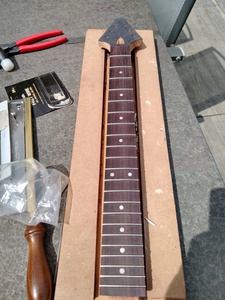
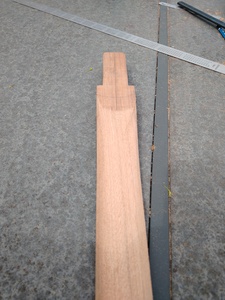
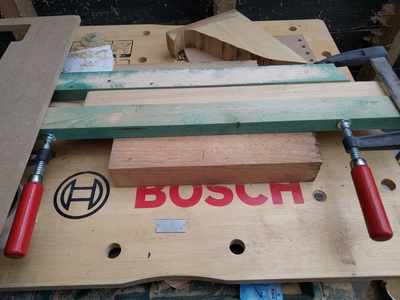
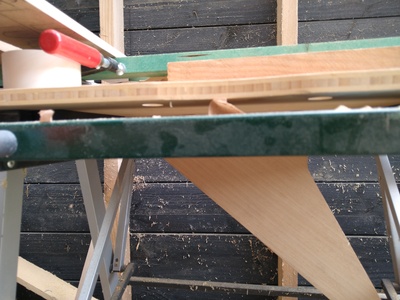
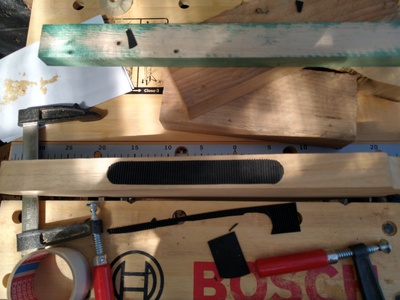
Cut the fretboard to size, radiused and fixed the fretslots back to a proper depth.
I put extra effort in this, as I was not 100% satisfied with the fret job of my tele build.
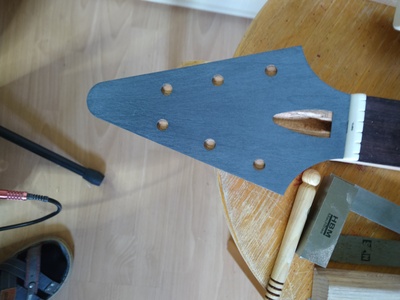
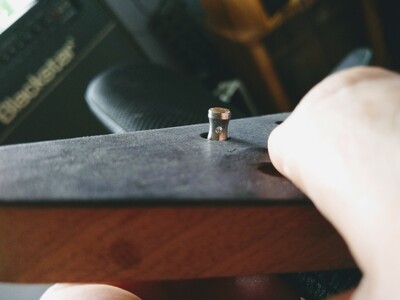
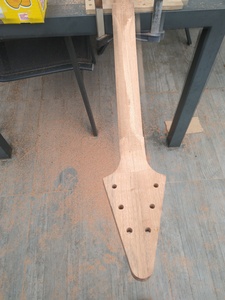
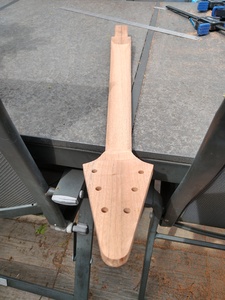
Glued the headstock veneer on, drilled the tuner holes and reamed them to accept the vintage style bushings.
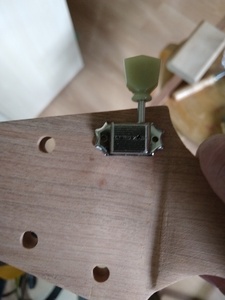
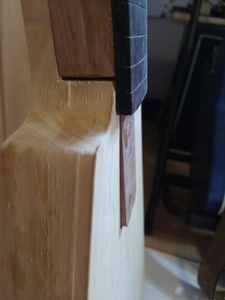
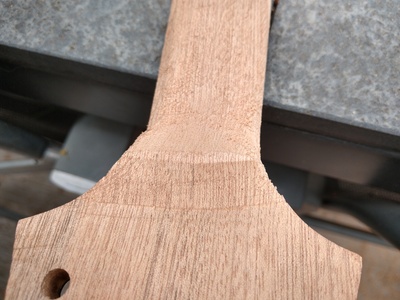
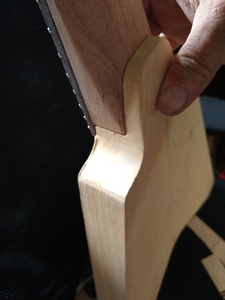
Test fitting a tuner showed me , I probably need to sand off some of the back of the headstock as it now is a bit too thick for the tuners.
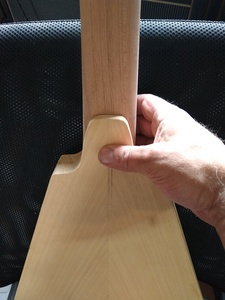
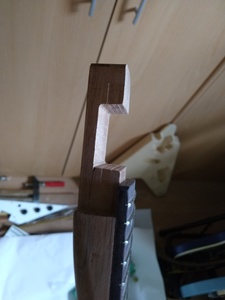
I also needed to rasp and sand away some of the excess meat from the scarf joint to be able to install the tuners.
Because I have no idea yet on the best way to remove and shape that back and a volute, I decided to proceed and remove just enough to be able to test fit one of the tuners.
In the meanwhile, I have ordered a spindlesander, which will , hopefully arrive next week.
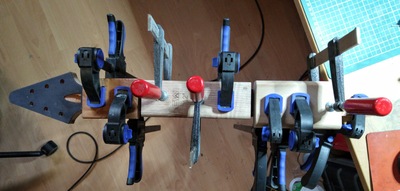
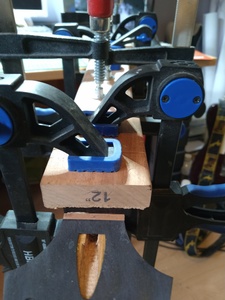
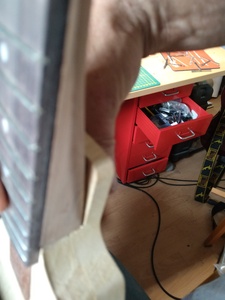
Final step for today: glueing the fretboard to the neck.
That's it for today!
Hah, a little suspense is a good thing @koendb. The first two have different nut widths, 43 and 45mm. I was talking about the third one, it has something else going on...
Looks like it has 1-2mm written into the surface? And the truss rod slot (is that what it is??) marker at the bottom of the template looks a little longer?
But other than that ... I never was much good at "spot the difference" games!
Online guitar making courses – guitarmaking.co.uk
Looking good @koendb! How did you keep the cauls from slipping around on the body while gluing up?
The way I've seen other people do that ...
They glue the body pieces together *before* the final cut of the outside shape.
They leave "steps" on the outside edges, which form parallel faces onto which you can place the clamps, which then don't slip when you tighten them.
Once properly glued together, then then cut the outside edges of the body shape.
A picture shows it really clearly, but I can't find a picture right now!!
Online guitar making courses – guitarmaking.co.uk
They leave "steps" on the outside edges, which form parallel faces onto which you can place the clamps, which then don't slip when you tighten them.
@tv101 That makes total sense! Why did I not think of that 🙂
Anyway, luckily, I ended up with a good glue joint. But I will use your tip for my next build if it requires it .
Thanks man!
Today I cut out the body and routed out the neck cavity. I had so much trouble putting an angle in the pocket, only to find out I probably wont need one. Checking the clearance with a ruler from the top of the nut and the bridge, the ruler touches the fretboard at the end. and the frets are not even in. I think I will make the neck pocket flat tomorrow.
Today I started with removing the angle from the neck pocket. But I went in a bit too drastic and should have left just a bit of an angle in there. Oh well I will need to shim it now, before I can glue in the neck.
While I was checking if my neck angle was right, using shims, I noticed that my fretboard was sanded unevenly, so redid it and got rid of the compound radius (10º to 12º). After that , I installed the dots , but man, are they misaligned lol.. I am really bad at accurate things . lines don't end up where I want them to be, using a punch, I am even unable to place things in a straight line.
Then I also sanded away a few mm from the back of the headstock using my new spindle sander. Now my tuners fit nicely.
I really need to be careful with that spindle sander as it takes material VERY quickly, I had to repair a few spots. But nothing too major.
Next job.. frets. I am pleased with the results on this . Frets went in smoothly this time. That is progress in my book.
Final job for today: carving the neck! My second neck carving and the first time I did a volute.
I did not go for a specific shape, I just started carving until I was pleased with how it felt.
But erm.. I was a bit too exited and went too far. I did only realize my error until I tried to attach the body to the neck..
I had to leave the heel intact, instead I curved it nicely, like on a tele or strat style 😕
Of course now it does not fit the little platform on which the neck is attached to the body.
Luckily I fixed it with my spindle sander and a few passes with a sanding block. I think that works nicely.
I do wonder how I can fix all those gaps and holes around the neck pocket area, as they will be visible. would woodfiller or glue mixed with sawdust work ? It is not for structural fixes, but visual imperfections due to my sloppy work.
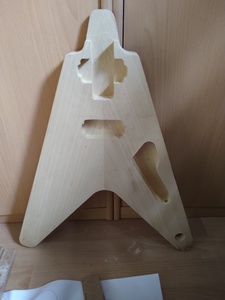
Today I 've routed all the cavities and cut out space for the neck pickup in the neck tenon.
All holes have been drilled as well. Except maybe the one that needs to go to the bridge post.
Because of the small size of the posts, I cannot do the same as on a typical tom bridge (run a ground wire to the stud of one post).
So I need to think a bit out of the box. I think I am going to add aluminum foil to the back of the pickguard, and since one post of the bridge is mounted over the pickguard, I can easily use that aluminum foil to make the ground connection with the post.
Perhaps it was meant to be done that way? I dont know exactly 🙂
I discovered a small crack in the side of the neck but It doesnt look anything structural so I tried to force some titebond in the crack.
I hope it is not going to be an issue. but only time will tell.
I was about to finish, when I realized I had forgotten about the little strip of rubber at the bottom of the body. Gibson placed this so you could sit down and play a flying V, without the body always wanting to slide off from your lap.
I quickly made a template, using a small saw, shinto rasp and my spindle sander
and a temporary jig, to hold the body and template in place, during surgery
And this is the result:
I have test fitted everything I could, (pickguard, jack plate, neck, etc..) to make sure I was on the right track.
One thing I need to do, is to order one of them 3 way switches that goes sideways, instead of a straight one.
Since the space where it needs to sit, is too narrow and makes it impossible to fit the pickguard correctly.
I am still waiting on the pickups from Axetec, and until then, I am not ready to glue in the neck. Cause I really want to make sure my puckup cavities are ok. I did test with an EMG pickup I had laying around, but I really want the exact pickups to test.
My only hope is that my shims and all little mistakes wont interfere with the strength of the neck joint. At this stage, the neck is not fitting very tightly because the many attempts of fitting it all together, in combination with the soft samba wood, made it a bit loose.
On it s own , that is not an issue I think, since the glue will make the fitting much tighter, but I am afraid that other factors like the shims, will work against it.
Only time will tell I suppose. I am curious about how much I can get away with 🙂
It's all looking Great @koendb.
I've always liked the look of the Flying V ever since seeing the Scorpions back in the day....... however a friend of mine at School got one and I tried it out. It felt like a monster of a guitar so I ended up being more drawn to the Strat. Maybe one day I'll have a go at building one too.
🎶🙂🎸🙏
🗝️ "Life's what you make it"🗝️
This morning I experimented a bit with a decal and with stain colors on the neck and a piece of the leftovers body blanks.
Goal was to match:
1. The colortone of the example picture I 've added in the first post in the thread.
2. closely match neck ( sipo ) and body ( samba wood ) colors.
I think I succeeded in both
Today I also got my Iron Gear Blues Engine Pickups ( raw nickel ) from Axetec 🤩
I could not resist and did a little mockup picture
Knowing everything is fitting in , I decided to glue the neck in during lunch time.
This afternoon, I installed the bridge, drilled the holes for the strings, installed the ferrules ( a much much cleaner result this time! )
I've put strings on the guitar, filed a little notch in the saddles, and put the nut roughly where it needed to be.
I must say.. it is already close, both action wise as well as intonation wise. everything seems to be lining up correctly. ( except for the dots, they follow an alternative centerline, one with random bumps, I think 🤣 )
Still waiting for the switch to arrive to complete the electronics and wire it up.
Once that s done, I ll disassemble the whole guitar again, sand it, finish it, do a proper fret and nut job, etc..
Oh man I am so happy now!
Almost there.. almost there.


