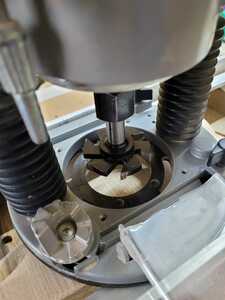
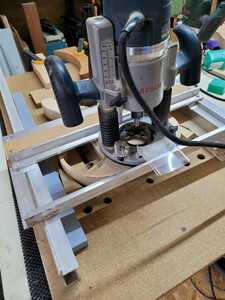
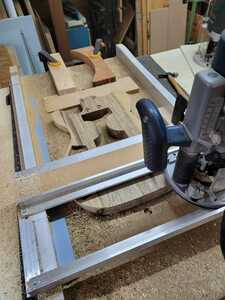
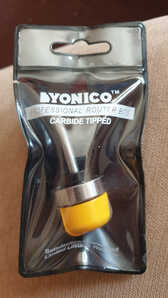
This nifty little (large) surfacing bit has got me out of trouble numerous times.
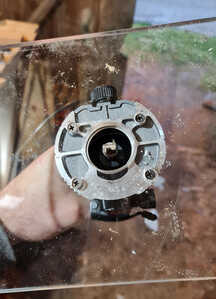
Ready for action
Four passes later ...
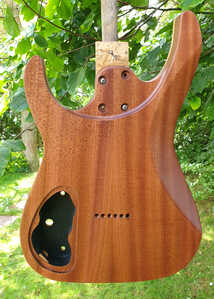
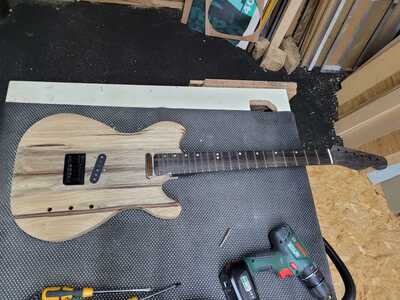
Surgery successful. I then used my sanding beam over the newly exposed back just to make sure it's nice and flat and ready for the new cap.
The particularly observant amongst you may have spotted another error opportunity for a creative solution which will become apparent (to the less particularly observant amongst you) in due course.
Points for anyone who spots it now ...
Online guitar making courses – guitarmaking.co.uk
Not that @Robin - I’ll just redrill the bolt holes from the top through the new cap and use the holes as the centre points for the 15mm recess holes.
Similarly, I should be able to find the thru-body string ferrule block easily enough.
You’re in the right area though …
Actually, the image res maybe isn’t high enough to spot the issue.
Online guitar making courses – guitarmaking.co.uk
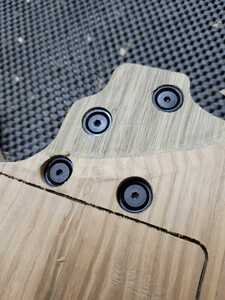
@tv101 screw ferrule for the neck is to close to the edge?
Spot on @NSJ.
I used a standard Tele plan as the core for the CNC design, and the standard plan assumed a standard 4 screws into a neck plate. The screw ferrule is 15mm diameter, which took it right to the edge of the neck heel. Right to, and then just over, the edge of the neck heel.
Now, I don't really like that part of the design as I find the corner of the standard 4-screw heel digs into my hand if I ever venture up the top end of the fretboard.
So I'll reshape the heel a bit to smooth the corner off and remove the in-the-wrong-place screw hole and re-position it a few mm further away from the edge of the heel.
There's always something ...
Online guitar making courses – guitarmaking.co.uk
@tv101 Here's what I do to the neck heels area on my builds, I use 38mm screws from axesrus then I can do a 20mm neck heel and take the body down to 20mm at the join. Makes it really comfy and allows nice access to the dusty frets. Doing this could remove all the ferrule holes then you could plug and redrill the one on the edge
I like the curves on that design @nsj - I can't do anything quite like that on this build, but I had something similar in mind.
Also really like the fact that you use proper cavity covers on your builds!!
Online guitar making courses – guitarmaking.co.uk
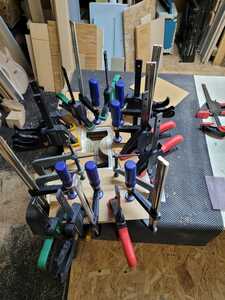
I glued the back-cap on last night, and used a few clamps to prevent a recurrence of the gappy join ...
That seemed to work.
Had to take the car into the dealer this morning for some warranty work. Guy behind me wasn't too please when he got his quote for his service and bits & pieces ... £1619 (not sure whether that included the VAT 🤣 ). The guy explained that it was one of the more expensive services!!
Anyway, that kept me out of the workshop until this afternoon, so just a couple of hours done today.
Online guitar making courses – guitarmaking.co.uk
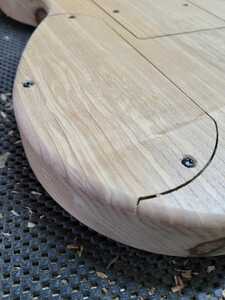
Job #1 - fit the cavity covers. Mainly so that I could trim the edges of the back-cap, and do the roundover on them. Wanted to have a consistent roundover all the way round, including the edge of the control cavity cover.
Neat job.
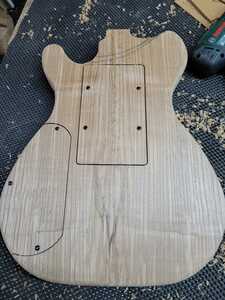
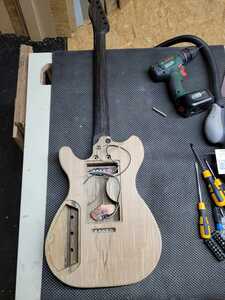
The pencil lines on the first pic show my plan for dealing with the neck join.
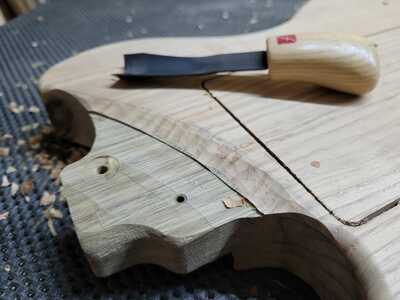
Bit of reshaping of the heel first, to remove the hole-in-the-wrong-place. I could have drilled & filled it, but I thought this might be a bit neater.
A little freehand routering to remove the back-cap to the outer pencil line in the first pic, and then a bit of hand-tooling to blend a carve between the outer and inner pencil lines.
Then redrill the neck bolt holes and the sunk-in ferrules and test everything fits
At that point, get *out* of the workshop because everything so far has gone well, and I've learned to quit whilst I'm ahead
😉
Plenty of sanding and tidying to do tomorrow,
Online guitar making courses – guitarmaking.co.uk
@tv101 it's not to tricky tbh, I just added an acrylic base to a router, bought a bowl and dish router bit then just knock up a quick template using 20mm mdf. The big base gives you lots of stability, also used it on a neck heel, ran it around the body so the heel matched lol.
It's in my vids on yt somewhere
As for cavity covers, got to be wood for me really, I like to try and have a contrast if I'm using different woods for back and front
Spent an hour or three sanding today.
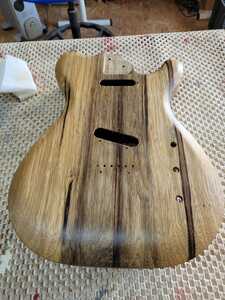
Before I apply any finish, a quick part-put-together to check things ft where they should.
Channel through to control cavity for the pickup wires needed to be bigger (now done).
Neck pocket could be a touch lower - about 3mm should do it (job for tomorrow).
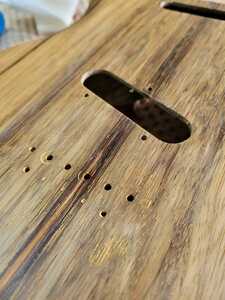
Thinking about the finish, I *think* I'm going to use some gold grain filler before some Osmo raw (which stops the natural colour of the wood changing) and then the French polish-ish clear topcoats.
The neck has gold frets, hence thinking about the gold grain filler. It might also have gold knobs.
Online guitar making courses – guitarmaking.co.uk
Right, that's Christmas done, I can get back into the workshop!
Took 3mm off the bottom of the neck pocket, and the underside of the pickup routs (so I have a bit more upwards adjustment).
Sanded.
Grain-filled (gold).
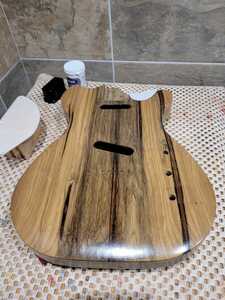
Coat of Osmo Raw applied. Although this looks white in the tin, it stops the natural colour of the wood changing when subsequent coats of finish are applied.
(I hope).
Leaving that to dry overnight, and then I should be able to start applying the easy-French-polish finish that I used on the previous one.
(Previous one is now in the workshop awaiting assembly).
Online guitar making courses – guitarmaking.co.uk
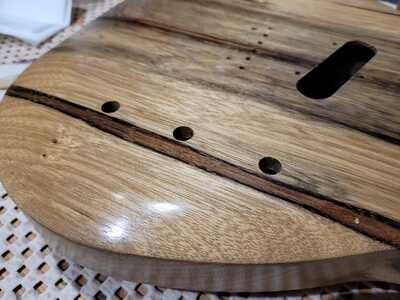
This has had 3-4 coats of the Liberon Easy French Polish applied, and I used some 0000 wire wool to smooth it out this morning before applying what's - hopefully - going to be the final coat of the polish.
I really like this product. It's easy to apply and quickly builds a nice smooth shiny finish.
Online guitar making courses – guitarmaking.co.uk


