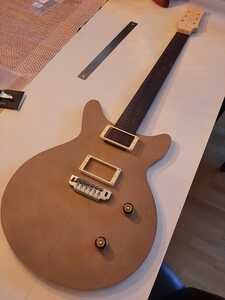
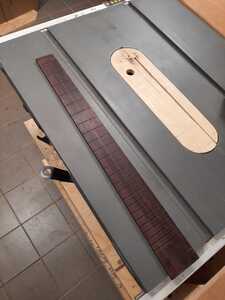
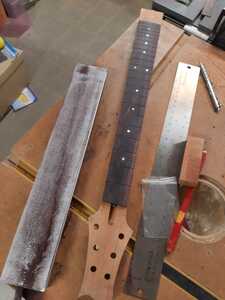
Finally did some work after a lot of thinking. Had to use a plane to reduce the rough-sawn fretboard blank to straightness and size. I really would like to have a thinckness sander thingy. I had not used a hand plane since school, a number of decades ago, so there was some foul language during the process. I also learned how to tear out rosewood and to sharpen the blade.
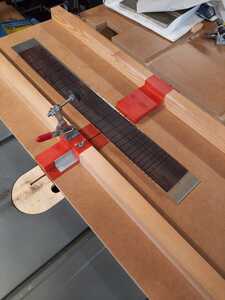
I had already built a jig for fret slot cutting and tapering, so that was quite straightforward. Next step will be radiusing the fretboard and then cutting it to length, I think. This may take a while, I do my best not to rush this project.
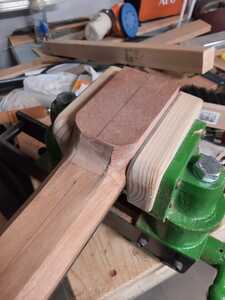
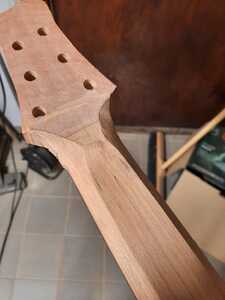
Finally started to carve the neck, but is a bit stuck at "refining facets".
I have made the "third" facet, the flat bit on the back. Now I don't know how to refine the first two facets. Should the new lines go at the same distance from the centerline as the lines originally used?
A bit scared to mess things up now...
@swepri, wow those facets looks clean! Man you should see mine 🤣
You can now decide where you want to go with this. If you mark your next lines nearer to the centre line, the more C shape you get.
If you draw them a bit farther away, and thus make the angle smaller, you ll end up more with a D shape. Me personally , I would just knock of the corners of the current facets, making 2 more , shallower facets. It is all in how you now angle your rasp to break the current facets up into two new facets really.
Yes, several times 🙂 Right now a hair over 21mm and 23mm
@swepri Good, I just wanted to make sure. 👍
Like @koendb said, have a think about what profile shape you want your neck.
Do two things today:
1. Walk away from it and think about the profile shape.
2. Watch h the video again on carving the neck.
https://guitarmaking.co.uk/lesson/carve-the-neck/
Tomorrow (or whenever you return to work on it, you will be fully clued up about how you want to carve it.
If you are still unsure, come back and ask again.
No probs. It’s looking good. 👍
Make guitars, not war 🌍✌️🎸
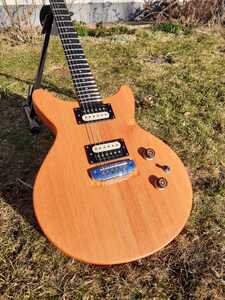
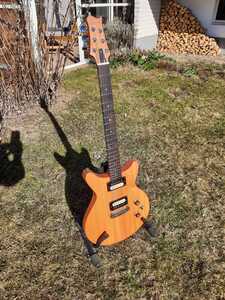
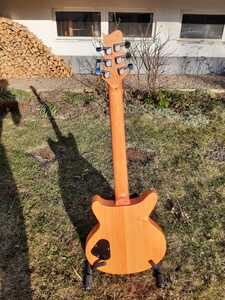
There was some mistakes, some lessons learned, and a lot of fun. It sounds like a guitar and it look lika a guitar.
Looking good. The trick on your next build is not to repeat the mistakes. But it won't be boring, there plenty more challenges waiting.
I will invent a few new mistakes
There’s no such thing! We’ve all made them all before so you will have to be VERY creative to come up with an original, but please don’t take this as a challenge! Sharing mistakes and, more importantly, the lessons learnt from them, is one of the main things that makes this forum so great.
Darren
Thank you guys. I have played it for an hour or two and have some minor adjustments to do. It played well immediately without any other adjustment than the bridge height, but I need to deepen the slots in the saddle a fraction and maybe round off the fret ends a little bit more.
Is there a big difference between saddle slot files? I have a relatively cheap set of Hosco files. They work, but leave an almost convex bottom in the slot, so I get a small "ping" when bending the lighter strings. This is easily fixed by folding a bit off 600 grit sandpaper and smooth it out, but I am not too happy about that.
@swepri Yes the files I find make a difference but the major difference is how your hands and eyes apply the tool to shape. I use the same files as yours and I’ve busted nuts plenty of times. I find patience and focus is your biggest advantage in achieving the results desired. Worse comes to worse there are always Tusq nuts and I swear by it. The best polymer pre slotted nuts there is. No shame in that. Again beautiful job on your first build.


