Ps. I’ve got my haggis and whisky ready for Burns night. 🏴🥃 (there is no haggis emoji)
Having prevented them from entering the virtual world, if only we could be so successful in the real world ...
😀
Great work @koendb and you are braver than me, I’ve still only got as far as vaguely thinking about an acoustic build one day.
Online guitar making courses – guitarmaking.co.uk
- Sanding of the sides: done.
- Facets towards heel and tail: done.
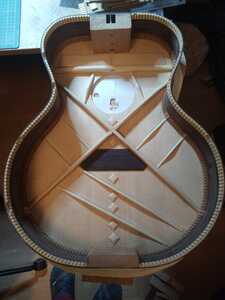
- Kerfed lining for the back: done.
Although a bit sloppy cut work there, I am afraid my notches are a bit on the big side. Here and there also some rough chisel work, resulting in broken pieces of kerfed lining.
I do need some more work in refining my techniques. - Braces on the back cut to size.
- Test fitted everything, some work on back graft and heelblock to get everything fitting properly ( hopefully )
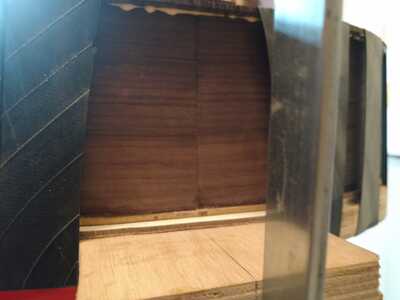
- Cleaned up the side join which, I find acceptable. You can not feel the transition between the difference in thickness of the sides.
There was hardly a gapto begin with, but I sanded from the thicker side, towards the thiner side, keeping all collected wooddust, which filled all possible little gaps, then I used thin CA glue along the seem, sanded it all out after drying. Job Done.
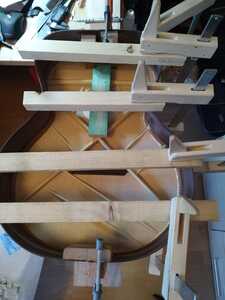
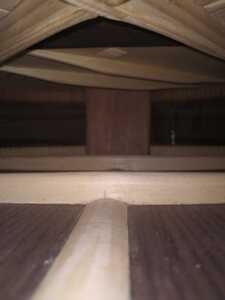
After dry clamping 3 or 4 times, writing something on the soundboard, I went all in and glued the back on.
Wish me luck!
@koenbe, you are clearly on a roll! I bet you’re not getting much real work done!
Great job and I’m sure you’ll love it when you get to string it up. Just in case it doesn’t knock your socks off from day, one, I had guitar which started of sounding really very thin but which has completely changed in tone over the course of two years so sometimes you may just have to give the guitar time to settle down with the string tension applied. It is now completely awesome and probably my favourite self build.
Cheers
Darren
OK then good luck. I agree totally with Darren the instrument will take some time to settle down before it plays well. Are you planning to finish the neck and sound box before they are fixed together or after.
Some people call me a tool, others are less complimentary. Tools being useful things.
Also around the heel and tailblock.
I had guitar which started of sounding really very thin but which has completely changed in tone over the course of two years
@darrenking Yeah I know. we'll figure that one out when we get there. I will love it anyway, cause I made it myself
Are you planning to finish the neck and sound box before they are fixed together or after.
@rocknroller912 I am not sure yet, need to rewatch The acoustic build instruction videos again. I am more leaning towards the idea to do it when it is fully assembled ( minus the bridge ). But I am open to all suggestions
The inside looks very clean which is impressive. Be careful when you are trimming the soundboard to the sides it can split very easily in the waist area due to splitting along the grain.
Some people call me a tool, others are less complimentary. Tools being useful things.
Be careful when you are trimming the soundboard to the sides it can split very easily in the waist area due to splitting along the grain.
I am actually doing that right now, with a chisel, thumb plane and a scraper.
Rosewood was a hell, spruce is like butter. I did have issues getting the chisel in the right angle on certain spots around the waist areas.
Done now for about 65%
Alright alright a quick sneak preview...
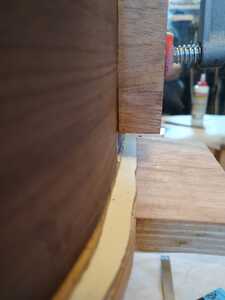
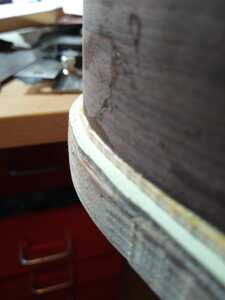
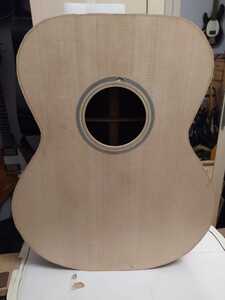
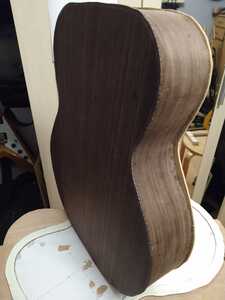
The back is all done with the chisel and planer, The side I am showing here is already done with a scraper , just for me to check the end result.
Here and there , I still need to remove some glue squeeze-out on the side of the back. I was just doing the side of the soundboard, which goes a lot quicker.
At this stage I only use a bit of rough sandpaper (120grid) to remove some problems, caused by bad chisel techniques, but up till now, I only used it twice.
If I can continue like this, I think I am going to be really happy.


