Superglue + fretboard = sadness
…on an elaborate journey to turn trees into music.
Superglue + fretboard = sadness
What happened?
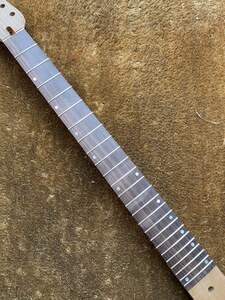
@koendb I was careless filling the fret ends and on two of the frets the glue ran over the front of the board. I’ve managed to clean it up fairly well but now the wood is lighter on two frets where I’ve sanded and scraped. Hoping after oiling that it will all balance out. It doesn’t look dreadful but things had been going so well it was a little disheartening!
You can see the difference on the 14th and 16th frets
…on an elaborate journey to turn trees into music.
things had been going so well it was a little disheartening!
Yeah I know that feeling all too well :-/
You might be able to get rid of it by sanding with very fine wet n dry.
Eventually, even if you don't do anything, it will get less and less apparent. I would not worry too much
@koendb Thanks. It will definitely improve as I’ll clean up the whole board at the end which will leave a much more uniform look too if nothing else. I suspect the lighter colour is tiny particles of glue dust in the grain so may even come out with a damp cloth. Anyway I’ll try to overlook it for now and get on with things 🙂
…on an elaborate journey to turn trees into music.
. I’ve managed to clean it up fairly well but now the wood is lighter on two frets where I’ve sanded and scraped.
Were you sanding across the grain to get close in to the fret wire. Try sanding along the grain, maybe you need to sand all the frets if you want them all to look the same. I think it'll disappear with fretboard oil.
@robin no I masked off the fret wire and sanded with the grain. I’ll do a small test with some lemon oil to see if it magically vanishes and if not I’ll redo them all the same. I suspect the same as you that oil will sort it out.
…on an elaborate journey to turn trees into music.
Side dots all done, 1.5mmx1.5mm MOP, most awkward part of the build yet. I’ve drilled one of the holes for the 24th marker out of line, thought it was just a little out when I did the hole but with the dot it it’s really obvious. Question is, if i drill it out and fill the hole with glue and rosewood dust and then re-drill it will it look worse.
If you’ve made a similar mistake and rectified it please post pics of the results, I’d appreciate hearing anyone’s experiences.
…on an elaborate journey to turn trees into music.
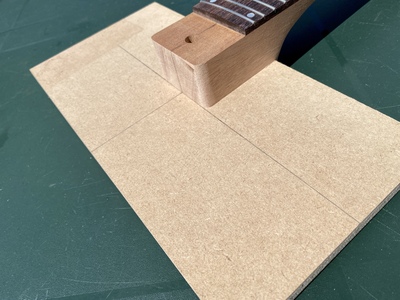
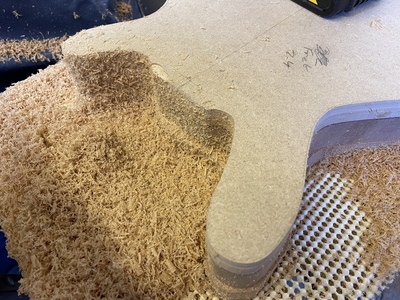
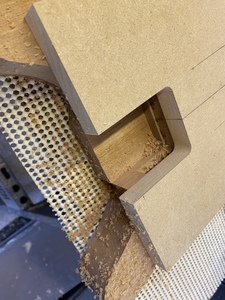
After a few failed neck pocket template attempts, I made an adjustable jig for making the pocket template from based on a design posted previously on the forum then used that to route the template:
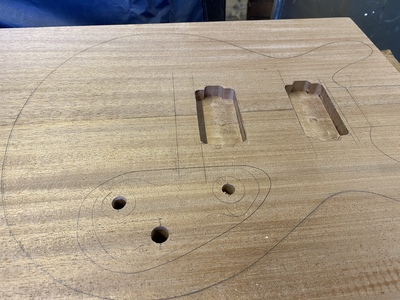
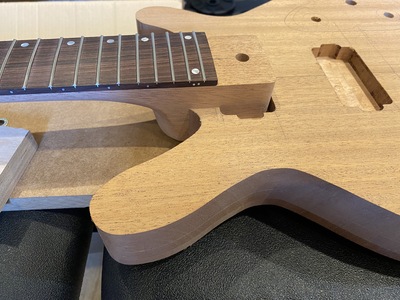
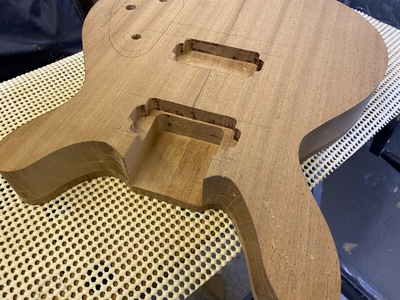
…absolutely perfect fit, so now, excitingly, onto the body!
…on an elaborate journey to turn trees into music.
Great work @tej! In my experience when scraping the fretboard you‘ve got to do it all for it to look the same. Sucks but…
Practice on scrap...
@tej looks like you are getting the hang of guitar building now, making your own jigs. In the past I’ve used a neck template that was slightly bigger than the pocket template so it doesn’t quite fit in. This allows some room for hand finishing the neck to get the alignment correct and straight on to the body. I did it using iron on plastic veneer, the kind that kitchen fitters use on units. I figure there will always be some final fitting by hand, as you all know I suck at routing too.
Some people call me a tool, others are less complimentary. Tools being useful things.
@rocknroller912 Thinking about alignment I’m contemplating extending the template to the length of the body pretty much so that way I’ll get the smallest margin of error with alignment, in theory!
…on an elaborate journey to turn trees into music.
@rocknroller912 exactly the same as the one I’ve made but the back of the template would go to just before the edge of the body past the bridge. If I align the centre lines on the pattern and body at that point it should mean that any error in alignment is minimal. That said what might be easier is if I align and clamp the template to the body where I think is correct and then seat the neck into the pattern. I can then run a thread from the centre of the nut over the neck to the edge of a block aligned with the centre line at the bridge end of the body and adjust the pattern at that point. As long as I can remove the neck from the pattern without moving it that should be ok. Last thing I want is an even slightly wonky neck so probably worth spending time to get this bit right!
Hope some of that made sense 😬
…on an elaborate journey to turn trees into music.
I get your idea now. I usually align the neck with a straight edge along each side of the neck and make a pencil mark on the body from the outside of the straight edge. Then I measure the distance of each pencil mark from the centre line. My thinking is that any error gets magnified further away from the centre line.
My other method is, if I’ve got the tuners fitted then take a string from 1st and 6th right to the end of the body and measure distance from the centre line.
Some people call me a tool, others are less complimentary. Tools being useful things.
@rocknroller912 I like that idea too, it does however presume I’ve got the sides even 🤔😉 I’ve got to remake the neck pocket template anyway after so will make it long this time, I think combining that with your method of marking the edges with a straightedge to align the pattern too should make any error imperceivable. Probably 😬
…on an elaborate journey to turn trees into music.
@rocknroller912 Absolutely, I think a lot of what I’ve done will be used again though 🙂 At least it will if I have my way 😬 The effort for most jobs done well goes into the preparation, just a shame I forget that on some of the things I’ve screwed up on this build through impatience, still, nothing that’s not been overcome so far!!
…on an elaborate journey to turn trees into music.
RoutyMcRouterson
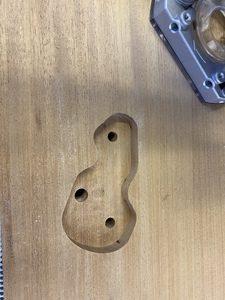
I use a bit from radian tools, really not impressed with the cut from it, perhaps I took too much off in one go. Fairly sure it did a fine job routing the headstock thickness, hmmm… Anyway, Wealden tools bit will be tested on the mahogany for the neck pocket soon 🙂
…on an elaborate journey to turn trees into music.


