@peter-johnson Thanks Peter, I’ve thought about colouring the bobbins too. At first I thought I would be afraid of scratching them by playing but then I though, it might look quite good if they do get scratched and damaged; road worn. Just a thought. 👍
Make guitars, not war 🌍✌️🎸
I’ve got as far as staining and oiling wood. Beyond that, it’s all black magic
I feel ya Bruv!
We need a finishing course that covers (pun intended) stuff like this too.
😆
Innit!
Maybe we should have a finishing course that goes into more detail. 🤣
I'll drop Teach an email, bring him an apple at the next livestream and I'm sure he'll sort something out dreckly 😉
We need a finishing course that covers (pun intended) stuff like this too.
I'm still spraying lacquer over my headstock waterslide transfers. That's ten coats now and I can still see the edges of the transfers. This takes a bit of patience.
Once you know how to do it, it’s easy, you can apply the same principle to whatever you are painting.
Prep
Prime (spray)
Flat sand
Paint colours (spray)
Clear coat (lacquer)
Flat sand up to and including 2000 grade wet and dry paper (you can go higher if you want, I sometimes go up to 9000). At this point, depending on the complexity of any fancy masking, a “flow coat” can be applied. This just means applying more coats of clear before flat sanding yet again before polishing.
Polish with compounds
I know it’s easier said than done but it won’t take anyone too long to get the hang of it with practice and a lot of patience. It’s all in the prep work, that’s the tedious bit you need patience for but the end product reflects all your hard work. There are a few little tricks to help us along the way.
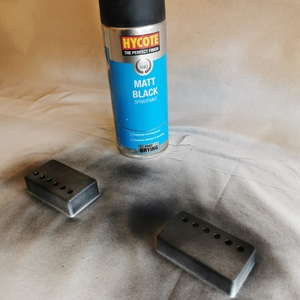
Here is an example: Flatting primer. This means sanding the primer paint (when dry) flat and smooth, it never comes out of the gun perfectly flat and level. I sand it with 600 grade wet and dry. To help us see when we have sanded an area enough and there it is flat, we can use a “guide coat”, this is a contrasting colour to the primer (usually matt black) sprayed on from a rattle can but a dry powder is also available to rub on. As you sand, you can see the bits that are done and the bits you still need to sand. As we get these surfaces sanded as perfectly as possible, they are now ready to accept colours (after a thorough clean of course).
Make guitars, not war 🌍✌️🎸
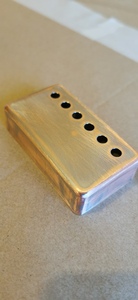
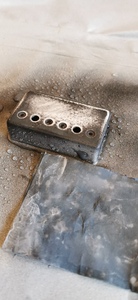
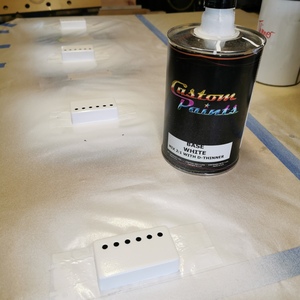
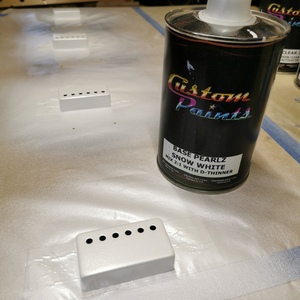
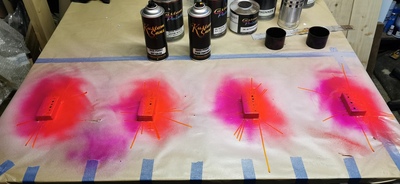
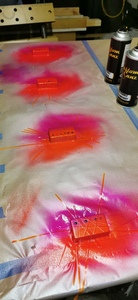
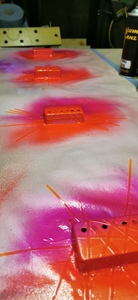
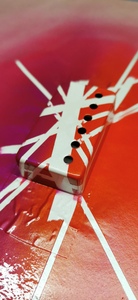
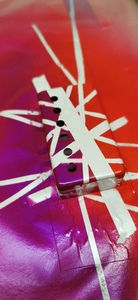
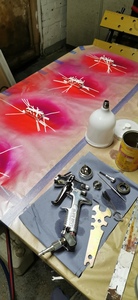
Done some more work on these pickup covers today.
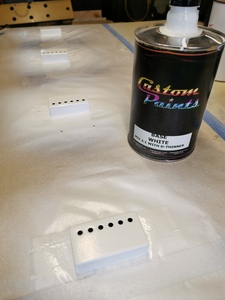
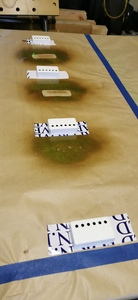
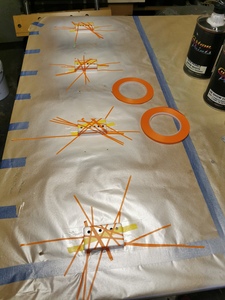
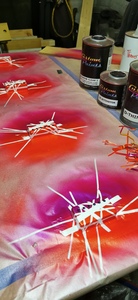
Got them in a solid white base first, then pearl white base, then masked them up and had some fun with red and pink pearls. These paints are super bright.
Make guitars, not war 🌍✌️🎸
Thats looking really cool, and unique to! I have never seen anyhting like those covers. This agains shows how creative people can be. Good job Boo!
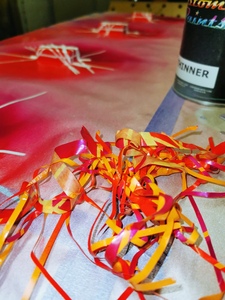
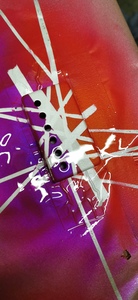
Thanks, I love this range of colours they are so vivid. Obviously I’ve done some EVH masking on these so when I pull that off, there are white pearl stripes. I just need to go clear coat them now.
Make guitars, not war 🌍✌️🎸
Just unmasked these and put clear coat on. As I unmasked, the paint had bled under some of the masking. My workshop is really cold so maybe the line tape has moved in the low temperature. When I put the tape on, I made sure it was stuck properly but for one reason or another, it’s moved. So, these are not perfect but they will still look pretty cool. My customer loves all the little imperfect things about home made guitar builds so he will still love these. He doesn’t know they are coming but he will at Christmas, they are going to Utah, USA.
Make guitars, not war 🌍✌️🎸
But seriously, what was your idea to correct the bleed through?
@mattbeels Thanks man. I never ended up correcting it, it labelled it as character. 🤣 The guy loved it that way too, thank goodness.
My idea was to add some carefully placed black stripes to cover the worst of the bleed, it would have looked a little more EVH too. This of course would have needed further clear coat, sanding and more clear coat. I wouldn’t have minded putting the effort in but I had run out of time, they needed to be painted, gassed off, cured, packed up and parcelled off the America in time for Christmas. They got there in time and my friend was very happy with them.
Make guitars, not war 🌍✌️🎸
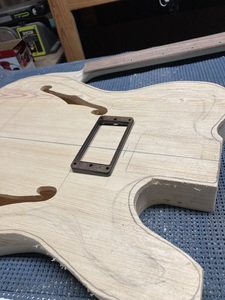
Howaa! It worked. 2mm walnut veneer ca glued over plastic humbucker rings. Been contemplating doing it. Adds a nice touch I must say and can be oiled.
@clinton Ha, what a great idea, I’m glad it worked. The possibilities are endless now.
Make guitars, not war 🌍✌️🎸
@Boo. Yes, it matches the fretboard too. I finally know what I could do with the fretboard blank off cuts than juat keeping them as souveniers for I cannot muster to toss in the bin.
I double side taped it on my bench sandwiched in between 2mm scrap wood. I sliced it carefully in half with a flush cut saw and surfaced routed to clean it up. I then placed it on a piece of flat scrap wood an screwed on a pick up ring template with the appropriate screw holes aligned and countersunk. I routed the hole. It’s an extra added step but it takes away from the usual norm of the expected cream, white, chrome, gold and black.


