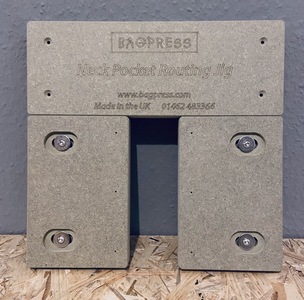
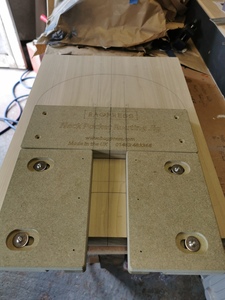
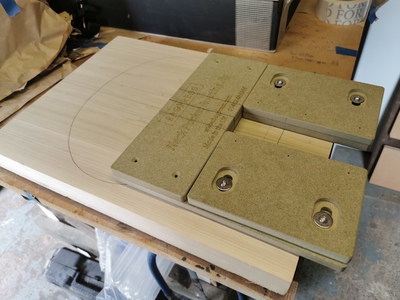
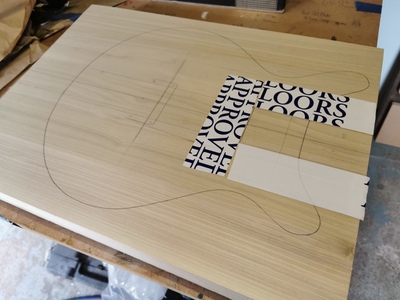
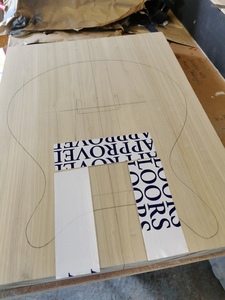
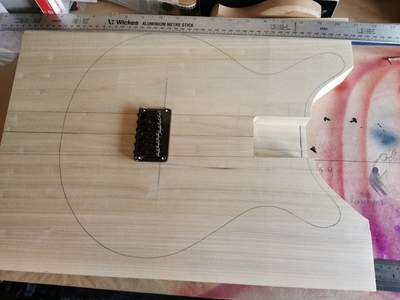
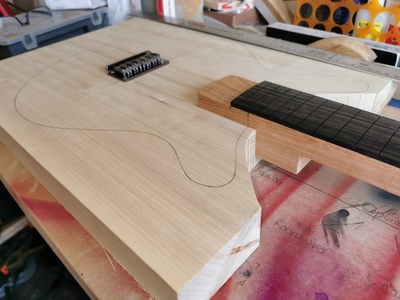
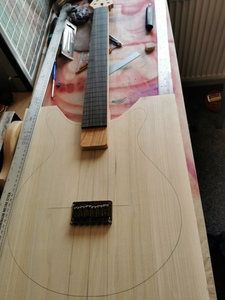
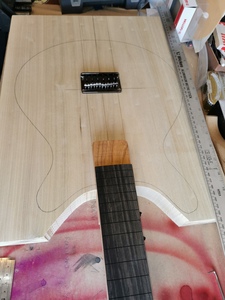
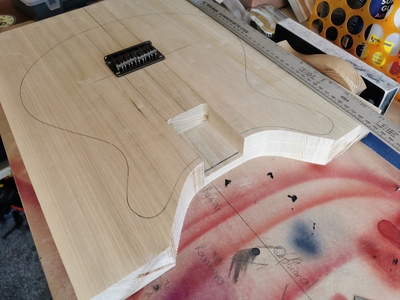
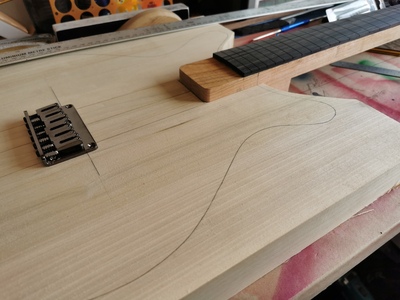
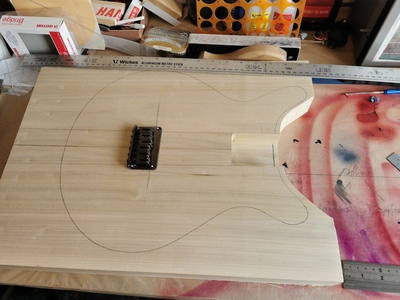
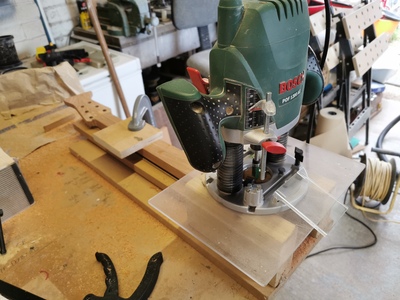
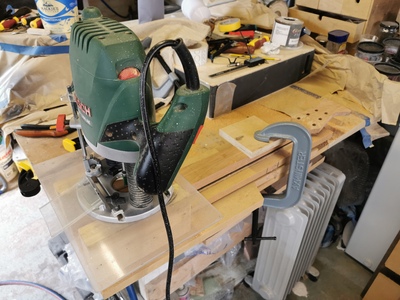
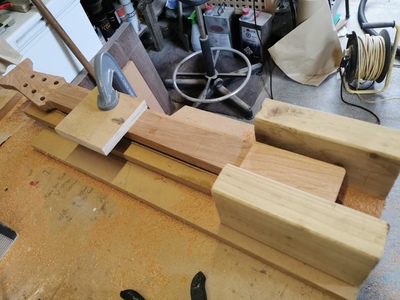
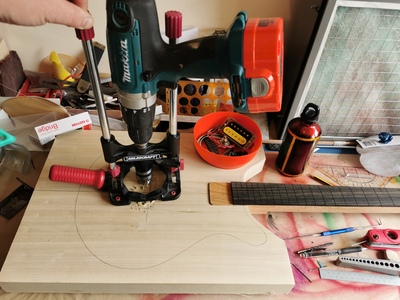
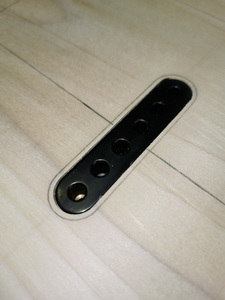
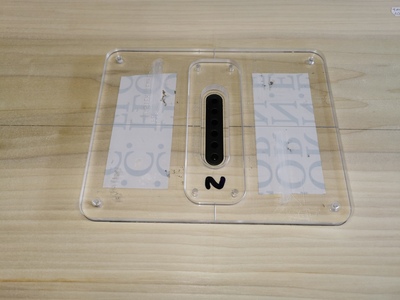
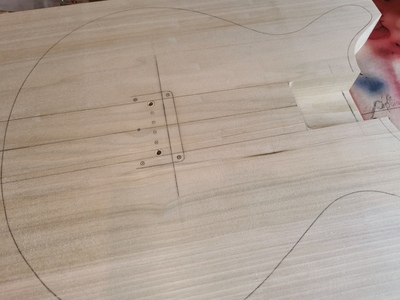
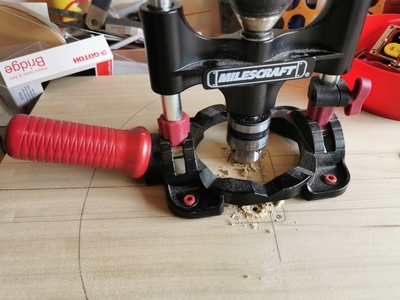
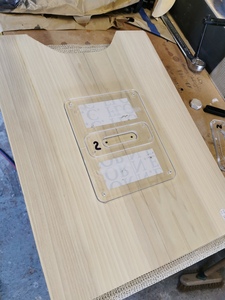
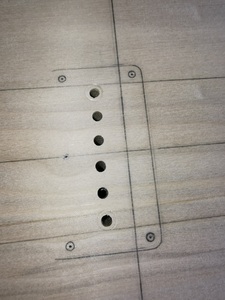
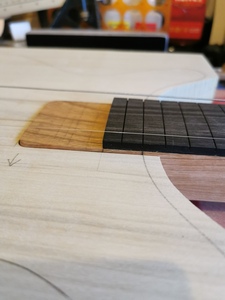
No-More-Sloppy-Neck-Pocket-O-Matic
I think that should be the official name laser etched on the jig
Haha @jonhodgson, here’s a rather non sexy photo of mine... not like @boo... his photo so sexy, me so jealous!
Practice on scrap...
Make guitars, not war 🌍✌️🎸
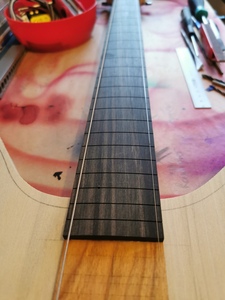
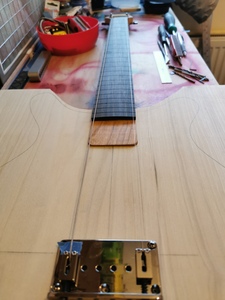
I know the action is a bit too high right now but I’ve got about 12mm or so to take off the bottom of the neck heal to bring it down to the correct depth yet. I’ll put a slight (1 degree) angle on it as well.
Make guitars, not war 🌍✌️🎸
Is this the first guitar to be built with this neck pocket jig
@russ Yep, first time used in anger Russ. It’s rather good, I’m really impressed @darrenking.
Make guitars, not war 🌍✌️🎸
Yep, first time used in anger Russ. It’s rather good, I’m really impressed
Very neat @boo. Looks great.
🙂🎸🎶🙏
🗝️ "Life's what you make it"🗝️
Make guitars, not war 🌍✌️🎸
Make guitars, not war 🌍✌️🎸
Any advice when it comes to the neck angle By the way? Seems like a critical point with little science involved to get it right?
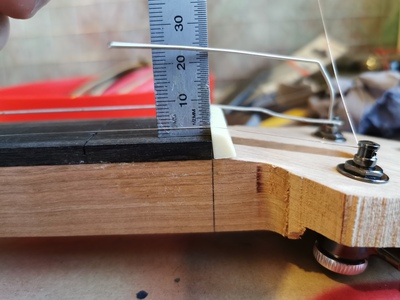
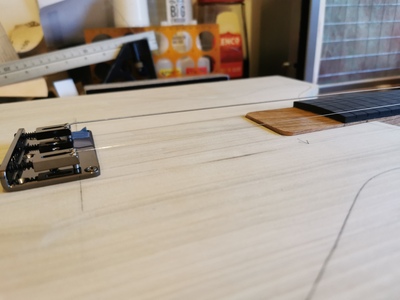
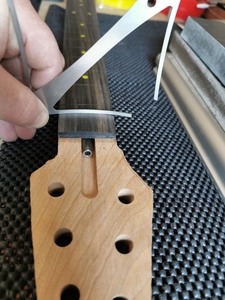
@tej It all depends on what bridge you intend to use. The best way is to sit the bridge on the body at the scale length line and put a long straight edge from the nut, across the fretboard and to the bridge. That way you can physically see what needs to be done. It’s good to have the saddles or bridge height adjustment right down so the action can be as low as possible, it’s not going to be so low as to it would be touching the frets but it’s good to be able to have that amount of adjustment. You can also measure the height of the bridge with your callipers and use that measurement at the scale length line instead of having the bridge in place.
On Mark’s videos, he uses a wrap around bridge, which is quite high off the body even at its lowest setting. For this the angle of the neck needs to drop back so the measurement at the scale length matches the bridge height.
You should aim for the gap where the fretboard meets the body to be about 1 to 1.5mm from the top of the body. So you need to play around with the neck angle whilst there is still enough meat on the neck heal, taking very small amounts off each time. Once you think the neck angle is correct you can just leave the jig set at that angle, put the neck back in and take a little bit more off with the router until you bring the whole neck down to that 1 to 1.5mm gap at the fretboard.
On this Bandsman build and the last one, I’m using a much flatter bridge so my neck angle is only very slight, just to allow for that natural gap in action at the last few frets. It really is very slight, if I over cook it I will lose a lot of adjustment in the bridge saddles. A bridge too far. 😆
There is no maths needed, it’s just looking at the travel of the strings, the angle of the neck and the consideration of the type of bridge you are using and it’s adjustment.
Hope this helps, I can try and explain it a bit better with some pictures or a short video later when I get in from work.
Take your time with everything, think things through thoroughly before doing anything and have fun.
Boo out! 🌍✌️
Make guitars, not war 🌍✌️🎸
So you need to play around with the neck angle whilst there is still enough meat on the neck heal, taking very small amounts off each time.
That's really what it comes down to @Tej - trial and error, but hopefully avoid the error bit by making very small adjustments to the trial each time!
In theory, you could draw it all out to scale, and then measure the angle that's required, then set-up the jig to cut that angle onto the heel, and all would work first time.
But the measurements you're dealing with are so fine, that the thickness of a pencil line could make the difference between an angle of 2.5deg and an angle of 3deg, and the action being perfect or too low (tricky) or too high (try again).
If you've made yourself a Bailey neck-angle jig, it's easy enough to cut an initial angle onto the heel, test fit, and then adjust the angle of the jig fractionally and recut two or three times until you get it right.
If you're going to make the same style of guitar, with the same components, time and time again, then you could set it all up to work first time. But if you're making a series of one-offs with different bridges (etc), then it's really trial and no-error.
Online guitar making courses – guitarmaking.co.uk
…on an elaborate journey to turn trees into music.
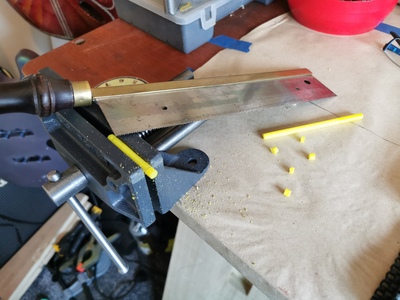
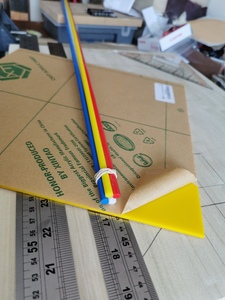
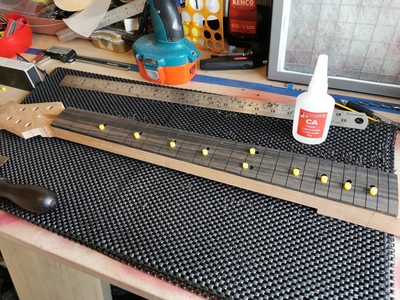
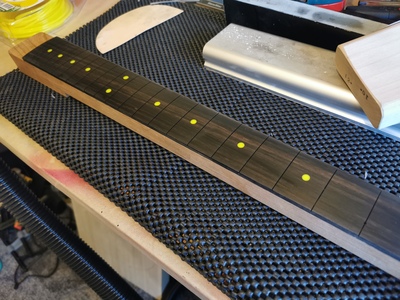
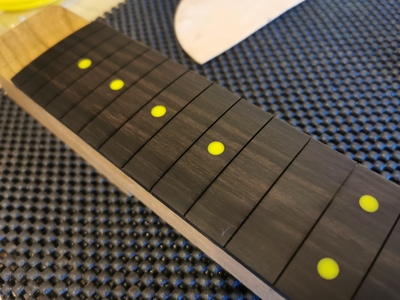
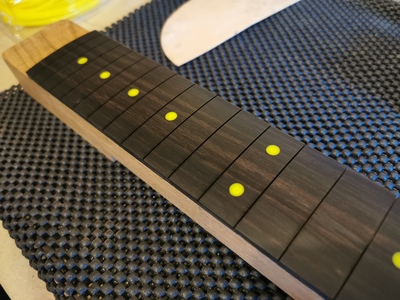
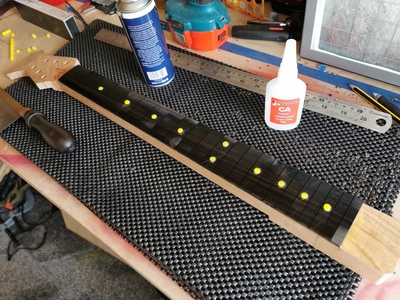
I couldn’t find any yellow fret inlay dots that my customer had specified so I found some coloured acrylic rods so I could make some. Thanks to people on here for helping me find such places that sell it, much appreciated.
A lot of these companies wanted a minimum order and most were for a ridiculous amount. The one I settled on was a £12 minimum order, which I found acceptable. They are metre long rods at just over 6mm diameter so I bought a few colours to make up my minimum order, for future use.
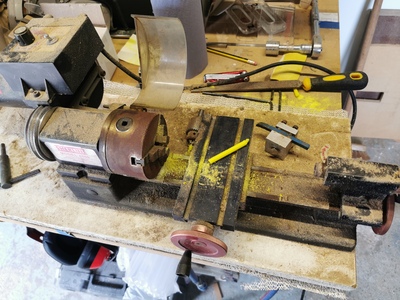
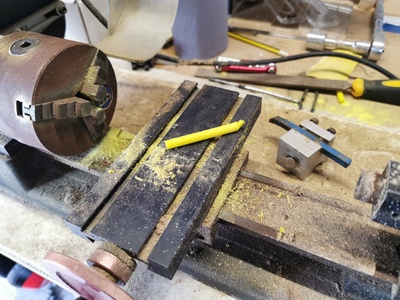
Like I said, they are slightly over 6mm diameter and I only have a 6mm drill bit so I cut a piece off and got it in my small lathe to shave a bit off. I then got it in a vice and cut some dots.
Make guitars, not war 🌍✌️🎸
Make guitars, not war 🌍✌️🎸
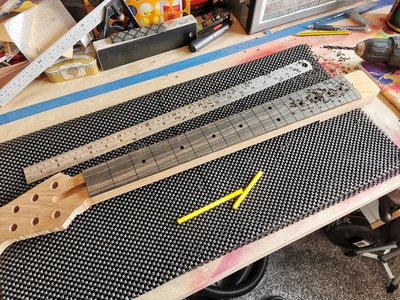
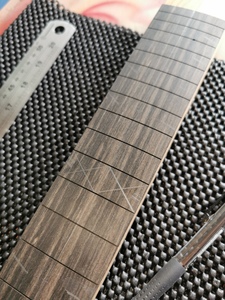
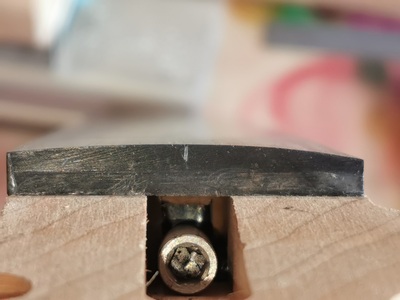
It worked well apart from the fact that I got a little over zealous with my radius block and because I was concentrating on sanding the inlays so much, I’ve accidentally sanded one side of the fretboard too much. So I’m now kicking myself and I’ll have to rectify that. I just hope I’ve got enough thickness in the fretboard to sand it flat and with the correct radius again. It may end up being quite a thin fretboard and it will have a knock on effect with sanding the nut shorter and perhaps the height and angle of the neck. 🤬 🤣 Fun and games.
Make guitars, not war 🌍✌️🎸
got it in my small lathe to shave a bit off.
Dang @boo, that’s a lot of work for some dots but good job! Reminds me of that Ratt song, Lathe it Down. 😆😆😆
That’s a bummer about the fretboard but it still looks thick enough on the bass side, you should be alright. Good luck!
Practice on scrap...


